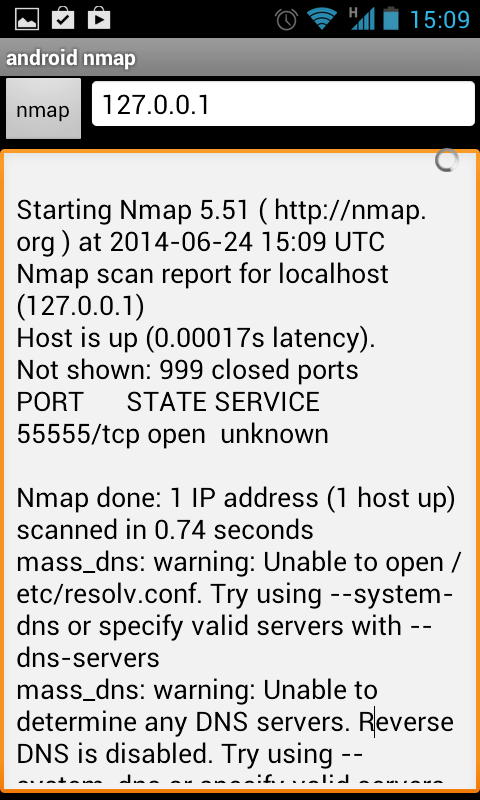
Linux users know pretty well Nmap (network mapper) tool which is precious in making a quick server host security evaluation.
Nmap binary port is available for Windows too, however as nmap is port for its normal operation you have to install WinPcap (Packet Capture Library).
And more importantly it is good to mention if you need to do some remote port scanning from Windows host, there is Microsoft produced native tool called PortQry (Port Query).
PortQRY is a must have tool for the Windows Admin as it can help you troubleshoot multiple network issues.
As of time of writting this post PortQRY is at version 2, PortQRY tool has also a GUI (UI) Version for those lazy to type in command line.
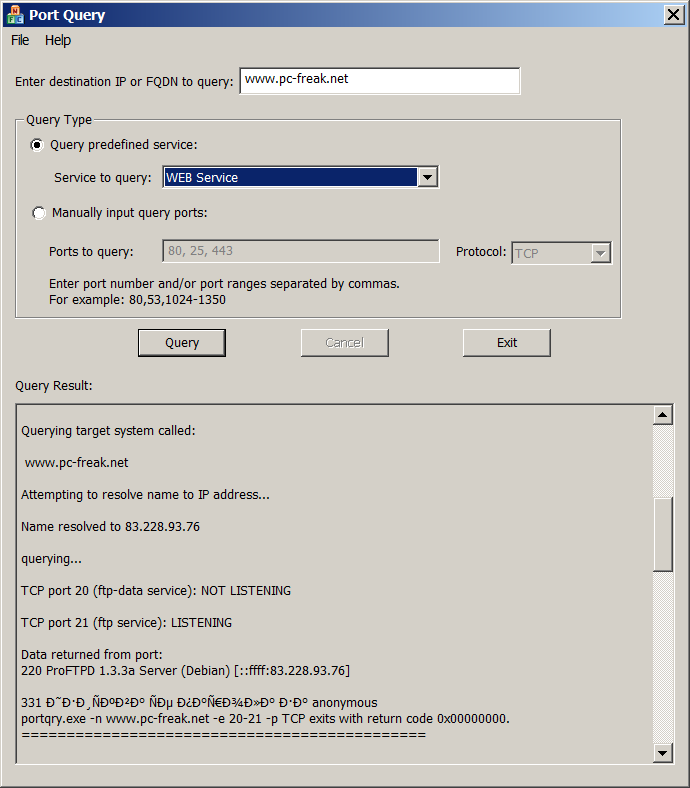
Port Query UI tool (portqueryui.exe) is a tool to query open ports on a machine. This tool makes use of command line version port query tool (portqry.exe). The UI provides the following functionalities:
1. Following "Enter destination IP or FQDN to query:”, an edit box needs the user to specify the IP address or FDQN name of the destination to query port status.
2. The end user is able to choose Query type:
– Predefined services type. It groups ports into service, so that you can query multiple ports for a service by a single click. Service includes "Domains and Trusts", "DNS Queries", "NetBIOS communication", "IPSEC", "Networking", "SQL Service", "WEB Service", "Exchange Server", "Netmeeting", and other services.
You can check detail port and protocol info for each service category by opening Help -> Predefined Services…
PORTQRY is part of Windows Server 2003 Support Tools and can be added to any NT based Windows (XP, 2003, Vista, 7, 8)
You can download portqry command line tool here or my mirrored portqry version command line port scanner here and PortQRY UI here.
PortQRY comes in PortQryV2.exe package which when run extracts 3 files: PortQry.exe program, EULA and readme file. Quickest way to make portqry globally accessible from win command prompt is to copy it to %SystemRoot% (The environment variable holding default location for Windows Installation directory).
It is good idea to add PortQRY to default PATH folder to make it accessible from command line globally.
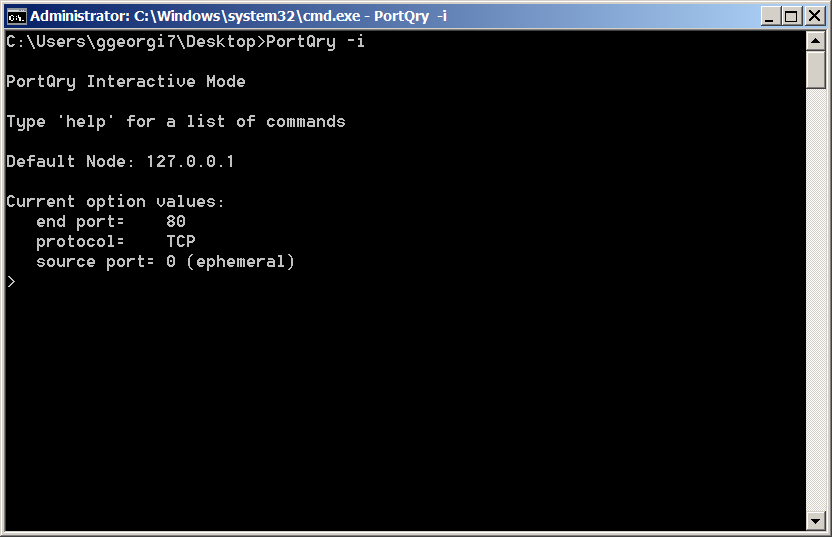
PorQry has 3 modes of operation:
Command Line Mode, Interactive Mode and Local Mode

Command Line Mode – is when it is invoked with parameters.
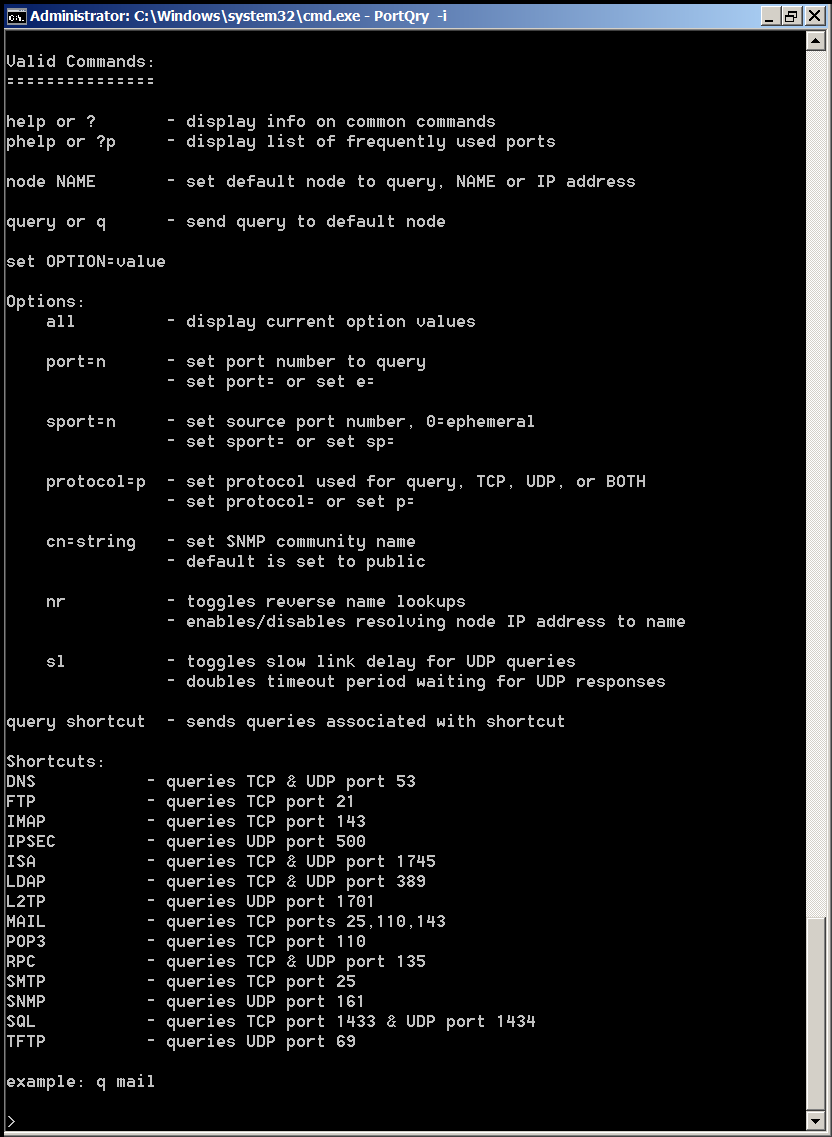
Interactive Mode is when it runs in interactive CLI console
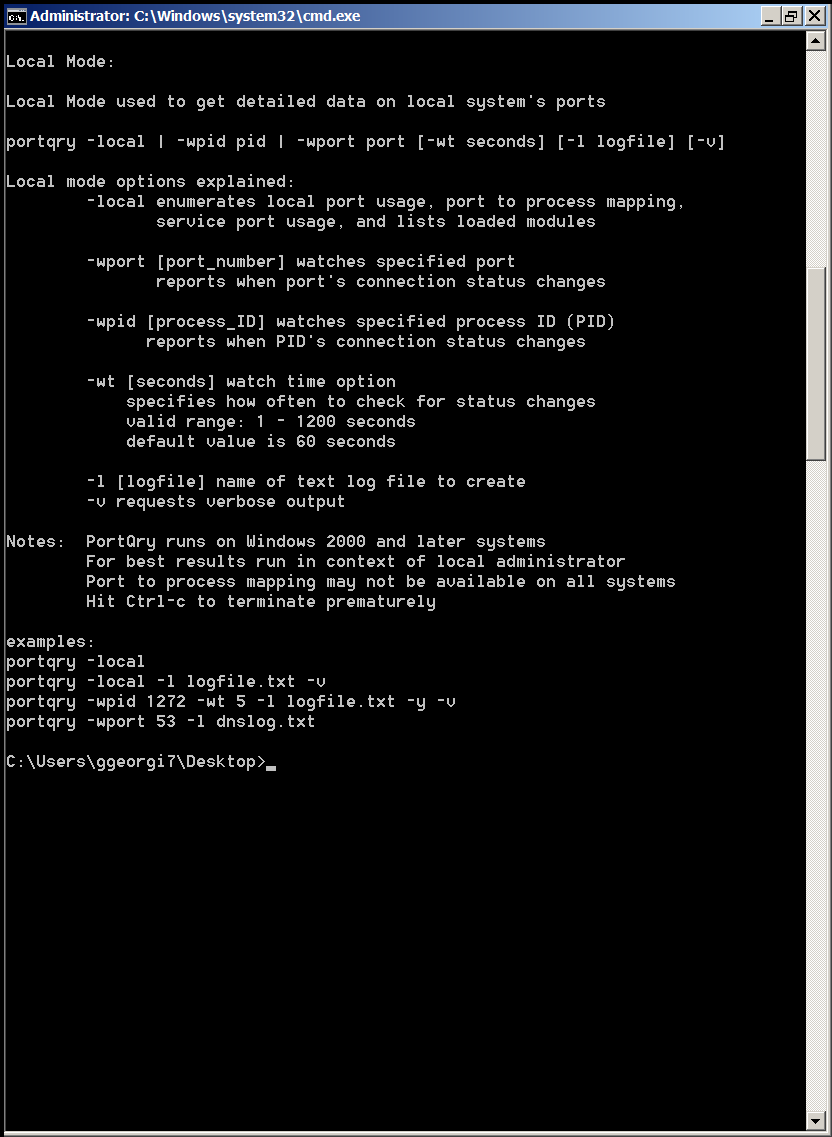
and Local Mode is used whether information on local system ports is required.
Here are some examples on basic usage of portqry:
1. Check if remote server is running webserver is listening on (HTTPS protocol) TCP port 80
portqry -n servername -e 80
Querying target system called:
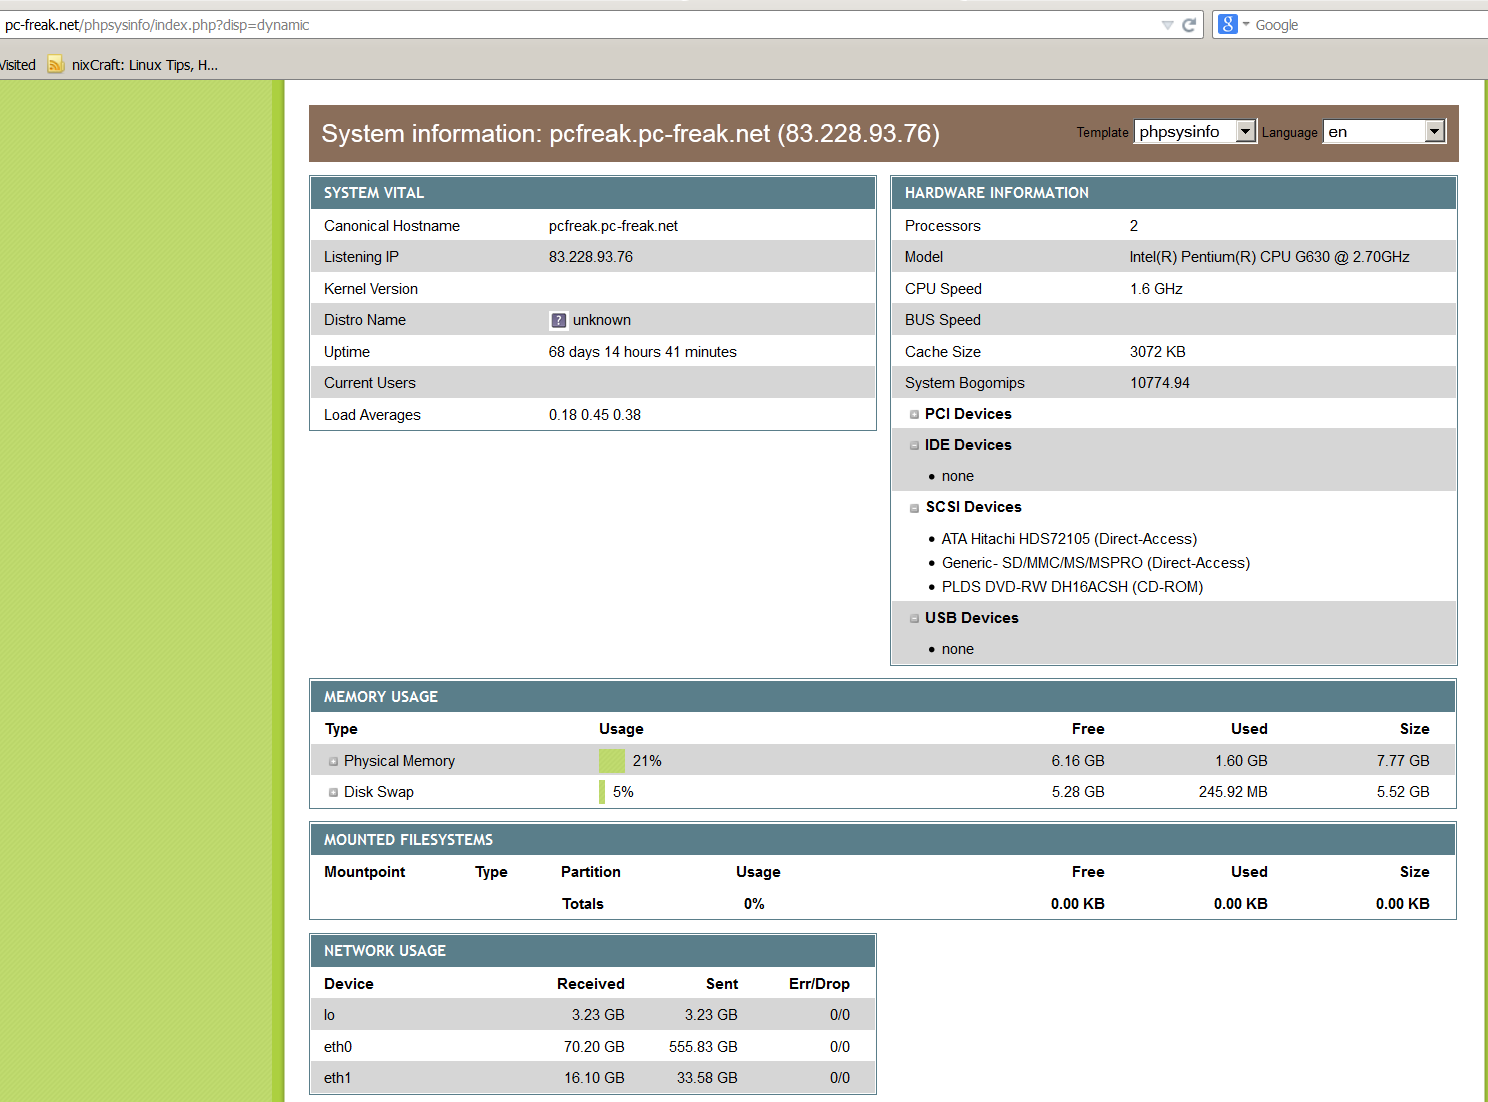
www.pc-freak.net
Attempting to resolve name to IP address…
Name resolved to 83.228.93.76querying…
TCP port 80 (http service): FILTERED
2. Check whether some common Samba sharing and DNS UDP ports are listening
portqry -n servername -p UDP -o 37,53,88,135
Querying target system called:
servername
Attempting to resolve name to IP address…
Name resolved to 74.125.21.100querying…
UDP port 37 (time service): NOT LISTENING
UDP port 53 (domain service): NOT LISTENING
UDP port 88 (kerberos service): NOT LISTENING
UDP port 135 (epmap service): NOT LISTENING
3. Scan open ports in a port range – Check common services port range (port 1-1024)
portqry -n 192.168.1.20 -r 1:1024 | find ": LISTENING"
4. Logging network scan output to file
Portqry –n localhost –e 135 -l port135.txt
Querying target system called:
localhost
Attempting to resolve name to IP address…
Name resolved to 127.0.0.1querying…
TCP port 135 (epmap service): LISTENING
Using ephemeral source port
Querying Endpoint Mapper Database…
Server's response:UUID: d95afe70-a6d5-4259-822e-2c84da1ddb0d
ncacn_ip_tcp:localhost[49152]UUID: 2f5f6521-cb55-1059-b446-00df0bce31db Unimodem LRPC Endpoint
ncacn_np:localhost[PIPEwkssvc]
…Total endpoints found: 38
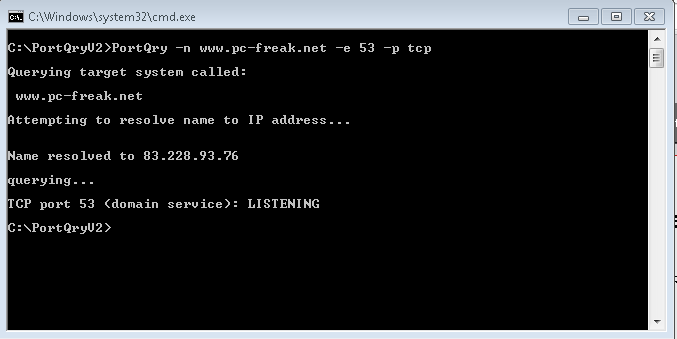
5. Scanning UDP and TCP protocols port
PortQry -n www.pc-freak.net -e 25 -p both
Querying target system called:
www.pc-freak.net
Attempting to resolve name to IP address…
Name resolved to 83.228.93.76querying…
TCP port 53 (domain service): LISTENING
UDP port 53 (domain service): LISTENING or FILTERED
Sending DNS query to UDP port 53…
6. Checking remote server whether LDAP ports are listening
Portqry -remotehost.com -p tcp -e 389

Portqry -n remotehost.com -p tcp -e 636

Portqry -n remotehost.com -p both -e 3268

Portqry -n remotehost.com -p tcp -e 3269
7. Making SNMP community name requests
portqry -n host2 -cn !my community name! -e 161 -p udp
8. Initiating scan from pre-selected source port
A network socket request initiation is useful from certain port because, some remote services expect connection from certain ports, lets say you're connecting to mail server, you might want to set as a source port – port 25, to make remote server another SMTP is connecting.
portqry -n www.pc-freak.net -e 25 -sp 25
9. Scanning whether server ports required by Active Directories are opened
Common ports used in Windows hosts to communicate between each other to sustain Active Directory are:
88 (Kerberos)
135 (RPC)
389 (LDAP)
445 (CIFS)
3268 (Global Catalog)
portqry -n remote-host.com -o 88,135,389,445,3268 -p both
portqry has also a silent mode with the "-q" switch if you want to get only whether a port is LISTENING (opened).
On port scan it returns three major return codes (very useful for scripting purposes);
- returncode 0 – if port / service is listening
- returncode 1 – if service is not listening
- returncode 2 – if service is listening or filtered
PortQry is very simple port scanner for win sysadms and is precious tool for basic network debugging (services) on Windows farms, however it doesn't have the powerful cracker functionality, application / OS versioning etc. like Nmap.