I'm owning ZTE Blade 3 chineese brand mobile phone. I thought there is not a big deal to buy chineese mobile phone as it saves money but the good old saying: "The Cheap always is more expensive" came true to proof the old wisdom.
The phone runs some Android port of version 4.0.4 and generally it runs well for a couple of days, but after the increase of application the battery started discharging too quickly, I have to charge almost daily … also occasionally since I have turned synchronization of mobile phone numbers with Google from settings the ZTE Andorid phone started to randomly loose its contacts (after which I had to restore with proprietary application Dr. Fone). After a while I realized there is another fix, sometimes Contacts restore was also possible through using free application Contacts Sync Fix, but most of the times the only thing that could resolve the contacts is to dig for lost phonebook contacts with Dr. Fone …. Eventually I realized the Lost PhoneBook Contacts issue can be resolved by itself on a random principle so the missing phones issue sometimes solved by itself just by switching off complete the phone for some time and switching it on again after 12 hours?! Recently I found another alternative way to restore sudden (deleted) disappered phone numbers by:
Settings -> Profiles and Synchronization -> (Go to configured gmail account settings) -> Settings of Profile
Then
(Frequency of syncrhonization, messaging etc.) -> (click over the email address) -> Frequency of email check (every 4 hours)
Set the every 4 hours settings to Never and then after a minute or 2 (interval), set back the Never (opt) to every 4 hours
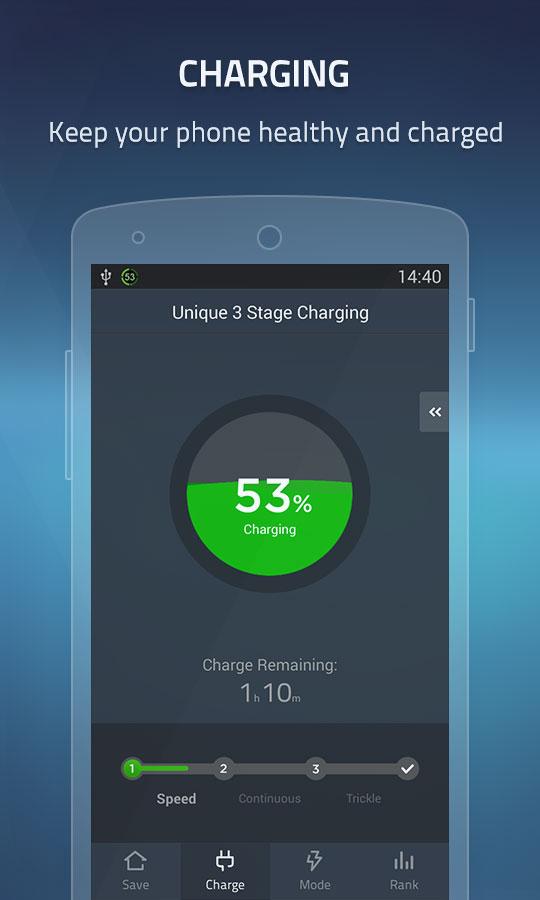
Since some time I started facing another more severe problem – random phone reboots after which the battery often kept at a critically low charged. The batter often fall to 40% or 50% charge from 99% / 100% charge, and after some time of talking over the phone the battery fall down to as low as 18% and in a short random time it fall to 9%, then after a reboot it uppered the charge to 35% or 45% and the oddities continued. My first guess was it could be the battery being broken, some colleagues at work advised me to completely discharge the battery so the phone couldn't boot and then try to charge it with Battery Doctor free Android Application. Battery Doctor has a special 3 stage charging:

1. Bulk Charge
The primary purpose of a battery charger is to recharge a battery. This first stage is typically where the highest voltage and amperage the charger is rated for will actually be used. The level of charge that can be applied without overheating the battery is known as the battery's natural absorption rate. For a typical 12 volt AGM battery, the charging voltage going into a battery will reach 14.6-14.8 volts.
Where first 80% of the battery are charged with a rapid electricity influx to battery once 80% of battery charge is reached charging is moved to the so Absorption Battery Charge
2. Absorption Charge
Smart chargers will detect voltage and resistance from the battery prior to charging. After reading the battery the charger determines which stage to properly charge at. Once the battery has reached 80%* state of charge, the charger will enter the absorption stage. At this point most chargers will maintain a steady voltage, while the amperage declines. The lower current going into the battery safely brings up the charge on the battery without overheating it. This charge phase takes much longer time to charge.
Then comes the final charging state Float Charge
3. Float Charge
Some chargers enter float mode as early as 85% state of charge but others begin closer to 95%. Either way, the float stage brings the battery all the way through and maintains the 100% state of charge. The voltage will taper down and maintain at a steady 13.2-13.4 volts, which is the maximum voltage a 12 volt battery can hold. This charging is also known as "trickle charging". Float Charging battery electricity influx is so small that you can leave the phone to charge in this mode for days (if you like).
But guess what, after I tried to completely discharge the battery, it discharged to a state where it auto rebooted just before Android boots and reboots again and again, after nothing happened for about 2 hours of leaving the phone to automatically rebooted I decided to try the Battery Doctor 3 stage charging without having my battery completely dried out. The 3 Stage Charging is also known as Android Battery Calibration process and as I heard it helped fix many people's battery which for some reason got their Android battery in a broken state without physically substituting it.
Unfortunately In my case using Battery Doctor didn't help … so after spending time to read on some forum threads finally found this one. There many Bulgarians complained for buying ZTE Blade III and Huawei variations from the 3 major stream bulgarian mobile phone operators – M-Tel, Vivacom and Globul and shortly after experiencing the strange random chineese smart phone reboots. Some suggested that the Android Kernel is causing the issues or the firmware and suggested Phone Software Reset, however as I red most people that tried to solve it that way reported this doesn't solve it. Many People said to have shipped the phone as it was in a warranty back to services and phones were given back often with flushed firmware and in a little while the problem re-occured, some reported of another strange fix – a tiny sticky thing which kept the battery more stable?!! 🙂

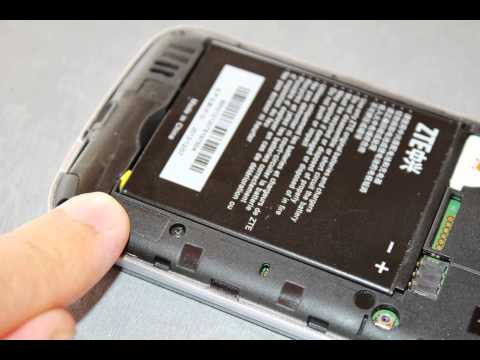
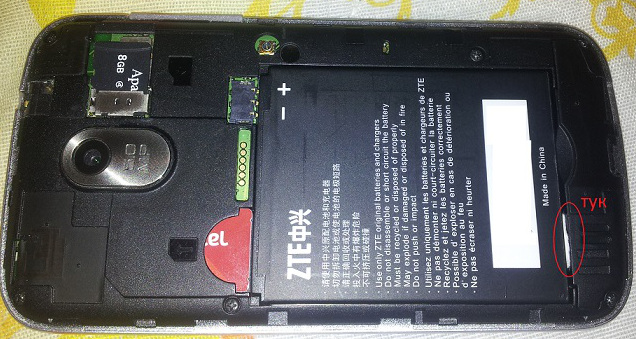
Yes I know it looks kinda of insane … as this little holder could be any piece of paper and many reported to have fix the random battery charge drop down by sticking a tiny piece of paper between the battery and mobile shell I try it myself and GUESS WHAT?? IT WORKED !!! :)))

This is pretty much the Bulgarian and Russian primitive way to fix things but it works 🙂 I was exceedingly happy as I already have spend plenty of money for this mobile and I really was unwilling to buy another phone and it was out of warranty. I guess the whole issues started after I have occasionally dropped my phone on a couple of times on the ground and some little piece of plastic holding the battery eroded or whatever … Anyways the PAPER WAY WORKS! Cheers and hope this saves someone else out there from having to spend on new mobile!
Hooray !!! Thanks goes to the Lord Jesus Christ for Everything, for helping me solve it ! 🙂


