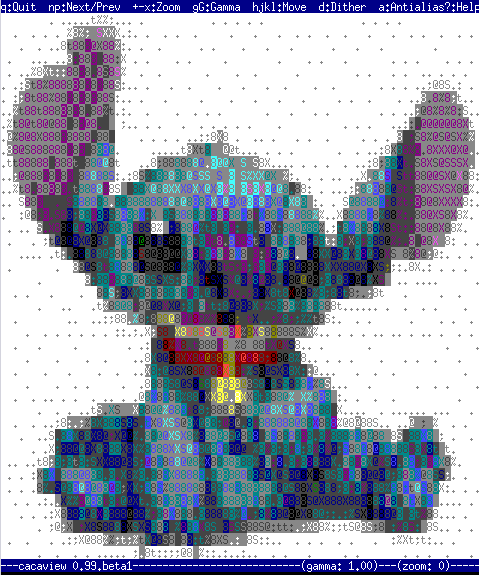
Probably, many don't know that it is possible to view normal graphical pictures (JPG, PNG, GIF, BMP) etc. in plain console tty.
Being able to view pictures in ASCII is something really nice especially for console geeks like me.
The images produced sometimes are a bit unreadable, if compared to the original graphics, but anyways most of the pictures looks pretty decent 🙂
Viewing in console / terminal images on GNU / Linux is possible thanks to a library called libcaca, caca labs libcaca project official website here.
Below is a shot description of libcaca:
hipo@noah:~$ apt-cache show libcaca0|grep 'Description' -A 4

Description: colour ASCII art library

libcaca is the Colour AsCii Art library. It provides high level functions

for colour text drawing, simple primitives for line, polygon and ellipse

drawing, as well as powerful image to text conversion routines.
In Debian, Ubuntu and other deb Linux distros viewing GUI images with no need for Xserver or any kind of window manager in plain ASCII is possible with cacaview.
cacaview is part of a package called caca-utils. caca-utils is providing few other great utilities for ASCII freaks 🙂 along with cacaview console ascii viewer prog.
The package> is available for Debian distributins since many years, so even on a very old Debians like Debian – (Potato, Woody, Sarge) the package is available in default free package repositories ready to install via apt
To install apt-get it as usual:
noah:~# apt-get --yes install caca-utils
Here is a list of the binaries the package provides:
hipo@noah:~$ dpkg -L caca-utils|grep -i /usr/bin/

/usr/bin/cacaserver

/usr/bin/cacaplay

/usr/bin/cacafire

/usr/bin/cacademo

/usr/bin/cacaview

/usr/bin/img2txt
1. cacaserver a tiny program allowing network streaming of applications written in caca
Belkow is a chop, from man cacaserver
cacaserver reads libcaca animation files in its standard input and
serves them as ANSI art on network port 51914. These animations can be
created by any libcaca program by setting the CACA_DRIVER environment
variable to raw and piping the program's standard output to cacaserver.
Clients can then connect to port 51914 using telnet or netcat to see
the output.
The example section of the manual points 1 example use of cacaserver to stream the console output from cacademo.
cacademo binary is a short presentation ASCII DEMO in the spirit of the old school assembly demos (demoscene) .
To run it to bind on port 51914 one has to type in bash shell:
hipo@noah:~$ CACA_DRIVER=raw cacademo | cacaserver

initialised network, listening on port 51914
Then to check out how the demo looks, open telnet connection to the cacaserver host; In my case the cacaserver is binded and streamed over IP 192.168.0.2:
hipo@debian:~$ telnet 192.168.0.2 51914
Immediately you got the demo shining; Below are two screenshots of the demo played after succesful telnet connection:
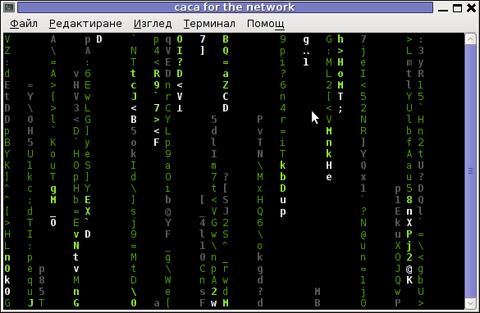
cacademo running over telnet network connection – Matrix
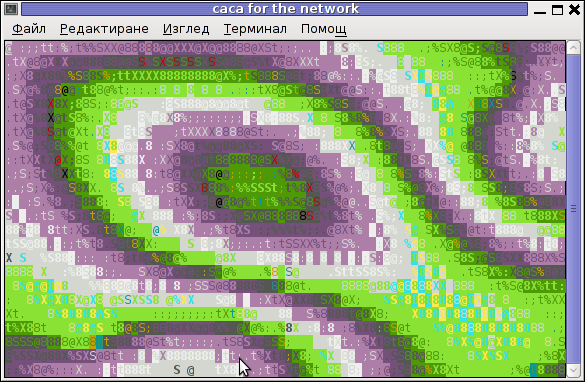
Blur spots cacademo shot of cacademo streamed via network
You see the demo looks quite awesome 🙂
2. Running cacafire to stream over network
Another possible example use of cacaserver is in conjunction with cacafire libcaca test application:
noah:~# CACA_DRIVER=raw cacafire | cacaserver

initialised network, listening on port 51914
cacafire is a short application written to render ASCII via libcaca and is just displaying a screen with ASCII (moving) burning fire.
It is quite spectacular if you, ask an unexpecting friend to connect to your host to 51914 🙂
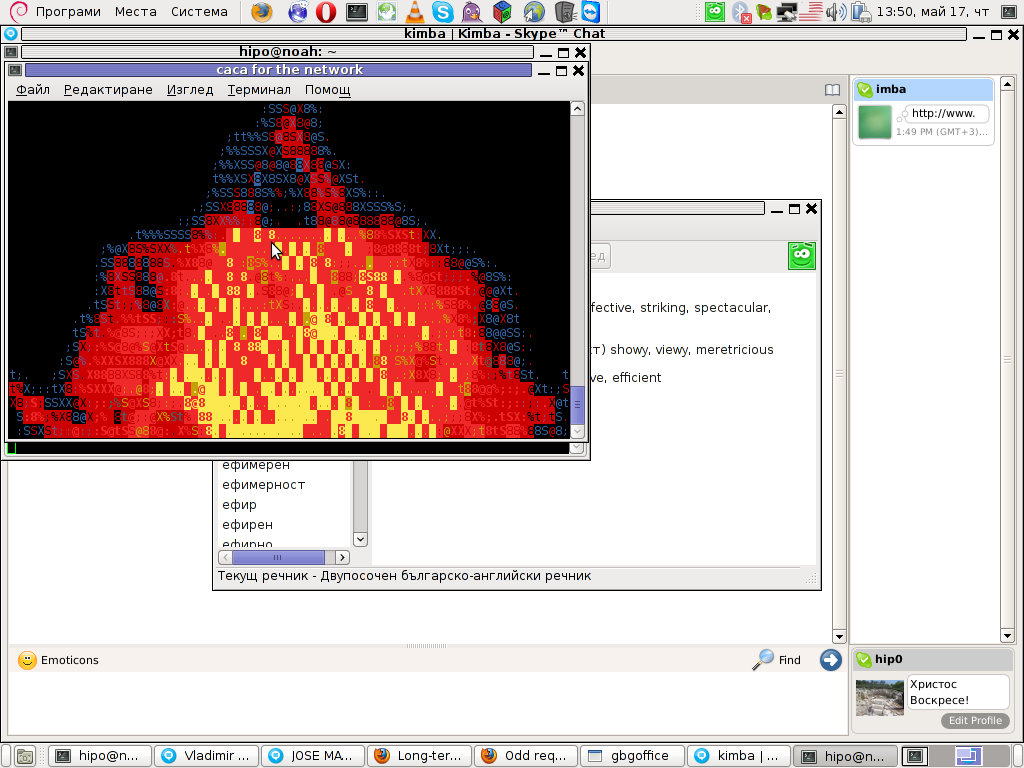
Besides that bored sys admins, could run cacafire in console to hypnotize themselves watching dumb the burning fire screen for few hoursor just use it as a screensaver 😉
3. cacaview a program to display a graphic images in console using ASCII art
cacaview takes just one argument – the picture to be displayed.
Below is a screenshot of cacaview ran from my gnome-terminal displaying a ASCII text version of the MySQL server logo
hipo@noah:~$ cd /disk/pictures

hipo@noah:/disk/pictures$ cacaview mysql_logo.png
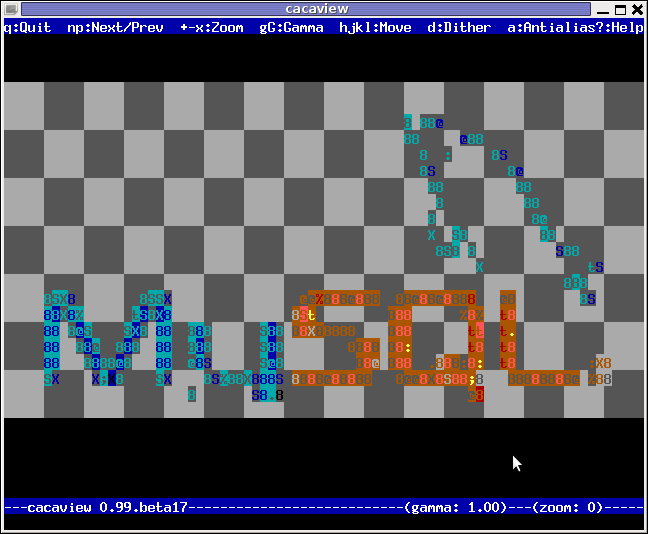
Whether cacaview is invoked in GUI, the libcaca X support is used, so the text image is visualized in new window with graphics, if however it is invoked in plain let's say tty1 libcaca displays the graphics pictures drawing it with only text characters.
Here is also a screenshot, I've made while viewing a GIF website logo in ASCII in plain tty console:
hipo@noah:~$ cacaview /disk/pictures/logo.gif
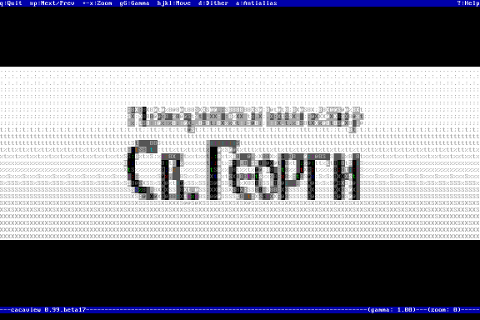
The logo is in cyrillic, so for latin speaking people some of the characters in the two words seen will be unreadable 🙂
cacaview even supports viewing, the next and previous picture in line, like in any modern graphics image viewer program.
To view a bunch of graphic pictures in ASCII with cacaview pass it *.*:
hipo@noah:~$ cacaview /disk/pictures/*.*
For simplicity the common unix * is also supported, so I find it quicker to do:
hipo@noah:~$ cacaview /disk/pictures/*
Showing pictures forward and backward (Previous / Next) picture is done with n and p kbd keys, whether;
 n - next;

p - previous
cacaview doesn't crash or stop but skip unknown file formats – if for instance encounters filenames which are not images; lets say you have *.rar archive files along with other pictures.
The complete list of keys cacaview supports are:
br />
KEYS
? show the help screen
n, p switch to next image, previous image
Left, Right, Up, Down or h, l, k, j
scroll the image around
+, – zoom in and out
z reset the zoom level to normal
f switch fullscreen mode (hide/show menu and status bars)
d toggle the dithering mode (no dithering, 4×4 ordered dithering, 8×8 ordered dithering and random dithering)
q exit the program
4. Converting graphics images to ASCII art like (plain text pictures)
The tool that does "the trick" is img2txt. img2txt has a bit more options while compared to the rest of the aforementioned tools.The following list of arguments are recognized:
- the size (font, height)
- brightness
- contrast
- gamma and dither
- format type of out the output pic
Anyways I found that the basic just in / out arguments passed are enough to produce pretty good results:
hipo@noah:~$ img2txt hipo_avatar.gif >hipo_avatar_pic.txt
The original hipo_avatar.gif file looks like so:

After above img2txt command is run and hipo_avatar_pic.txt to see the colorful output ASCII art img2txt produces, cat it:
hipo@noah:~$ cat hipo_avatar_pic.txt
The image result if screenshot looks quite beautiful and even, can be considered or used as an ART effect image (filter) 🙂
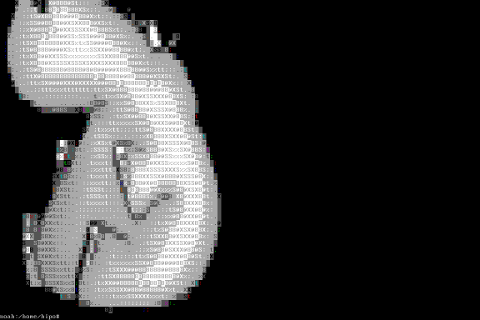
The picture colors are plain ANSI color, so in order to display properly the picture with colors on another computers or Operating System you will need at least basic support for ANSI colors.
Plenty of output file formats are supported by img2txt
Here is the complete list of supported output formats:
ansi : coloured ANSI
caca : internal libcaca format
utf8 : UTF8 with CR
utf8 : UTF8 with CRLF (MS Windows)
html : HTML with CSS and DIV support
html3 : Pure HTML3 with tables
irc : IRC with ctrl-k codes
bbfr : BBCode (French)
ps : Postscript
svg : Scalable Vector Graphics
tga : Targa Image
libcaca is available for FreeBSD too, but the caca-utils is not available as a port yet, though probably the deb or rpm packages can easily be ported to BSD.
Well that's all, Enjoy.




How to enable Ctrl+Alt+Backspace in Ubuntu 11.10 (Oneiric Ocelot) Linux
Monday, January 16th, 2012My sister, experience some programs running with wine (Windows Emulator) to crash on her Ubuntu 11.10.
As she is quite new with Linux, she has no idea about the existence of CTRL ALT BACKSPACE key combination to restart a hanged GNOME, KDE by directly killing the Xorg server.
I felt obliged to explain her it is better to use CTRL ALT BACKSPACE X kill switch instead of restarting the whole Linux kernel (which basiclly is working) and that it is just the display keeping blacnk.
Pressing the would kill Xorg and therefore all applicatins previously running on top of it will die. In Ubuntu Xorg is configured to run via gdm, so once killed it will automatically reload the GDM (Gnome Display Manager).
I was about to explain her that its better she use CTRL+ALT+BACKSPACE instead of restarting the whole system but suddenly I realized this is not working.
In UBUNTU 11.10 and I guess in all UBUNTU's after 9.04 CTRL ALT BACKSPACE is substituted with the key switch combination ALT PRINTSCREEN K, I've explained her about that.
This change is actually a change implied by most Linux distributions nowdas and is some kind of change in Xorg newer versions…
To enable back the CTRL + ALT + BACKSPACE , I've issued cmd:
stanimira@ubuntu~:$ echo' setxkbmap -option terminate:ctrl_alt_bksp' >> ~/.xinitrc
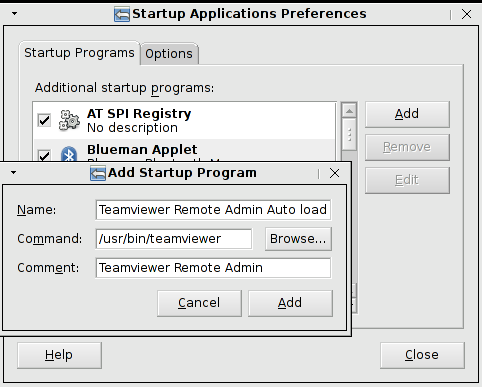
An alternative way to set setxkbmap -option terminate:ctrl_alt_bksp to run on Ubuntu user login is by setting it as a startup application using;
stanimira@ubuntu:~$ gnome-session-properties
Press the Add button and type in the box to appear;
Name: setxkbmap

Command: setxkbmap -option terminate:ctrl_alt_bksp

Comment: setxkbmap
Reverting the Xserver kill switch back to the classical Ctrl+Alt+Backspace should also be running fine on older Ubuntu Linuces – 11.04, 10.10, 10.04 etc.
Tags: add button, Alt, Auto, backspace, Button, change, Comment, Ctrl, Display, Draft, existence, GDM, Gnome, kde, key switch, kill, kill switch, Linux, linux kernel, login, most linux distributions, ocelot, option, Press, printscreen, Reverting, session properties, setxkbmapCommand, startup, startup application, switch combination, type, Ubuntu, wine, wine windows, xinitrcAn, Xorg, xserver
Posted in Linux, Linux and FreeBSD Desktop | No Comments »