On Sunday I had a flight to Dubai – the the United Arab Emirates. The flight's goal is to do some business meetings with potential investors willing to invest in Cadia Holding 's Ofsshore Solutions
I'm employed as IT & Security Specialist and business consultant as well as doing the system administration for the company
The company has already scheduled a business meetings to look for new investors in order to finance the current company offered products and services as well as finance its entrance in the field of biometrics technology for the people to allow people to pay in stores with no need for plastic cards only using a finger partial imprint and a code.
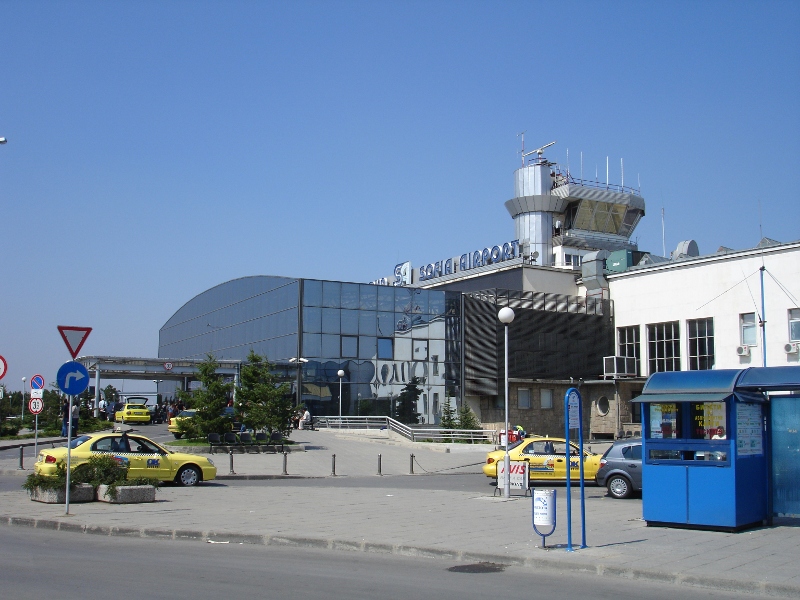
The flight from Sofia to Istanbul was about 1 h and 15 minutes and it went quite smoothly thanks God. It seems Sofia's Airport has changed a lot since my last flight before more than a year and half to Dotmund Germany.
Now Sofia's airport looks way more modern than before, which means Bulgaria is slowly but surely developing it's infrastructure 😉
I used an electronic ticket for the flight which was pre-purchased by Cadia so what, all I had to do on the airport is show a copy of my e-ticket and immediately, they hand me in the fly ticket necessery to check in for the airplane
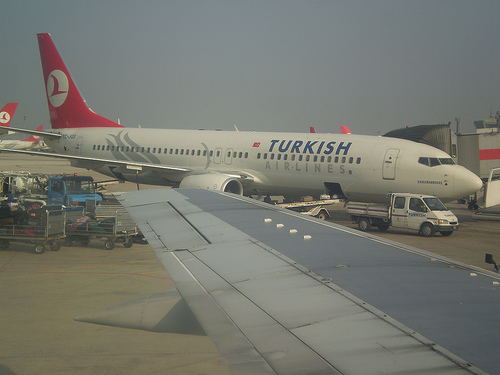
I should say the flight with Turksih airlines was really enjoyable and the plane we flight with felt much more secure compared to the WizzAir's airus.
It is true the last time I flight with with Wizzair's Airbus it was in January and the weather was quite bad as there was harsh winter with a lot of snow and this might be the reason, why my flight with them felt so shaky.
Anyways before entering the plane I had to go throught the regular security procedures, where I had to remove all kind of metals in bas, pockets etc. and go through a metal scanner, they sa an (anti terourisim) measure, besides that one of the airport security personnel checked me thoroughfully if I dont' bring any kind of objects hidden in m clothes. Generally during the check up with the metal scanner and the check up person I was treated like a criminal …
The Turkish airlines, stewardesses and the service was wonderful and we were given a not too bi but decent lunch (my first time I eat in airplane ;)).
The flight as went smoothly and we were in Istanbul about 12:00 at midday, after coming down from the bus we were transferred with a bus from the plane like 1 or 1.5 km to Terminal 2 (the terminal of arrival scheduled).
I travelled with another colleague Krasimir, so we had to check our Tickets in the ticket office and let them issue us the flight ticket based on the e-ticket.
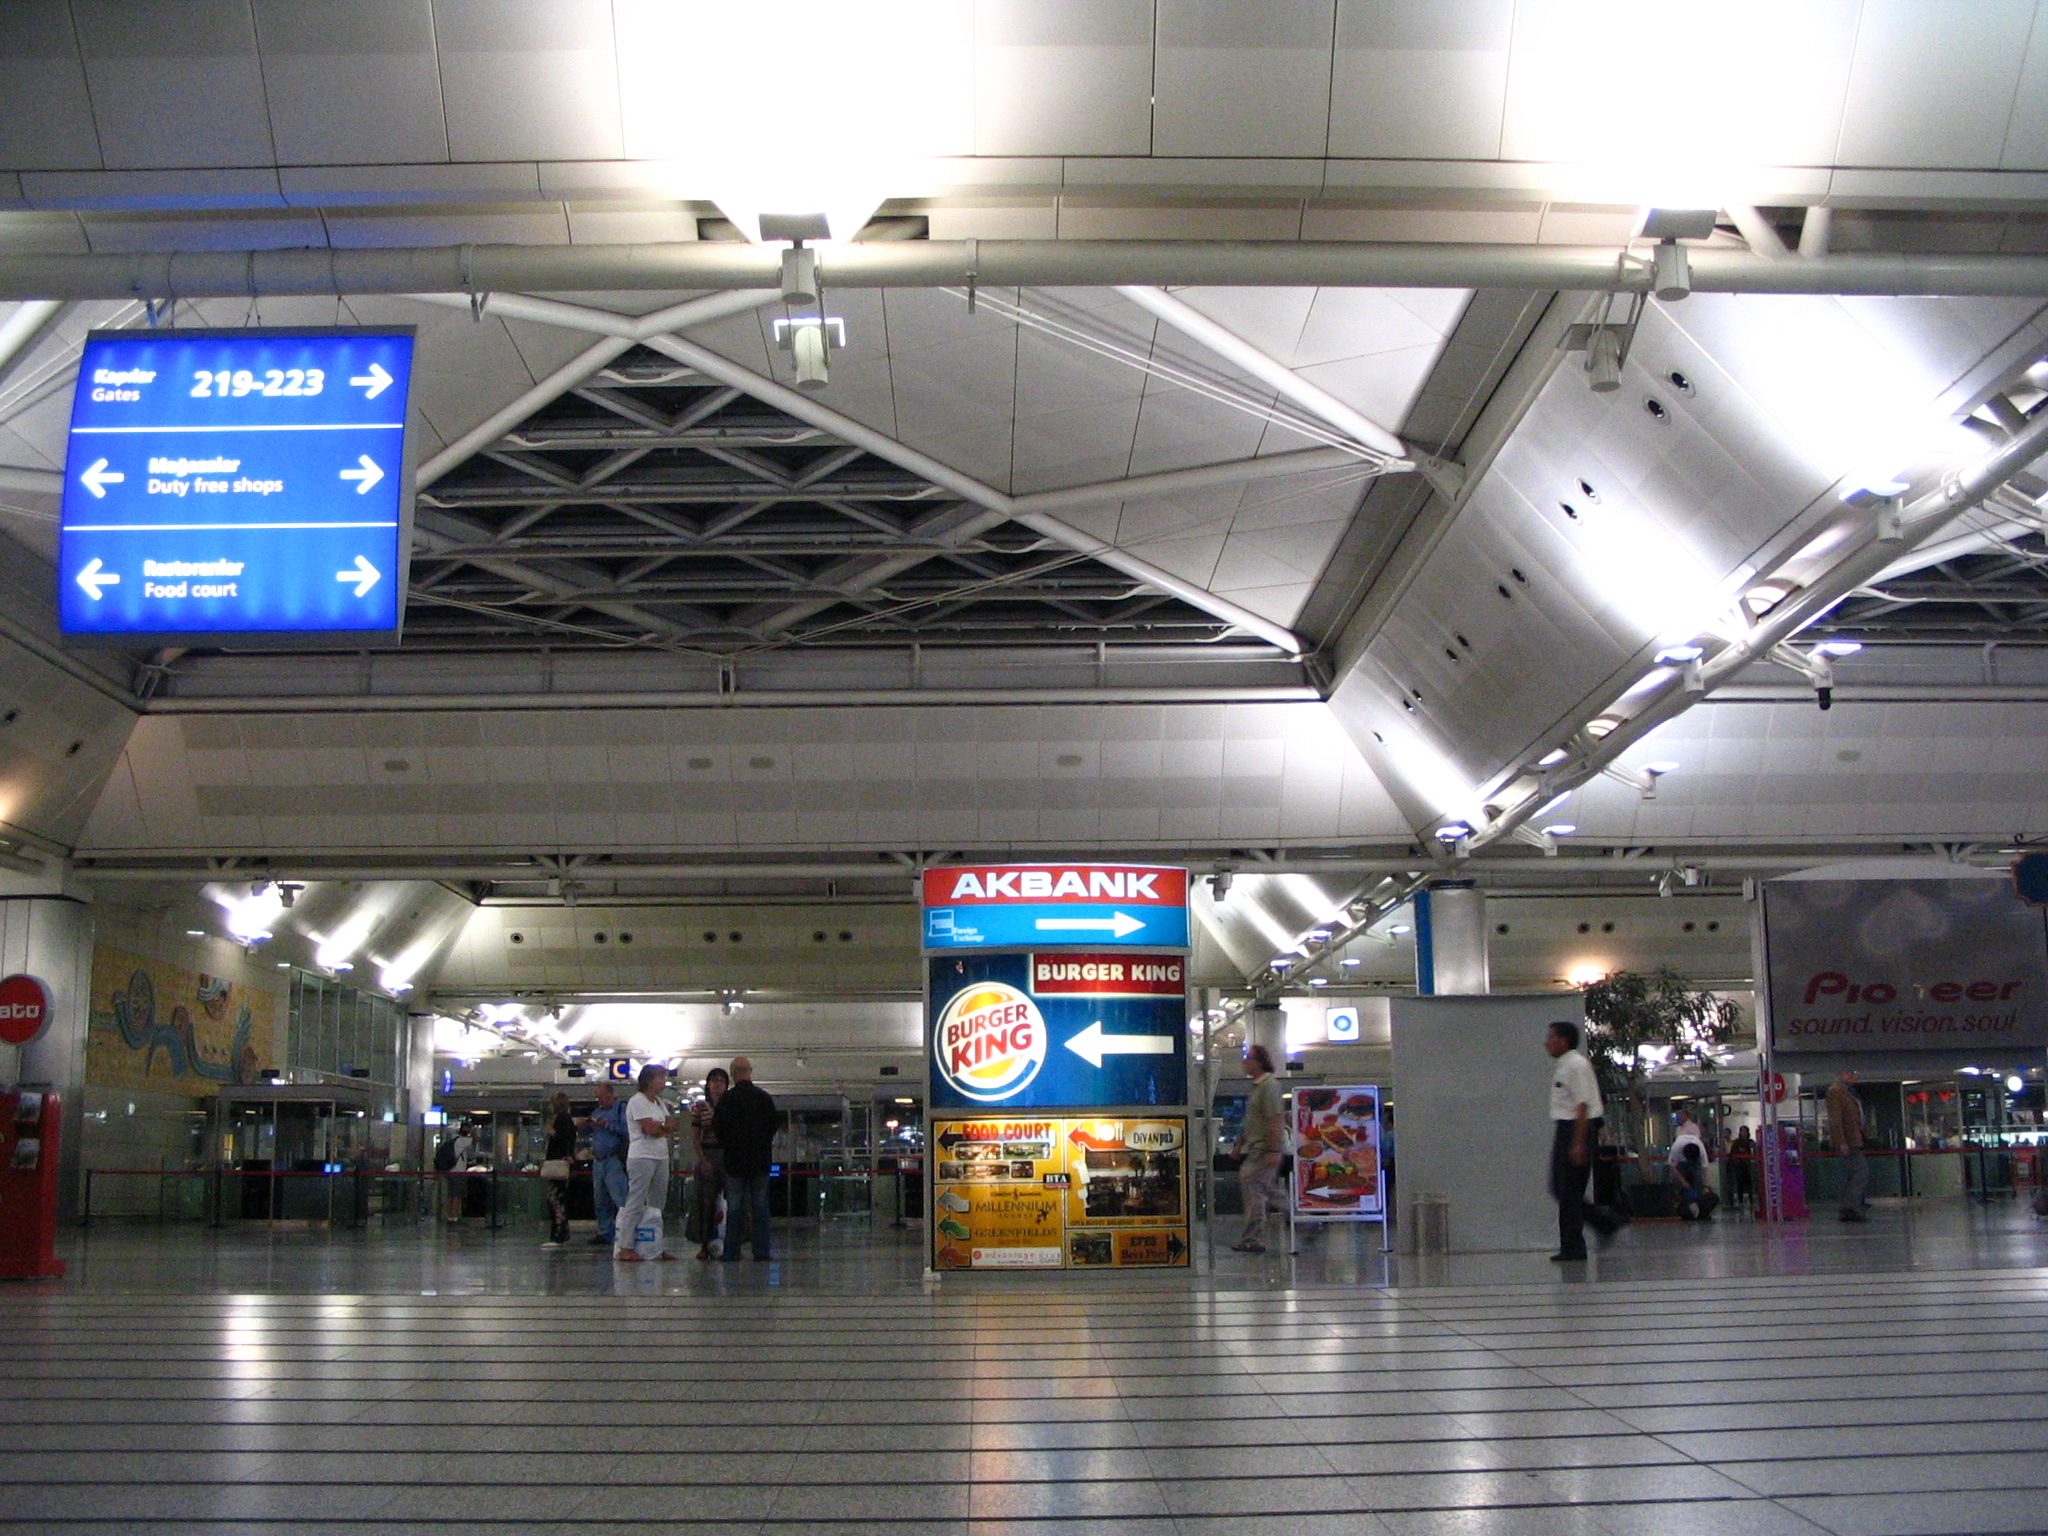
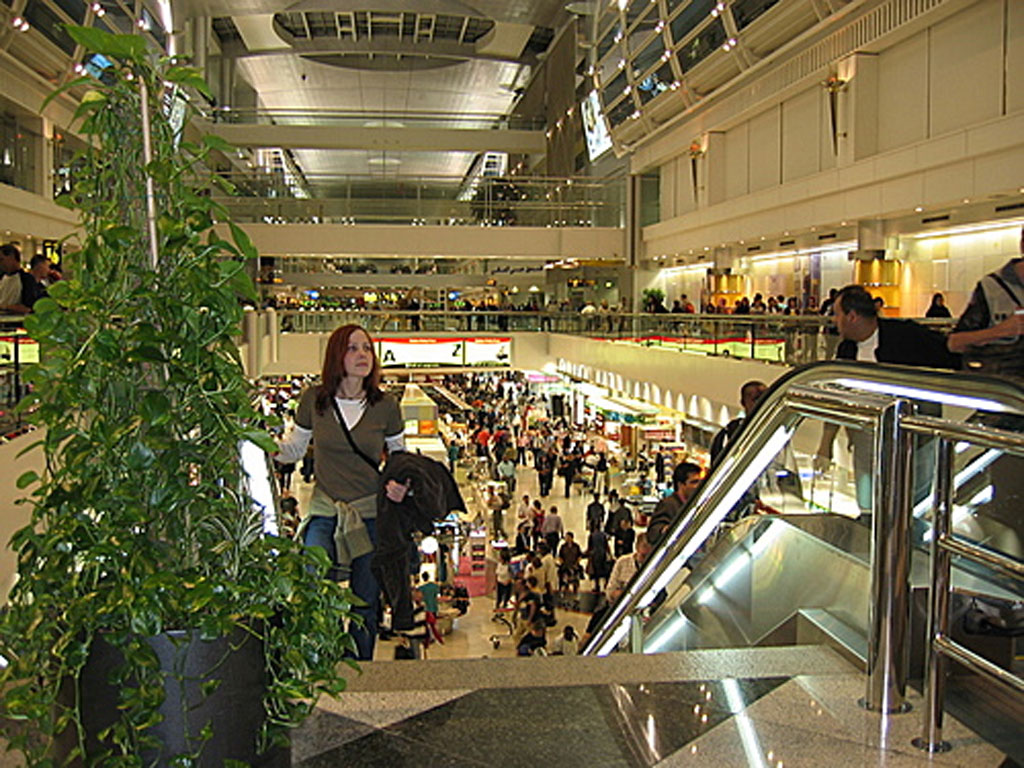
After a quick check of our International travelling passport, so called red passpower we were let to enter the duty free zone full of stores for food, beverages, clothes, parfumes suits cafeterias and everything, tech equipment stores, book stores, turkish ice-cream, duner kebaps and mostly any kind of shops and tings one can think of.
Ataturk Airport Istanbul
Something that catched my attention was that actually the model of how things are ordered and what they sell, the elevators the materials for building in the airport was very much like how things are in westerm country.
I thought it's a bit sad that everybody, everyone is following a modern design and a specific kind of order of things literally followed after the way things are in the western world. This somehow kills partially the uniqueiness of the country's culture and gives it a taste of the west, where the original culture and traditions the country possess somehow stay in the background.
What made me a bad impression on the airport is the too high prices of food and drinks. I just took one coffee (cappucino) and it costed me the solid sum 5 EUR!!
I was even fooled by the Turkish guy as if converted the coffee price from Turkish currency (Liras), when I calculated the price of the coffee was actually about 4 euro.
I've also spotted that in Turkey they're big nationalists. I've been told by Krasi the airport of Istanbul is called Ataturk and it appears this is the biggest airport in all Turkey. I've noticed in the bookstores we went through many many books even in English talking about the greatness of Turkey's first president Ataturk. There is no doubt that Ataturk has done a lot for internationalizing Turkey, it seems in Turkey they consider Ataturk as a national hero, but in my view it is a bit too much, somehow it looked like Ataturk's great respect in Turkey is comparable to the Chineese's love for Mao Dun ….
We had to spend some 4 hours with Krasi before the time for the second fly comes, so we had 4 hours to take a general look over everything offered in stores on the airport to kill some time
I was quite amazed to see so big variety products and goods on the same place, there was basicly everything one needs except furniture offered ont he airport.
The bookstores English books was reallya lot, where I should say it was quite good that about 40% of the books to be sold, were in English (quite odd especially if I take in consideration that most of the Turkish people I know couldn't speak too good English).
The flight to Dubai was scheduled for 16:45 in the afternoon, so 40 minutes earlier I and Krasi went again through the metal scanner again and thanksfully this time we were not searched for guns and bombs by airport police.

The airplane, we flied with was Boeing 777 – really a beatiful flying machine. We were lucky to travel with two other Bulgarians Nikolay and Gergana, who were flying to Chennai India for some kind of personnel training of some company personnel for the company http://Yazaki.com (an international company producing vehicles components) .
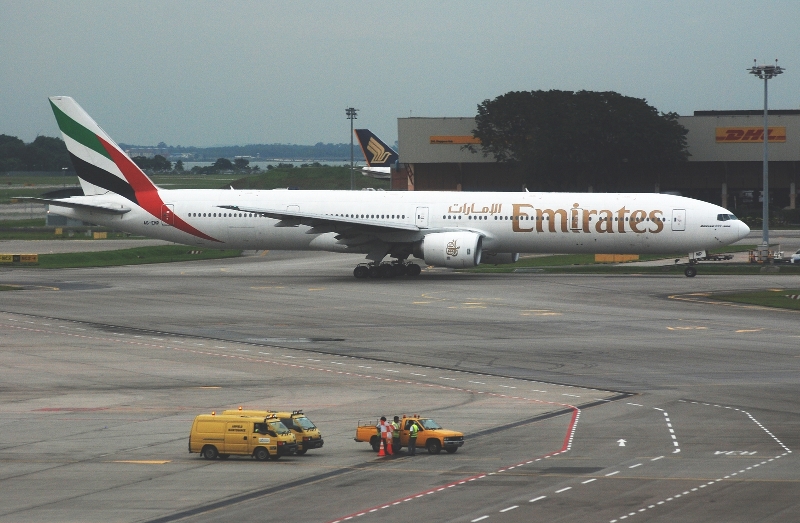
Emirates airlines's organization service and convenience was really incredible! Emirates has done a great, job really. I had a lot of fun in the airplane in the flight, as they had every passenger sit with a touch screen display computer with a joystick similar to the ones with playstation.
< img src="https://www.pc-freak.net/images/emirates_passenger_personal_touchscreen_computer_Boening_777.jpg" alt="Emirates Boeng 777 Passenger personal computer touch screen device" />
A Boeng 777 Passenger seat view , the passenger touch screen device mounted on seats back
The little touch screen computer had a number of capabilities the passenger could watch a movie, get information about Dubai play his favourite old fashioned games like Pong, Asteroids, Galaga like, Checss, Arkanoid and like 10 outhers of classic games I know from my childhood.
Besides that the passenger's flight personal computer was equipped was even capable to make satellite phone calls chargable directly from VISA or Mastercard Debit or Credit card. The telephone was embedded with the joystick, so on the back of the control device joystick one has the satellite phone, the phone had the capability to call passengers who are inside the plane. To call another traveller inside the airplane you just need to have the passenger seat number.
As a computer security hobbyist, I've noticed one major problem with the phone calls in between airplane travelling passengers.
By default each sit's phone was sett upped to automatically answer phone calls from other passengers, Which means that if I'm a malicious abuser I can easily just call random people in the airplane and do social engineering pretending to be the plane Commander, stewardess or any other personal from the plane crew 😉
On the other hand calling random people, by getting advantage of how the system "hole", could easily give you the opportunity to make yourself random friends or share contacts with people from around the world 😉
Another handy thing about the onboard touch screen computer, I've noticed is the possibility to listen music from a list of a huge database with music. Also a huge database like (300+) movies ready to be seen was available, as well as some serials and some popular podcasts as well as the device even supported e-mail check and some basic internet functionalities (which unfortunately had to be used only after payment with a debit or credit card :|).

Emirates / Skywards Passenger personal computer touch screen device
In the middle of the 4 hours and 15 minutes flight, we were handed in a good portions of dinner meals, which obviously was properly selected to be suitable to be easily digestable and vitaminous food. Also alcohol arabian Coca-Cola, Coffe and tea was offered.
Before the meals was handed in by the few stewards in the airplane, each passenger was handed with a (hot) towel, to carefully clear his hand or face!
Many of the Arabs used the towels to wipe their face sweat, where europeans tended to clean up their hands (probably shows something about the each about arabian and european habits and culture?).
Dubai side view from the airplane before the landing was really amazing, I've never seen so much light concentrated on one place never ever in my life, landing went pretty smoothly thanks God, though it felt a bit more risky than the landing done by the Turkish airlines, pilots.
Maybe there is difference in the landing because it was done during night time and probably landings in night time a way difficult task for the pilot.
Just like in Istanbul, after going down from the plane, via the plane step-ladder we were transported to the Airport with Buses (I was told by Krasimir that, the bus transportation is used becuase, it's a way cheaper than using the equipment for "hot tie" to connect the plane with the terminal via "tuble".
Also maybe its difficult in terms of parking the airplane as the airplane has to drive like 1.5, 2km and park this is an astonishing amount of petrol plane fuel 😉
Anyways just to sum-up my first flight with Emirates/Skywards it was more than enjoyable and nice, everything from the plane take off through the overall airplane experience to landing felt like a veery well crafted, organized and stricktly managed process. It felt like verything happening is perfectly tuned, again really nice feeling 😉
Interestingly inside th airplaine they had a stewardesses which were either Malaysian or Indonesian. The reason for tat was probably because Arabs are crazy about chineese and the variations of yellow races as I've heard from Baky (an Egyptian) as well as from some few Egyptian colleagues I had.
After we went down from the bus transporting us to Dubai's terminal arrival terminal 3, which I think is the only terminal dedicated for visitors in Dubai, we couldn't freely anter Dubai, but we were supposed to go through a biometric security measure the airport here implemented few years ago an Eye Scan .
The organization on the airport and the information that we were supposed to have the eye scan in order to enter Anyways after some questioning near few of the airport desks and offices, we found or way to the device place where the eye scans took place.
The eye scan process is quick and not that scary as it sounds, they ask you sit on a chair cover left eye, then cover right eye and open the eye widely to make a picture of the iris, then based on some algorthim for interpreting the data and through a complex IT develoepd system a check is done against a database of well known criminals and if no match is found you're given a seal which lets you in Dubai.
The only concern, I have is once they took your eyescan they have this information stored so basicly they have your biometric data and if the information is stolen or send to third parties you can never know, but that's how it goes you know it's life, if you don't do the eye scan you can't go in.
You don't have the option to just choose if you want to have the eye scan or not … My company boss tried to cheat them and walk through inside Dubai without ahe eye scan as he said he went through the eye scan so man times, but still he was obliged to go through the eye scan in order to be let in the city.
After the eye scan on the airport, we had to line up on a long line with arriving people waiting for being let in Dubai, show the copy of the visa with the eye scan seal to airport police officer. He checks the seal the visa, the international passport and then one is asked to stay in front of another camera snd they take a picture of him, once again a security measure …
This is just crazy, I understand that security is important but the measures implemented today on airports are inhuman and even abusive, not to mention they break any privacy one can have in today's world … I'm even scared to think about how a security check on an airport will look like 20 years from now.
Anyways after all the aforementioend checks we were FINALLY allowed to enter Dubai, what first striked me was the size of the buildings, its the first time in my life I've seen a buildings of this amazing size, just incredible!
Also all the buildings are all in color lights and are flashing like spaceships, probably requirement to make sure no airplane tries to land over some of the buildings at night time 😉
Roland, a part time tech consultant for Cadia Holding and a colleague, took us up from the airport and drove us to the hire apartment in Jumeirah Beach, Rimal 6 – ap. number 53, where we're currently settled.
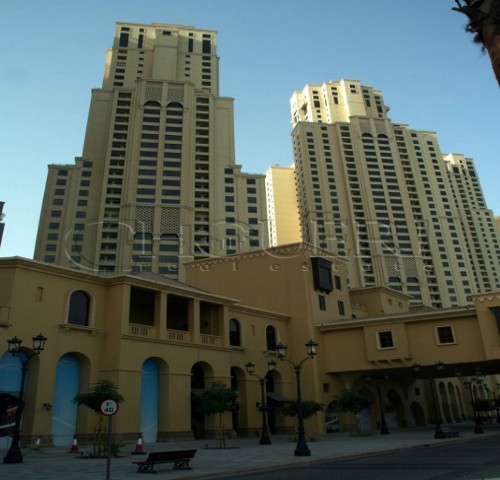
Jumeira Beach Rimal buildings
I'm very thankful Roland was there otherwise if we were supposed o pick up a taxi, they would have charged us at least 80, 90 EUR! for bringing us to the apartment.
The prices of transportation here and in general prices are a killing onse. I guess this is pretty normal especially if you consider the countless amount of money invested in Dubai.
Honestly Dubai looks like a paradise on earth, everything is amazingly well organized, as well the technology involved everywhere is on a perfect and a better level than almost everything, I've seen in Holland, Germany and probably almost every other of the Western Europe countries.
Something strange that took my attention here was that in every big mall or big store, they have a special prayer room, which are suited for pracicing muslims to do they're 5 times daily prayers 😉
Here in Dubai I was shocked to see many of the native arabic ladies to be completely wrapped up inside mostly black dresses, where the man were often dressed in a complete dress without a zipper called thobes as well as a sort of a hat like long veil very similar to our orthodox christian priest monks viels.
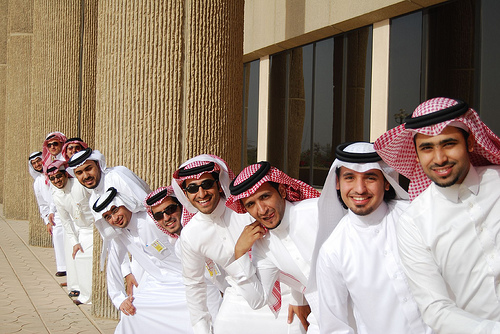 Dubai man with Thobes lined in order smiling
The veil like dresshing the man wears has a ring on top of the head which has some kind of muslim symbolism probably I'm not aware of. An interesting thing, I've found out here is that this veil for the hat has colors, if it's red this means it's Saudi Arabia a white one means usually the man is from Dubai and the nearby regions o something like that.
When we went out of the airport here the temperature difference was killing it was like 35 Celsium degrees at 21:00 o'clock night time!!
I'm actually lucky to come here in Autumn, temperatures on Autumn are acceptable at night it's like 20-25C and in day usually 35-40C.
The private apartment, where we're accommodated is amazing, it's big like a place, it has everything a flat TV, wireless internet, 2 bathrooms, 4 bedrooms etc.
To enter the buillding one needs to use his special ID card which is secured by a bar code, which has to be tagged on a bar code reader on the building entrance door.
Dubai itself seems more international at times, even than Western europe, you can see everything in Both English and Araabic, so you can understand basicly everything. Everyone speaks from the lowest employee to the office workers an acceptable English and thus communication is not a constraint like in Holland, where many people speak English which is too much influenced by German and german lingual structure.
I'm very thankful to God for blessing me to come to this nice place, now I'm laing over a nice coach and blogging.
By so far, I've seen two of the biggest Dubai Malls and some general architecture, all is collosal in size and reall amazingly built. I've heard from people quality of buildings is not that good as everything is being built in too short time and with cheap materials and by Indian labours who earn like 5 dollars a day. I'm not sure though how truthful is this as I think the quality of the apartment, we're accommodated is great.
Each room is equipped with a Clima, so the temperature inside is steady 22- 24C degrees. The body shock when you go out hence is really severe as usually there is like 10 or 15C degrees difference in temmperature.
Climas are, good but they create too much noise at night it's a bit noisy, but maybe with time one can get used to it.
The cars I saw here in Dubai are amazing, all the cards are really really expensive maybe the cheapeast car in Dubai worths no less than 10 000 o 20 000 EUR.
Euro, Dollars and the official UAE currency dirham are accepted everywhere in shopping malls and food stores and this is really nice.
The taxi drivers charge normal prices here, I was out with Jure and we took taxi few times and each time for like 5-7 km distance, the taxi charged approximately 30 AED per drive.
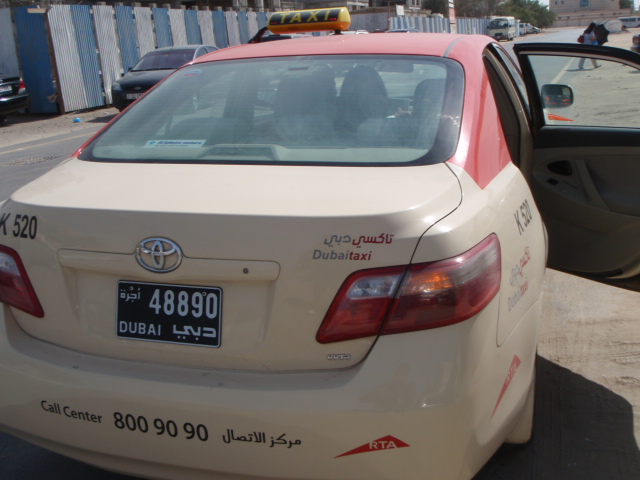
The Taxis are all luxurious cars with a (airconditioners) climas, it seems they have a metro already operating here as well as comperativfe cheap transportation with buses, but I'm not sure if something could be really cheap here 😉
Everywhere I went here I can notice something really beautiful in terms of either mostly modern design with arabic elemnts or technology. The elevators here are really quick. To go to the last stage of the 36 stages building here in Dubai it tooks the elevator no more than 1 minute 😉
The food here in Dubai seems decent, though its not that good like naturally grownned products or a chicken or cow who was rised in a private farm.
Anyways the food here in United Arab Emirates seems to be way better than the food in Holland and Germany, where it is a bit like plastic.
I don't know if its because of the Sun excessive warmth, God's grace to me or what but I should mark, here in Dubai and maybe in rest of UAE one feels warmer than in Western Europe.
People don't smile too much here especially the people who work on the lower levels of job, clear indicator that they don't earn good money.
I like that they don't smile too much as this reminds me in Bulgaria, where you can see sour faces a way more often than a smiled one.
Here people look a bit less soury than in Bulgaria.
I will be in Dubai 6 more days, so I'll have a clearer picture in my head about the place after some few days. Nevertheless from what I've seen so far, I'm really very amazed and very thankful to God to leeting me see all this new interesting things and culture.
I should take the time to find and take a look in the more traditional places here. Pitily globalization is seriously destroing the local people culture here, and you can't feel the real culture besides the arabic kind of dress, the mosques , prayer rooms and some entwisted muslim architecture with the modernistic buildings.
It will be very nice to see some real camels, elephants or some typically arabic kind of things 😉
Summing it up, the overall atmosphere here, the organzation of thingsm the business climate and infrastructure is something we europeans should learn from.