Posts Tagged ‘combination’

iSH, the best free SSH / Telnet client for iOS iPhone, iPad equivallent of MobaXterm and fully functional Alpine Linux emulator

Wednesday, February 8th, 2023

ish-linux-terminal-emulator-for-iphone-ipad-ios-logo-screenshoticon

Since few months I've switched my old BLU r1 HD Phone (a great old low budget phone for its price) to a friend's iPhone 10 ( X ) who gifted it for me. Coming from Android world, everyone who has experience with it is a pain in the ass as some of the Apps, which are into Google's play store does not have the same equivalent into Apple's install Package manager tool AppStore. Some of the crucial tools which I was interested as a freshly new migrated user from Android to iPhone was to have a decent SSH / Telnet client and Terminal, with which I can easily connect to my Linux servers both home and work. 

As Android Phone user, to connect and manage my SSH sessions I used most often some of the most popular Connectbot / SSHDroid / JuiceSSH.
On Android I've usually installed all of these tools but most frequently used Connectbot, which quickly become my favourite SSH client for Android over time.

The reasons why I really loved Connectbot and used it on Android OS in short:

  • It is Completely free
  • Ad-free
  • Open-source (too bad not Free software but still step better)
  • Copy and paste text between Applications
  • Customizable interface (i.e. font size, keyboard layout, SSH auth agent, etc.)
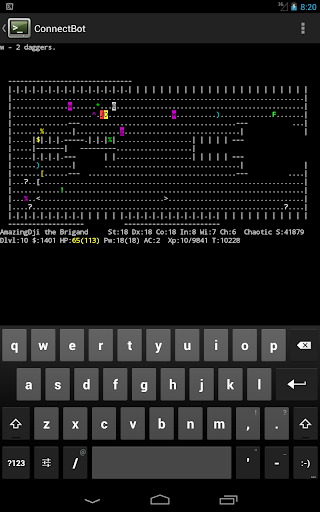

connectbot-android-ssh-remote-connect-client-screenshot

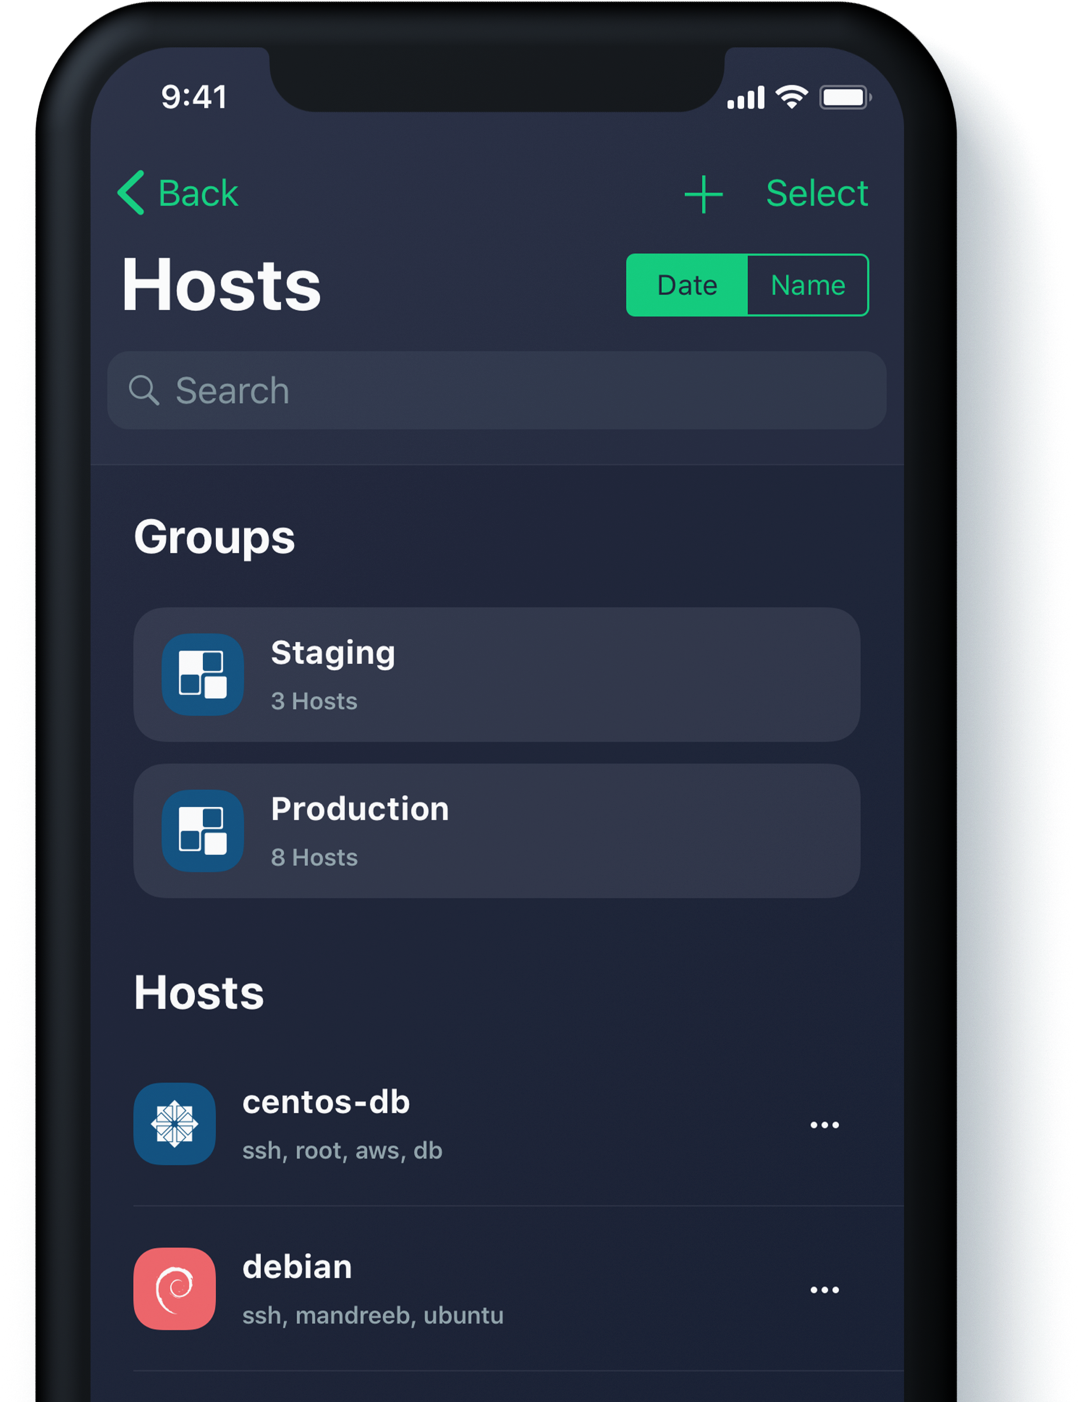
I've seen some people used and preferred Termius but never myself really liked this client, as it was including some Advertisements or for don't remember why reason.
Switching to iOS mobile operating system, of course was quite a shock especially the moment I found out the standard loved SSH Remote Client programs are used are not available or have only a paid version. Thus it took me quite a while of a research and googling until I found some decent stuff.
termius-ssh-telnet-client-ios-screenshot

Tried for a time with Termius as well but again, its Ads and lack of some functionality pissed me off, so I've moved on to Shelly.
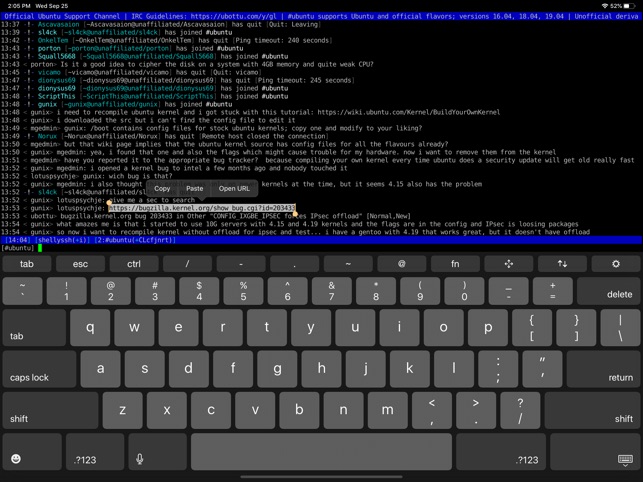
shelly-iphone-ssh-telnet-client-ios-screenshot

Shelly is really not a bad tool but has limitation over the SSH sessions you can add and other limitations, which can only be unlocked with an "Upgrade", to its paid version, thus I decided after few weeks of attempts to make it my remote server management mobile tool for iPhone, I've dropped it off as well.

Then I found the Blink Shell App – Blink Shell is a professional, desktop grade terminal for iOS. As overall the tool is really great and is easy to use but again to have it used in its full power you need the paid version and until you pay for it every now and then you got interruption of your shell for some really annoying ads.
Thus even though I used it for a times this few tools with whom basicly you can do basic remote ssh / telnet session operations eventually,  started looking for a better SSH Client Free alternative for iPhone Users.

Then came a friend at home for a dinner my dear friend Milen (Static) and he show me iOS.
The moment I saw this tool I totally loved it, for its simplicity and its resemblance to a classical TTY Physical old Linux console I used back in the days and its ability to resemble easily any improved functionaltiy through simple screen (multiple session management) command tool or tmux.

Wait, what's iSH ? And why it is the Best SSH / Telnet client to manage your servers remotely on iOS Mobiles (iPhone and IPads) ? 

iSH is a project to get a Linux shell environment running locally on your iOS device, using a usermode x86 emulator.


In other wors iSH is Linux emulator with busybox and a package ports for many of the standard Linux tools you get by simple apt-get / yum or if I have to compare you get via the MobaXterm's advanced apt-cyg (Cygwin packages) tool capabilities.

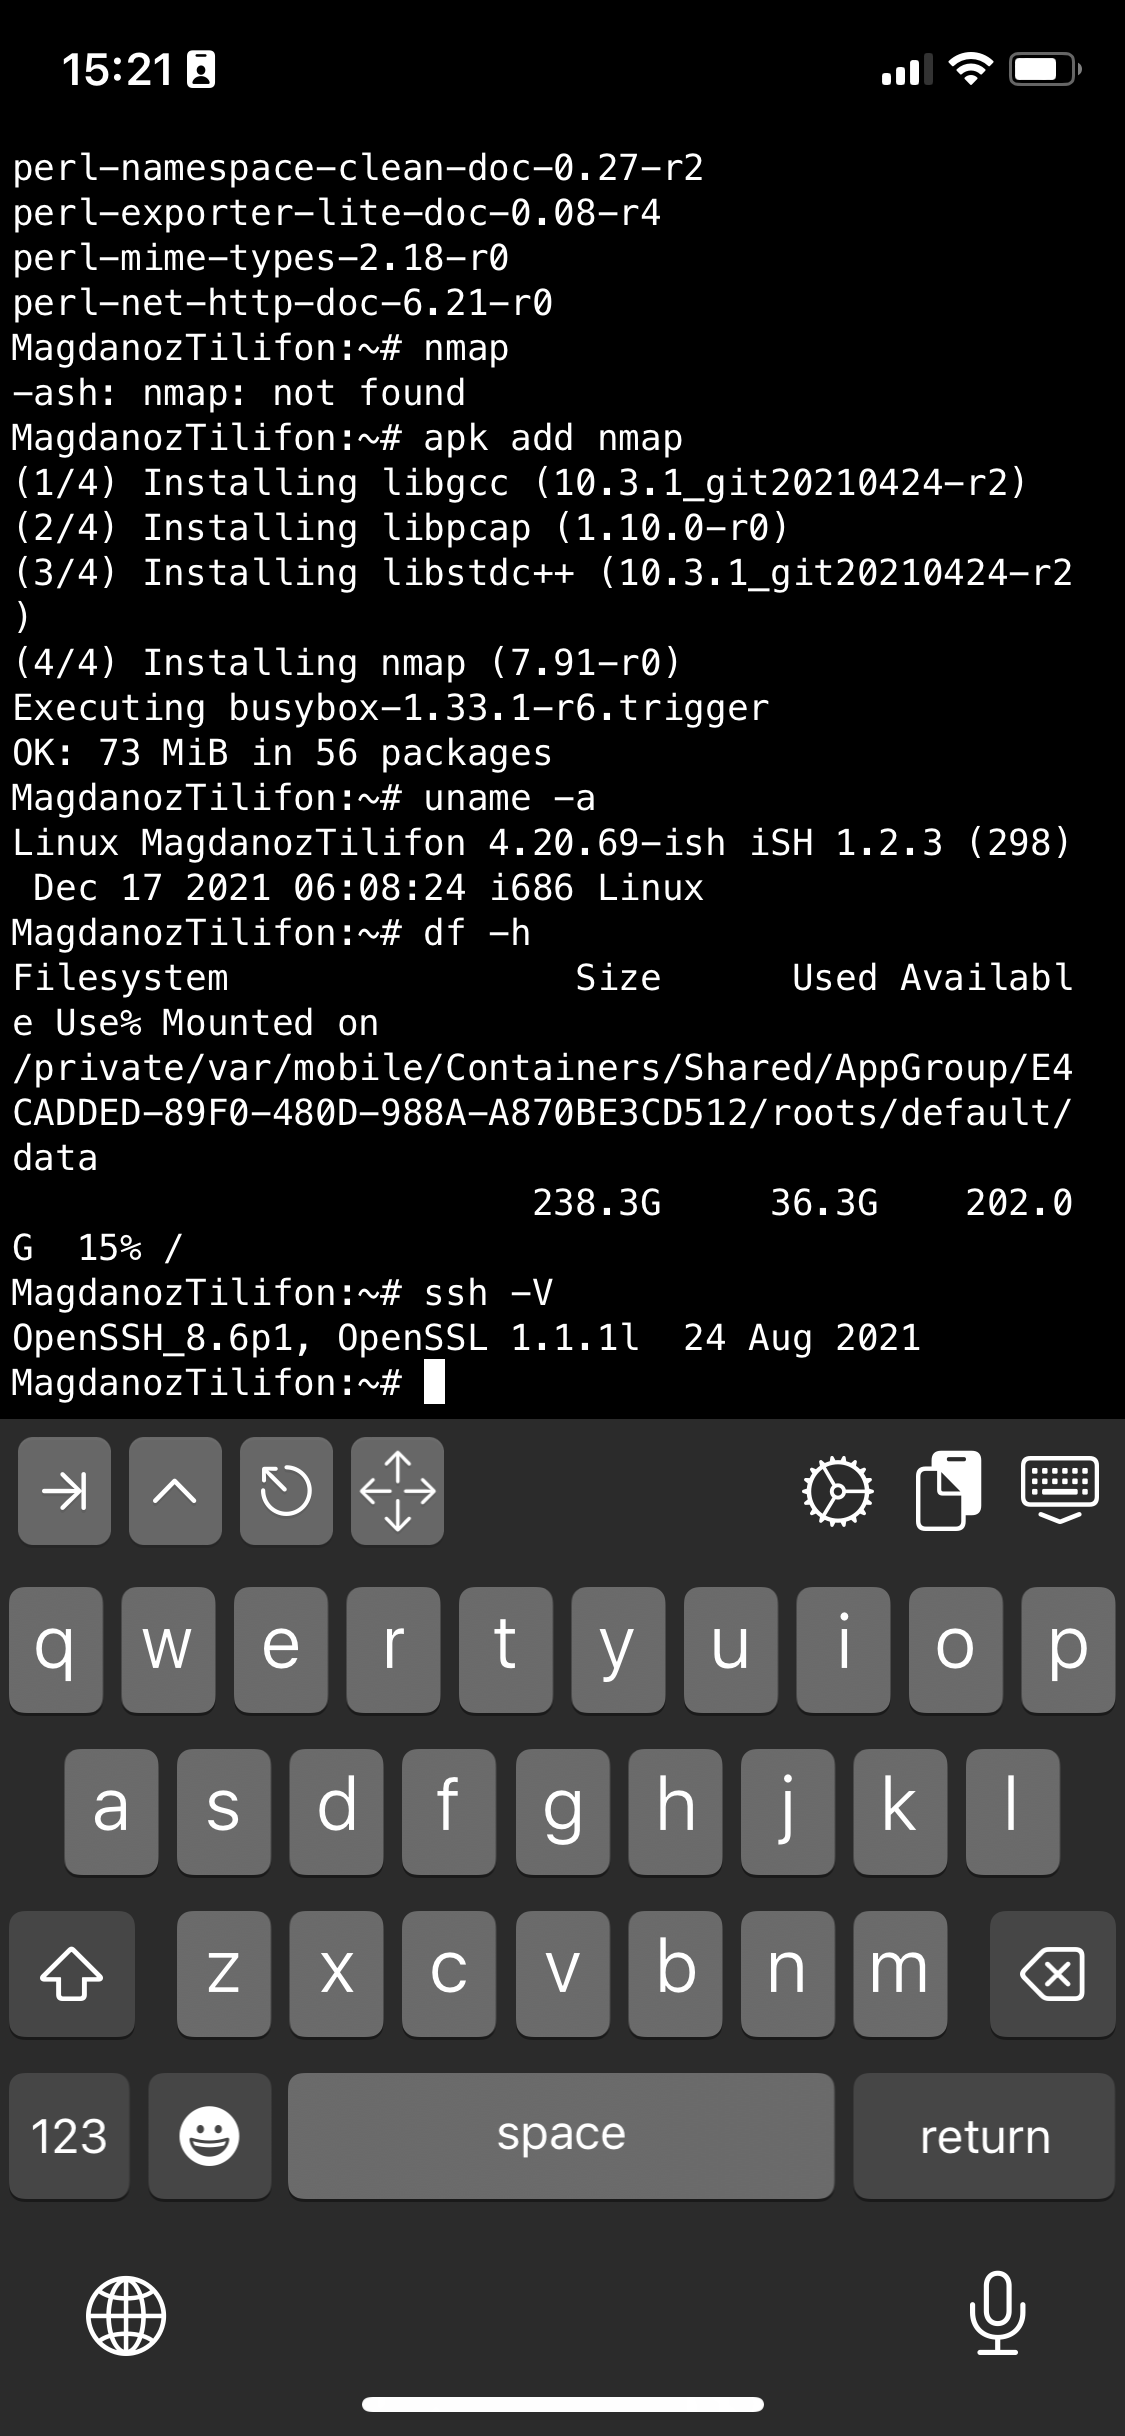
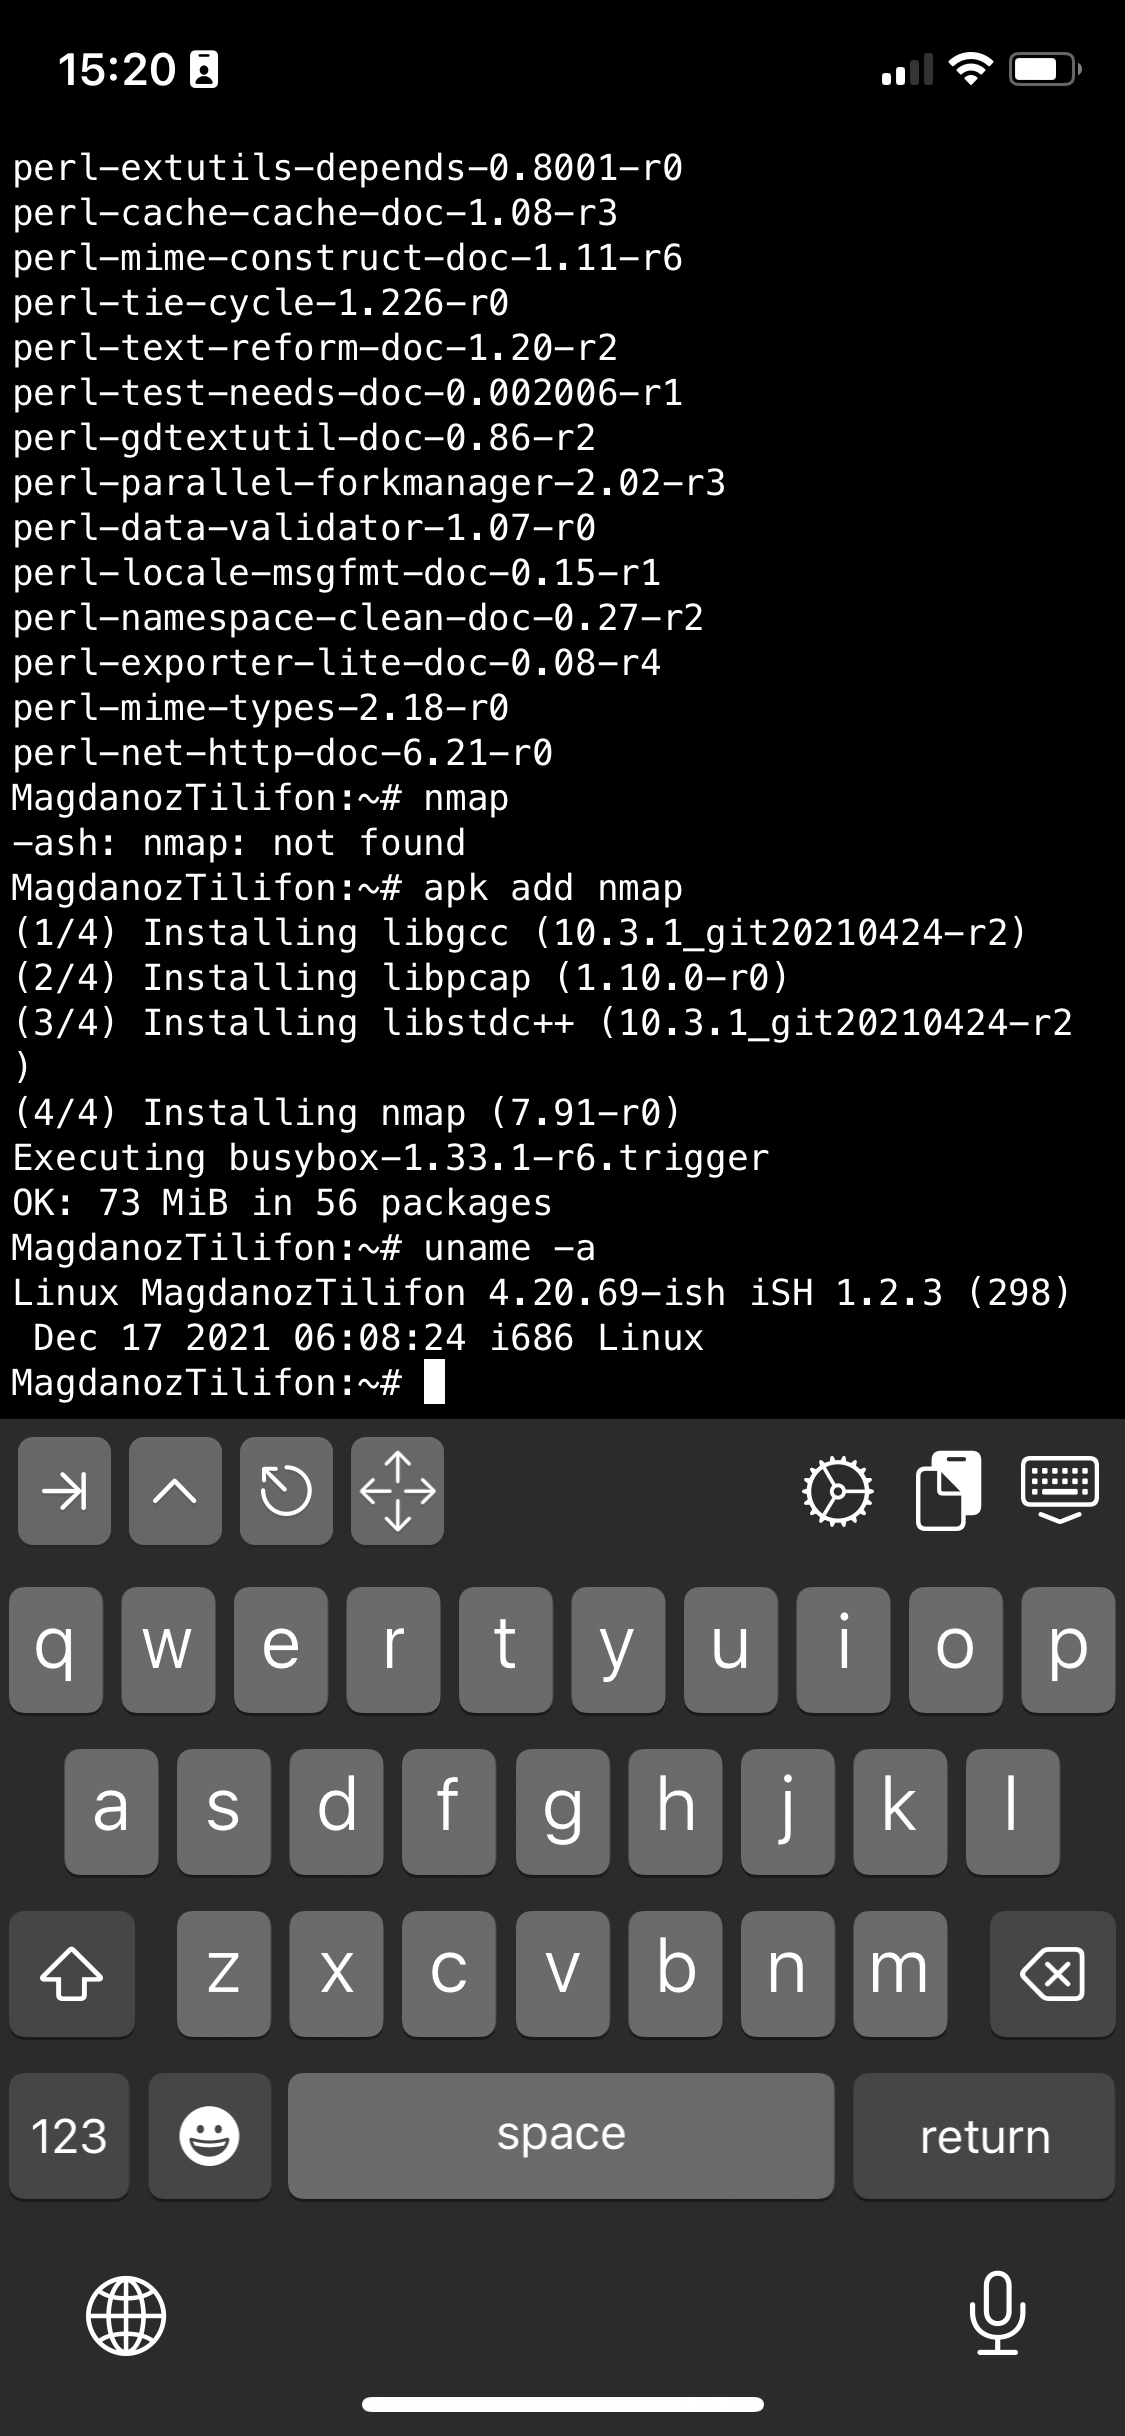
Once iSH is installed it comes with pre-installed apk command line package management tool, with which you can install stuff like openssh-client / screen / tmux / mc (midnight commander) etc. apk, is an apt like command like tool which uses as a basis for installing its packages Alpine Linux repositories.
Alpine Linux is perhaps little known as it is not one of these main stream disributions, such as Fedora or Ubuntu, but for those more concerned about security  Alpine Linux is well known as it is a security-oriented, lightweight Linux distribution based on musl libc and busybox. What makes the Linux even more attractive and perhaps the reason why the iSH developers decided to use it as a basis for their iSH emulator is it being actively developed and its tightened security makes it a good compliment to the quite closed and security focused mobile platform iOS.

iSH is available straight from AppStore , so to use it install it and run it (it is really a great news that iOS does not require iphone to be jailbreak – ed, and it is an ordinary installable software straight from AppStore):
iSH, already comes with some of the standard programs you would expect in a Linux environment such as Vi, wget, zip / unzip, and tar.
However to fit it better for my use over ssh and improve its capabilities, as well as support and use multiple Virtual windows ssh, just like you do on a Linux xterm
run from ish shell: 

# apk add openssh-client
# apk add screen
# apk add vim
# apk add mc
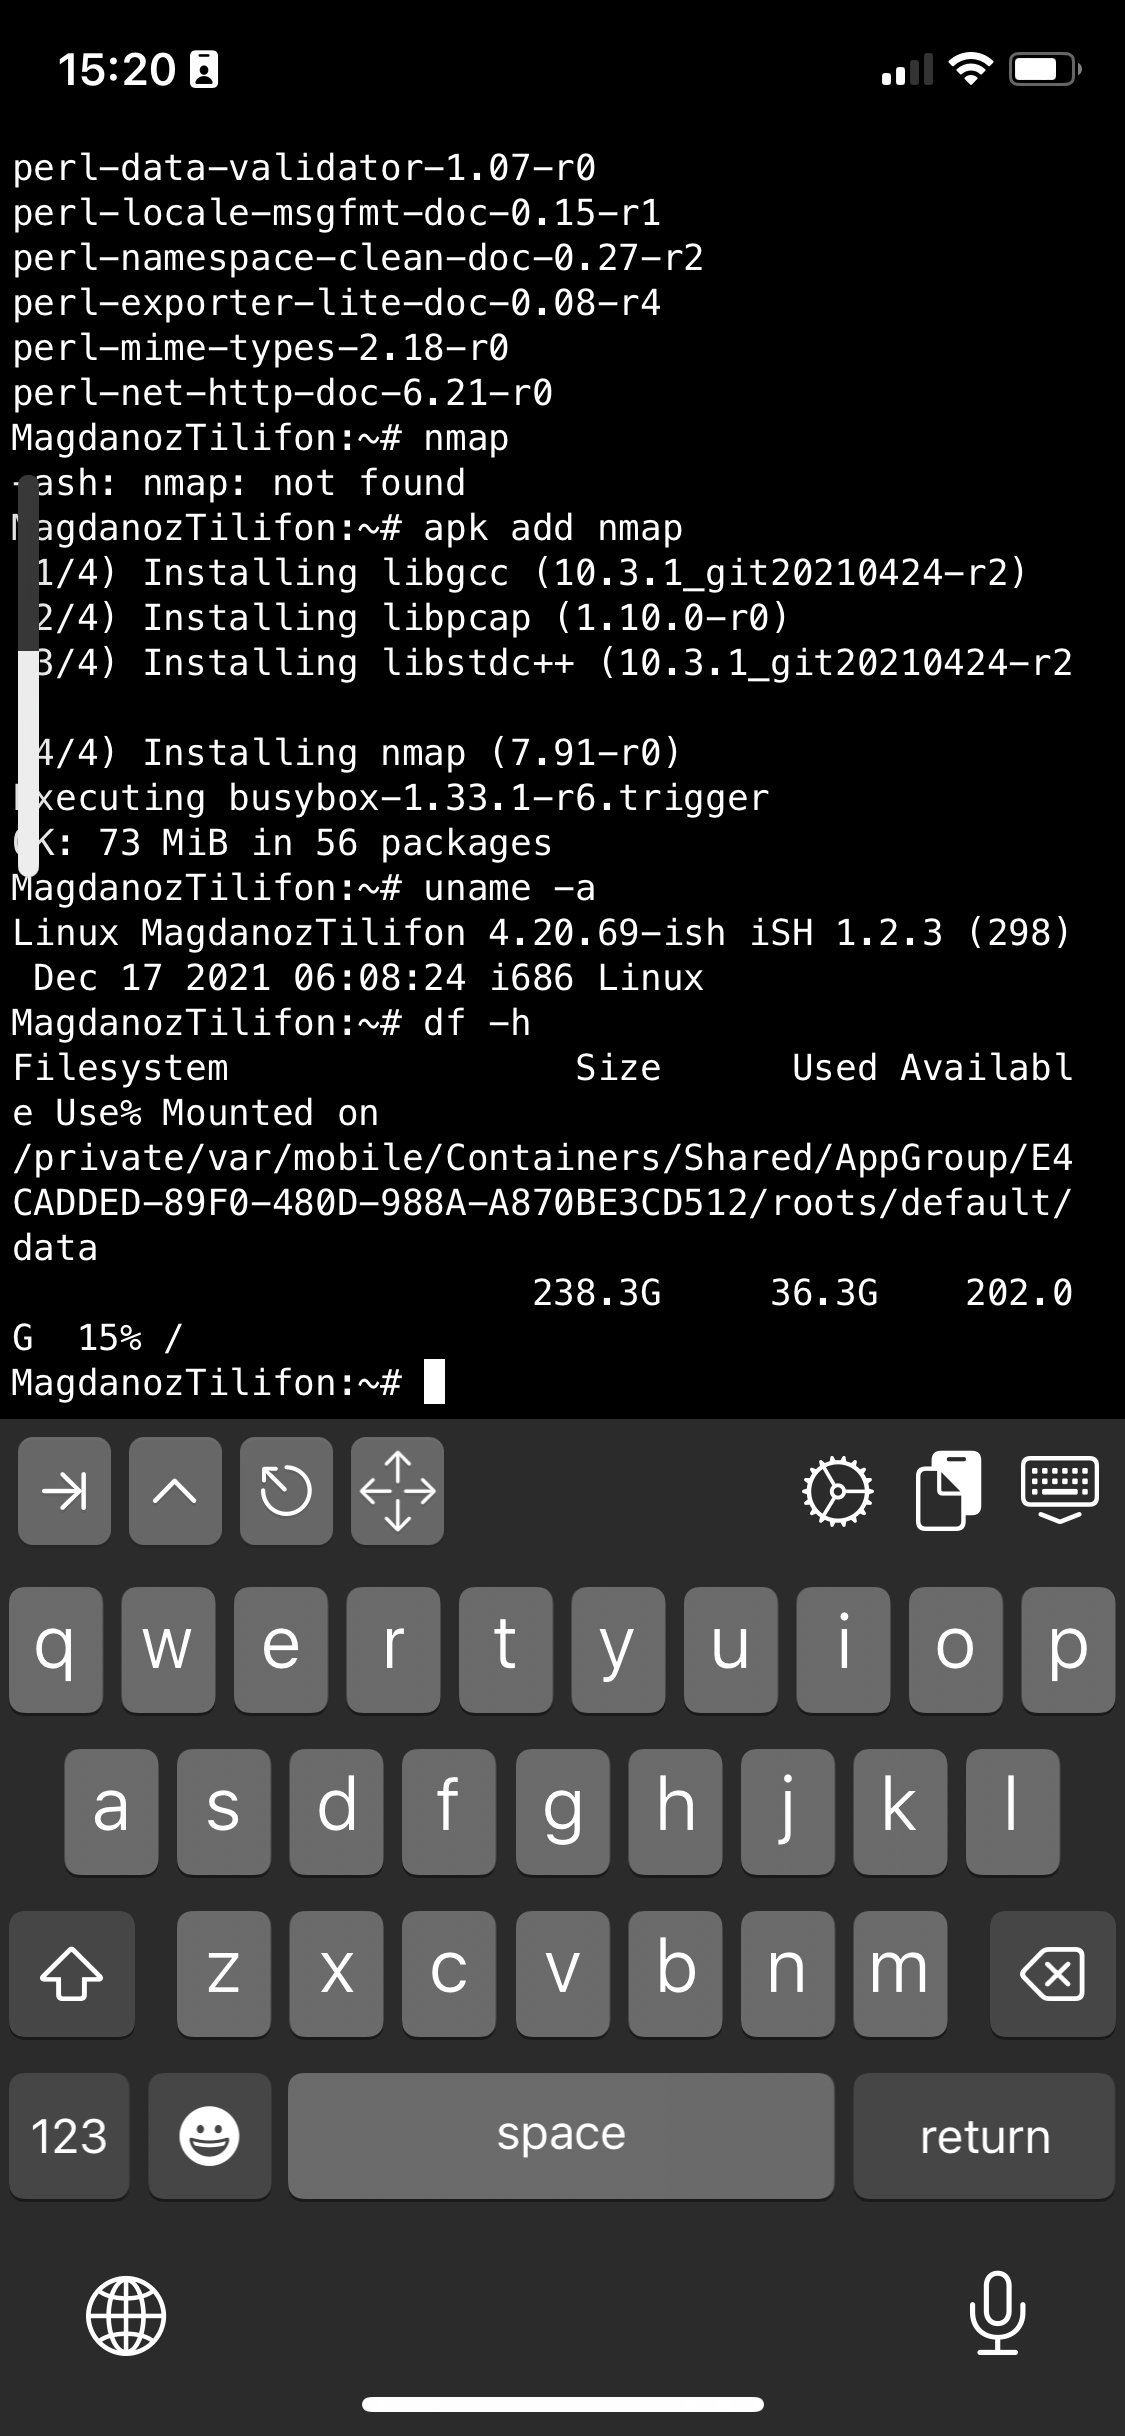

ish-screenshot-terminal3-linux-emulator-iphone-alpine

ish-screenshot-terminal2-linux-emulator-iphone-alpine

ish-screenshot-terminal1-linux-emulator-iphone-alpine-linux

I also like to have a Midnight Commander and VIM Text editor installed out of the box to be able to move around in Ncurses interface through my iPhone.

ish-iphone-keyboard-key-shortcuts

Note that, just like most GNU / Linux distributions, iOS shell will run a normal bash shell.
From there on to use iSH as my default SSH client and enable my just installed GNU screen some Windowing beauty for readability whence I use the screen with multiple ssh logins to different servers as well make the screen Virtual consoles to have ability for scroll back and scroll up of console text to work, I do set up the following .screenrc inside my /home/iPhoneuser

The .screenrc to setup on the iSH to easify your work with screen is as follows:
 

# An alternative hardstatus to display a bar at the bottom listing the
# windownames and highlighting the current windowname in blue. (This is only
# enabled if there is no hardstatus setting for your terminal)
hardstatus on
hardstatus alwayslastline
hardstatus string "%{.bW}%-w%{.rW}%n %t%{-}%+w %=%{..G} %H %{..Y} %m/%d %C%a "
# Enable scrolling fix the annoying screen scrolling problem
termcapinfo xterm* ti@:te@
# Scroll up
bindkey -d "^[[5S" eval copy "stuff 5\025"
bindkey -m "^[[5S" stuff 5\025

# Scroll down
bindkey -d "^[[5T" eval copy "stuff 5\004"
bindkey -m "^[[5T" stuff 5\004

# Scroll up more
bindkey -d "^[[25S" eval copy "stuff \025"
bindkey -m "^[[25S" stuff \025

# Scroll down more
bindkey -d "^[[25T" eval copy "stuff \004"
bindkey -m "^[[25T" stuff \004

You can download the same .screenrc file from here straight with wget from the console:

# wget https://www.pc-freak.net/files/.screenrc


Run GNU screen manager


 # screen

You will end up with a screen session, to open a new session for Virtual Terminal use virtual keyboard from ISH and Press

CTRL + A + C

To open other Virtual Windows inside screen just press CTRL + A + C as many times as you need it, each session will appear ina small window on the down corner as you can see in screenshot
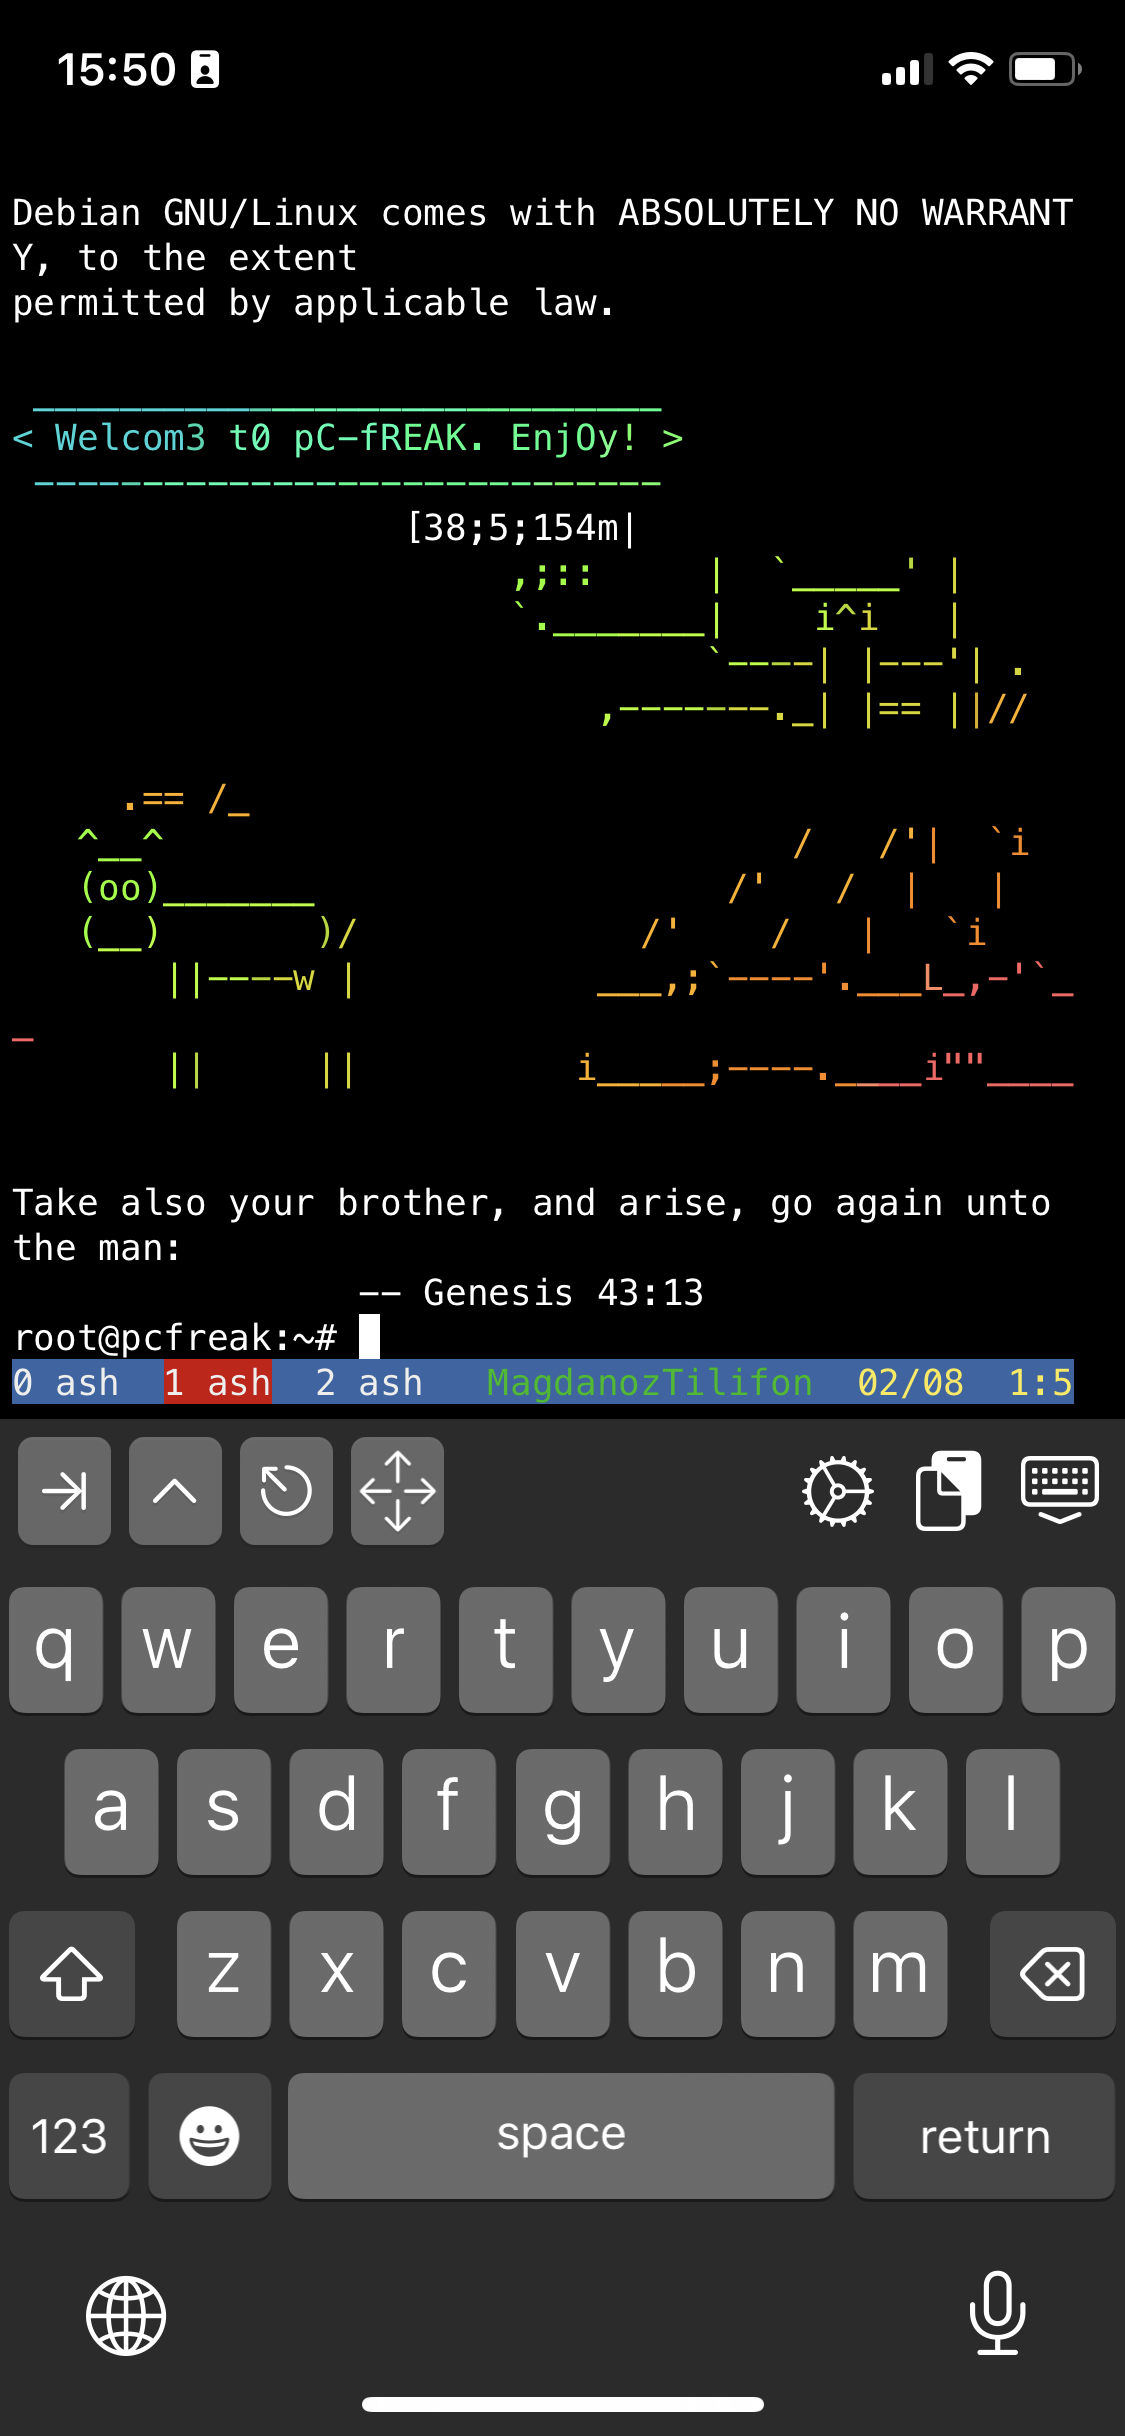
ish-terminal-with-screen-multiple-virtual-terminals-screenshot-iphone-ios

To move across the Screen unnamed 3 Virtual Windows 0 ash 1 ash and 2 ash use the Virtual keyboard

for next WIndow use key combination:
 

CTRL + A + N (where + is just to indicate you have to press them once after another and not actually press the + 🙂 )


For Previous Window use:

CTRL + A + P

Or use CTRL + A and type 

:number 3 (where number is the number of window)

The available iSH commands without adding any further packages which are part of the busybox install are as follows:

Available /bin/ directory commands:

arch  ash  base64  bbconfig  busybox  cat  chgrp  chmod  chown  conspy  cp  date  dd  df  dmesg  dnsdomainname  dumpkmap  echo  ed  egrep  false  fatattr  fdflush  fgrep  fsync  getopt  grep  gunzip  gzip  hostname  ionice  iostat  ipcalc  kbd_mode  kill  link  linux32  linux64  ln  login  ls  lzop  makemime  mkdir  mknod  mktemp  more  mount  mountpoint  mpstat  mv  netstat  nice  pidof  ping  ping6  pipe_progress  printenv  ps  pwd  reformime  rev  rm  rmdir  run-parts  sed  setpriv  setserial  sh  sleep  stty  su  sync  tar  touch  true  umount  uname  usleep  watch  zcat  


Available /usr/bin/ commands:    

awk  basename  beep  blkdiscard  bunzip2  bzcat  bzip2  cal  chvt  cksum  clear  cmp  comm  cpio  crontab  cryptpw  cut  dc  deallocvt  diff  dirname  dos2unix  du  dumpleases  eject  env  expand  expr  factor  fallocate  find  flock  fold  free  fuser  getconf  getent  groups  hd  head  hexdump  hostid  iconv  id  install  ipcrm  ipcs  killall  ldd  less  logger  lsof  lsusb  lzcat  lzma  lzopcat  md5sum  mesg  microcom  mkfifo  mkpasswd  nc  nl  nmeter  nohup  nproc  nsenter  nslookup  od  passwd  paste  patch  pgrep  pkill  pmap  printf  pscan  pstree  pwdx  readlink  realpath  renice  reset  resize  scanelf  seq  setkeycodes  setsid  sha1sum  sha256sum  sha3sum  sha512sum  showkey  shred  shuf  smemcap  sort  split  ssl_client  strings  sum  tac  tail  tee  test  time  timeout  top  tr  traceroute  traceroute6  truncate  tty  ttysize  udhcpc6  unexpand  uniq  unix2dos  unlink  unlzma  unlzop  unshare  unxz  unzip  uptime  uudecode  uuencode  vi  vlock  volname  wc  wget  which  whoami  whois  xargs  xxd  xzcat  yes  


If you're a maniac developer you can even use iSH, to do some programs development with vim with Python / Perl or PHP as these are available from the Alpine repositories and installable via a simple apk add packagename for security experts nmap and some security tools are also available but unfortunately not everything is still working as this project is in active development and iOS has some security limitations if OS is not ROOTED 🙂

Hence some of the packages you can install via apk manager will be failing actually.
There is a list of What works and what doesn't still on iSH on the project github wiki check it out here.

There is much more funny stuff you can do with it, and actually my quick research on how people use iSH on their phones lead me to some Videos talking about iOS and Ethical hacking etc, but I'll stop here as I dont have the time to dig deeper to it. 
If you know or have some good use of iSH or some other goody you are using as a hack please share in comments.

Enjoy ! 🙂

How to improve Linux kernel security with GrSecurity / Maximum Linux kernel security with GrSecurity

Tuesday, May 3rd, 2011

In short I’ll explain here what is Grsecurity http://www.grsecurity.net/ for all those who have not used it yet and what kind of capabilities concerning enhanced kernel security it has.

Grsecurity is a combination of patches for the Linux kernel accenting at the improving kernel security.

The typical application of GrSecurity is in the field of Linux systems which are administered through SSH/Shell, e.g. (remote hosts), though you can also configure grsecurity on a normal Linux desktop system if you want a super secured Linux desktop ;).

GrSecurity is used heavily to protect server system which require a multiple users to have access to the shell.

On systems where multiple user access is required it’s a well known fact that (malicious users, crackers or dumb script kiddies) get administrator (root) privileges with a some just poped in 0 day root kernel exploit.
If you’re an administrator of a system (let’s say a web hosting) server with multiple users having access to the shell it’s also common that exploits aiming at hanging in certain daemon service is executed by some of the users.
In other occasions you have users which are trying to DoS the server with some 0 day Denial of Service exploit.
In all this cases GrSecurity having a kernel with grsecurity is priceless.

Installing grsecurity patched kernel is an easy task for Debian and Ubuntu and is explained in one of my previous articles.
This article aims to explain in short some configuration options for a GrSecurity tightened kernel, when one have to compile a new kernel from source.

I would skip the details on how to compile the kernel and simply show you some picture screens with GrSecurity configuration options which are working well and needs to be set-up before a make command is issued to compile the new kernel.

After preparing the kernel source for compilation and issuing:

linux:/usr/src/kernel-source$ make menuconfig

You will have to select options like the ones you see in the pictures below:

[nggallery id=”8″]

After completing and saving your kernel config file, continue as usual with an ordinary kernel compilation, e.g.:

linux:/usr/src/kernel-source$ make
linux:/usr/src/kernel-source$ make modules
linux:/usr/src/kernel-source$ su root
linux:/usr/src/kernel-source# make modules_install
linux:/usr/src/kernel-source# make install
linux:/usr/src/kernel-source# mkinitrd -o initrd.img-2.6.xx 2.6.xx

Also make sure the grub is properly configured to load the newly compiled and installed kernel.

After a system reboot, if all is fine you should be able to boot up the grsecurity tightened newly compiled kernel, but be careful and make sure you have a backup solution before you reboot, don’t blame me if your new grsecurity patched kernel fails to boot! You’re on your own boy 😉
This article is written thanks to based originally on his article in Bulgarian. If you’re a Bulgarian you might also checkout static’s blog

How to deb upgrade PHP 5.3.3-7 / MySQL Server 5.1 to PHP 5.4.37 MySQL 5.5 Server on Debian 6.0 / 7.0 Squeeze / Wheezy GNU / Linux

Thursday, February 12th, 2015

how-to-deb-upgrade-mysql-server-5.1-to-mysql-5.5-php-5.3-to-php-5.4-5.5-upgrade-howto-on-old-stable-debian-squeeze-wheezy

I've been still running Debian Squeeze 6.0 GNU / Linux on few of the Linux / Apache / MySQL servers I'm administrating and those servers are running few Wordperss / Joomla websites which lately face severe MySQL performance issues. I tried to optimize using various mysql performance optimization scripts such as mysql-tuner.pl, Tuning-primer.sh and Percona Toolkit – a collection of advanced command-line tools for system administrators and tech / support staff to perform a variety of MySQL and system tasks that are too difficult or complex to perform manually. Though with above tools and some my.cnf tunizations I managed to achieve positive performance improvement results with above optimizations, still I didn't like how MyQSL served queries and since the SQL server is already about 5 years old (running version 5.1) and the PHP on sever is still at 5.3 branch, I was advised by my dear colleague Anatoliy to try version update as a mean to improve SQLserver performance. I took seriously the suggestion to try upgrade as a mean to resolve performance issues in this article I will explain in short what I had to do to make MySQL upgrade a success

Of course to try keep deb installed software versions as fresh as possible possible deb packagse, I'm already using Debian Back Ports (for those who hear it a first time Debian Backports is a special repository for Stable versioned Debian Desktop and Servers  – supporting stable releases of Debian Linux) which allows you to keep install packages versions less outdated (than default installable software which usually are way behind latest stable package versions with 2-5 years).

If you happen to administer Stable Debian servers and you never used BackPorts I warmly recommend it as it often includes security patches of packages part of Debian stable releases that reached End Of Support (EOS) and already too old even for security updates to be issued by respective Debian Long Term Suport (LTS) repositories.

If you're like me and still in situation to manage remotely Debian 6.0 Squeeze and its the first time you hear about BackPorts and Debian LTShttps://wiki.debian.org/LTS/ to start using those two add to your /etc/apt/sources.list below 3 lines

Open with vim editor and press shift+G to go to last line of file and then press I to enter INSERT mode, once you're done to save, press (ESC) then press : and type x! in short key combination for exit and save setting in vim is 
 

Esc + :x! 


debian-server:~# vim /etc/apt/sources.list
deb http://http.debian.net/debian squeeze-lts main contrib non-free
deb-src http://http.debian.net/debian squeeze-lts main contrib non-free
deb http://http.debian.net/debian-backports squeeze-backports main

If you haven't been added a security updates line in /etc/apt/sources.list make sure you add also:


deb http://security.debian.org/ squeeze/updates main contrib non-free
deb-src http://security.debian.org/ squeeze/updates main contrib non-free


Then to apply latest security updates and packages from LTS / Backports repository run the usual:


debian-server:~# apt-get update && apt-get –yes upgrade
….

If you need to search a package or install something from just added backports repository use:


debian-server:~# apt-cache -t squeeze-backports search "mysql-server"
auth2db – Powerful and eye-candy IDS logger, log viewer and alert generator
torrentflux – web based, feature-rich BitTorrent download manager
cacti – Frontend to rrdtool for monitoring systems and services
mysql-server-5.1 – MySQL database server binaries and system database setup
mysql-server-core-5.1 – MySQL database server binaries
mysql-server – MySQL database server (metapackage depending on the latest version)


To install specific packages only with all their dependencies from Backports while keeping rest of packages from Debian Stable:


debian-server:~# apt-get install -t squeeze-backports "package_name"

In same way you can also search or install specific packages from LTS repo:


debian-server:~# apt-get search -t squeeze-lts "package_name"

debian-server:~# apt-get install -t squeeze-lts "package_name"

Latest mysql available from Debian BackPorts and LTS is still quite old 5.1.73-1+deb6u1 therefore I made an extensive research online on how can I easily update MySQL 5.1 to MySQL 5.5 / 5.6 on Debian Stable Linux.
 

Luckily there were already DotDeb deb repositories for Debian LAMP (Linux / Apache  / MySQL / PHP / Nginx ) running servers prepared in order to keep the essential Webserver services up2date even long after distro official support is over. I learned about existence of this repo thanks to a Ryan Tate's post who updates his LAMP stack on TurnKey Linux which by the way is based on slightly modified official stable Debian Linux releases packages

To start using DotDeb repos add in /etc/apt/sources.list (depending whereh you're on Squeeze or Wheeze Debian):


deb http://packages.dotdeb.org squeeze all
deb-src http://packages.dotdeb.org squeeze all

or for Debian Wheezy add repos:


deb http://packages.dotdeb.org wheezy all
deb-src http://packages.dotdeb.org wheezy all


I was updating my DebianLatest MySQL / PHP / Apache release to Latest ones on (6.0.4) Squeeze so added above squeeze repos:

Before refreshing list of package repositories, to authenticate repos issue:


debian-server:~# wget -q http://www.dotdeb.org/dotdeb.gpg
debian-server:~# apt-key add dotdeb.gpg

Once again to update my packages from newly added DodDeb repository


debian-server:~# apt-get update

Before running the SQL upgrade to insure myself, I dumped all databases with:


debian-server:~# mysqldump -u root -p -A > /root/dump.sql

Finally I was brave enough to run apt-get dist-upgrade to update with latest LAMP packages


debian-server:~# apt-get dist-upgrade
Reading package lists… Done
Building dependency tree
Reading state information… Done
Calculating upgrade… Done
The following packages will be REMOVED:
  mysql-client-5.1 mysql-server mysql-server-5.1
The following NEW packages will be installed:
  libaio1 libmysqlclient18 mysql-client-5.5 mysql-client-core-5.5 python-chardet python-debian
The following packages will be upgraded:
  curl krb5-multidev libapache2-mod-php5 libc-bin libc-dev-bin libc6 libc6-dev libc6-i386 libcurl3 libcurl3-gnutls libcurl4-openssl-dev libevent-1.4-2
  libgssapi-krb5-2 libgssrpc4 libjasper1 libk5crypto3 libkadm5clnt-mit7 libkadm5srv-mit7 libkdb5-4 libkrb5-3 libkrb5-dev libkrb53 libkrb5support0 libmysqlclient-dev
  libxml2 libxml2-dev locales mysql-client mysql-common ntp ntpdate php-pear php5 php5-cgi php5-cli php5-common php5-curl php5-dev php5-gd php5-imagick php5-mcrypt
  php5-mysql php5-odbc php5-recode php5-sybase php5-xmlrpc php5-xsl python-reportbug reportbug unzip

50 upgraded, 6 newly installed, 3 to remove and 0 not upgraded.
Need to get 51.7 MB of archives.
After this operation, 1,926 kB of additional disk space will be used.
Do you want to continue [Y/n]? Y

As you see from above output above command updates Apache webservers / PHP and PHP related modules, however it doesn't update MySQL installed version, to update also MySQL server 5.1 to MySQL server 5.5


debian-server:~#  apt-get install –yes mysql-server mysql-server-5.5

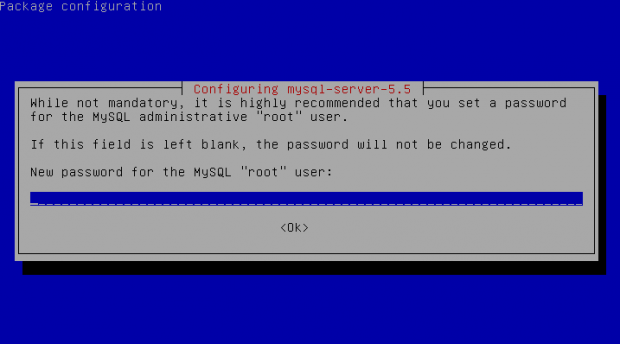
You will be prompted with the usual Debian ncurses text blue interface to set a root password to mysql server, just set it the same as it used to be on old upgraded MySQL 5.1 server.

Well now see whether mysql has properly restarted with ps auxwwf


debian-server:~#  ps axuwwf|grep -i sql
root     22971  0.0  0.0 112360   884 pts/11   S+   15:50   0:00  |                   \_ grep -i sql
root     19436  0.0  0.0 115464  1556 pts/1    S    12:53   0:00 /bin/sh /usr/bin/mysqld_safe
mysql    19837  4.0  2.3 728192 194552 pts/1   Sl   12:53   7:12  \_ /usr/sbin/mysqld –basedir=/usr –datadir=/var/lib/mysql –plugin-dir=/usr/lib/mysql/plugin –user=mysql –pid-file=/var/run/mysqld/mysqld.pid –socket=/var/run/mysqld/mysqld.sock –port=3306
root     19838  0.0  0.0 110112   700 pts/1    S    12:53   0:00  \_ logger -t mysqld -p daemon.error

In my case it was running, however if it fails to run try to debug what is going wrong on initialization by manually executing init script /etc/init.d/mysql stop; /etc/init.d/mysql start and look for errors. You can also manually try to run mysqld_safe from console if it is not running run:


debian-server:~# /usr/bin/mysqld_safe &

This should give you a good hint on why it is failing to run
 

One more thing left is to check whether php modules load correctly to do so issue:


debian-server:~# php -v
Failed loading /usr/lib/php5/20090626/xcache.so:  /usr/lib/php5/20090626/xcache.so: cannot open shared object file: No such file or directory

Failed loading /usr/lib/php5/20090626/xdebug.so:  /usr/lib/php5/20090626/xdebug.so: cannot open shared object file: No such file or directory


You will likely get an exception (error) like above.
To solve the error, reinstall xcache and xcache-debug debs


debian-server:~# apt-get purge php5-xcache php5-xdebug

Now PHP + MySQL + Apache environment should be running much smootly.

debian-squeeze-wheeze-update-install-mysql-sevver5.55-620x344-howto

Upgrading the MySQL server / PHP library to MySQL server 5.6 / PHP 5.5 on Wheeze Linux is done in very much analogous ways all you have to do is change the repositories with above wheeze 7.0 ones and to follow the process as described in this article. I haven't tested update on Wheezy yet, so if you happen to try my article with wheezy reports and got a positive upgrade result please drop a comment.

Quick shortcut to lock your Linux computer desktop (Few words on Linux screensavers)

Thursday, November 20th, 2014

quick-way-to-lock-desktop-linux-howto-key
Locking the PC while going for a coffee break, Lunch or toilet is longly used to secure physically your PC display from spying eyes or prevent you from  someone to install a spying software or leak private data from PC HDD to an USB drive.
People who are coming from the wonderful MS Windows OS   are certainly used to quick shortcut key combination to lock PC screen with:
 

Windows key + L


So how to do Lock Screen on Linux?

On Linux locking your Screen the Quick Shortcut is:
 

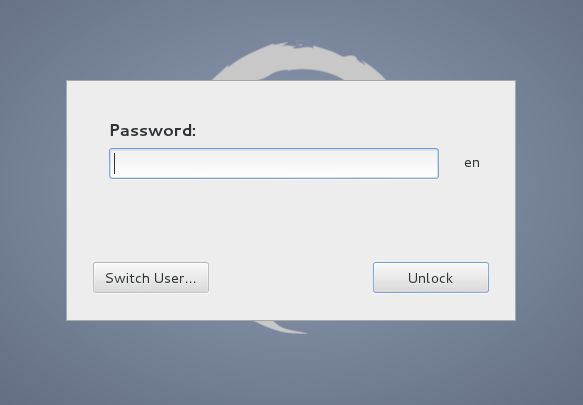
CTRL + ALT + L.


Locking the screen is done (depending on the Linux distribution) by using by either using historically famous XScreenSaver if non-gnome / KDE graphical environemnt is used or if in Linux Gnome GUI with  gnome-screensaver and on KDE desktop manager with kscreenlocker.


Exact command executed on CTRL + ALT + L keypress on GNOME is:
 

gnome-screensaver-command -l


On KDE to manually lock screen command is:

kscreenlocker

Nomatter whether with GNOME or KDE its worthy mention that xscreensaver is more Screensaver rich than kscreenlocker and gnome-screensaver as it includes about 200 different Screensavers making screen nice to watch when you come back from a lunch.

For people with Windows key keyboard who are too used to using Windows XP / 7 lockreen WIN + L key shortcut to make Windows (key) + L keys combination work on Linux with GNOME desktop:
 

System -> Preferences -> Keyboard Shortcuts

Make Win + L keys combination work on Linux with KDE desktop
 

  1.  "System Settings" (KDE menu).
  2. Choose "Keyboard & mouse" (on "General" tab).
  3. Choose "Global Keyboard Shortcuts" on the left.
  4. Choose "Run Command Interface" from "KDE component" dropdown list.
  5. Choose "Lock session".
  6. Select "Custom".
  7. Click on "None" (button changes to "Input…").
  8. Compose your desired sequence by pressing appropriate buttons on your keyboard.
  9. Click "Apply".


For other desktop environments like Window Maker you can use xmodmap command to bind Win + L keys

Installing Usual PHP Apache needed modules for new Debian GNU / Linux servers

Tuesday, September 18th, 2012

Almost evertime whether install a new Debian Linux server to host some websites, use the popular small and mid-sized hosting solution combination:
 

  • Apache webserver
  • PHP module to interpret the PHP programming code
  • MySQL to store the DB Backend

Installing the basis for on Debian is easy:


# apt-get install --yes apache2 apache2-mpm-prefork libapache2-mod-php \
mysql-server php5 php5-mysql mysql-client mysql-common phpmyadmin
....

This of course is in case, if necessery to run websites which are written to usephp code which is not thread safety (Use Apache child prefork technology to manage processes); For websites writen to be thread safety (not use some forking php functions like: php – exec(); fork(); etc. – I install apache2-mpm-prefork for better Webserver performance and speed.

This minimum collection of packages is good only for basic, websites and most Joomla, WordPress, Drupal or whatever custom PHP websites has to be hosted usually require much more PHP functions which are not part of this basic bundle. Hence as I said prior on almost all new Linux debian / ubuntu deb package based servers need to install following list of extra PHP deb packages:


# apt-get install --yes php-apc php-auth-ssl php-mail \
php-http php-net-smtp php-net-socket php-pear php5-cli php5-curl \
php5-gd php5-imagick php5-mapscript php5-mcrypt php5-odbc php5-sybase \
php5-xsl
...,

After installing this standard bundle of modules PHP is extended to support somenice functionalities like Image editting / convertion / resizing … various graphic editting functions as supported by infamous ImageMagick and GDlib, PEAR support (PHP Extension and Application Repository) bundle providing number of useful PHP classes.
php5-xInstalling Usual PHP Apache needed modules for new Debian GNU / Linux serverssl is usually necessery for websites which pass data in XSL format (a specific formatted XML data). php5-xsl is usually necessery for websites containing flash animationsPresentation, videos, games etc.

That is mostly it, hope this helps some sys admin like me who need configure new Debian based hosting server 🙂

Preserve Session IDs of Tomcat cluster behind Apache reverse proxy / Sticky sessions with mod_proxy and Tomcat

Wednesday, February 26th, 2014

apache_and_tomcat_merged_logo_prevent_sticky_sessions
Having a combination of Apache webservice Reverse Proxy to redirect invisibly traffic to a number of Tomcat server positioned in a DMZ is a classic task in big companies Corporate world.
Hence if you work for company like IBM or HP sooner or later you will need to configure Apache Webserver cluster with few running Jakarta Tomcat Application servers behind. Scenario with necessity to access a java based application via Tomcat which requires logging (authentication) relaying on establishing and keeping a session ID is probably one of the most common ones and if you do it for first time you will probably end up with Session ID issues.  Session ID issues are hard to capture at first as on first glimpse application will seem to be working but users will have to re-login all the time even though the programmers might have coded for a session to expiry in 30 minutes or so.

… I mean not having configured Session ID prevention to Tomcats will cause random authentication session expiries and users using the Tomcat app will be unable to normally access below application with authenticated credentials. The solution to these is known under term "Sticky sessions"
To configure Sticky sessions you need to already have configured Apache/s with following minimum configuration:

  • enabled mod_proxy, proxy_balancer_module, proxy_http_module and or mod_proxy_ajp (in Apache config)

  LoadModule proxy_module modules/mod_proxy.so
LoadModule proxy_balancer_module modules/mod_proxy_balancer.so
LoadModule proxy_http_module modules/mod_proxy_http.so

  • And configured and tested Tomcats running an Application reachable via AJP protocol

Below example assumes there is Reverse Proxy Load Balancer Apache which has to forward all traffic to 2 tomcats. The config can easily be extended for as many as necessary by adding more BalancerMembers.

In Apache webserver (apache2.conf / httpd.conf) you need to have JSESSIONID configured. These JSESSIONID is going to be appended to each client request from Reverse Proxy to each of Tomcat servers with value opened once on authentication to first Tomcat node to each of the other ones.

<Proxy balancer://mycluster>
BalancerMember ajp://10.16.166.53:11010/ route=delivery1
BalancerMember ajp://10.16.166.66:11010/ route=delivery2
</Proxy>

ProxyRequests Off
ProxyPass / balancer://mycluster/ stickysession=JSESSIONID
ProxyPassReverse / balancer://mycluster/

The two variables route=delivery1 and route=delivery2 are routed to hosts identificators that also has to be present in Tomcat server configurations
In Tomcat App server First Node (server.xml)

<Engine name="Catalina" defaultHost="localhost" jvmRoute="delivery1">

In Tomcat App server Second Node (server.xml)

<Engine name="Catalina" defaultHost="localhost" jvmRoute="delivery2">

Once Sticky Sessions are configured it is useful to be able to track they work fine this is possible through logging each of established JESSSIONIDs, to do so add in httpd.conf

LogFormat "%h %l %u %t \"%r\" %>s %b \"%{Referer}i\" \"%{User-Agent}i\"\"%{JSESSIONID}C\"" combined

After modifications restart Apache and Tomcat to load new configs. In Apache access.log the proof should be the proof that sessions are preserved via JSESSIONID, there should be logs like:
 

127.0.0.1 - - [18/Sep/2013:10:02:02 +0800] "POST /examples/servlets/servlet/RequestParamExample HTTP/1.1" 200 662 "http://localhost/examples/servlets/servlet/RequestParamExample" "Mozilla/5.0 (X11; Linux x86_64; rv:17.0) Gecko/20130807 Firefox/17.0""B80557A1D9B48EC1D73CF8C7482B7D46.server2"

127.0.0.1 - - [18/Sep/2013:10:02:06 +0800] "GET /examples/servlets/servlet/RequestInfoExample HTTP/1.1" 200 693 "http://localhost/examples/servlets/" "Mozilla/5.0 (X11; Linux x86_64; rv:17.0) Gecko/20130807 Firefox/17.0""B80557A1D9B48EC1D73CF8C7482B7D46.server2"

That should solve problems with mysterious session expiries 🙂