![]()
Since few months I've switched my old BLU r1 HD Phone (a great old low budget phone for its price) to a friend's iPhone 10 ( X ) who gifted it for me. Coming from Android world, everyone who has experience with it is a pain in the ass as some of the Apps, which are into Google's play store does not have the same equivalent into Apple's install Package manager tool AppStore. Some of the crucial tools which I was interested as a freshly new migrated user from Android to iPhone was to have a decent SSH / Telnet client and Terminal, with which I can easily connect to my Linux servers both home and work.
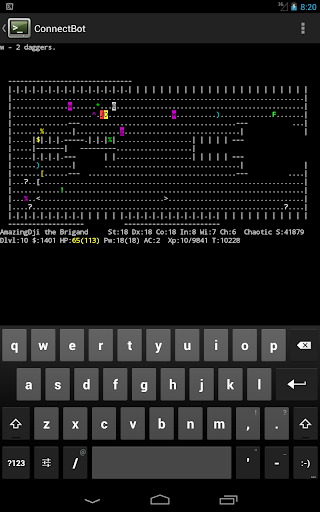
As Android Phone user, to connect and manage my SSH sessions I used most often some of the most popular Connectbot / SSHDroid / JuiceSSH.
On Android I've usually installed all of these tools but most frequently used Connectbot, which quickly become my favourite SSH client for Android over time.
The reasons why I really loved Connectbot and used it on Android OS in short:
- It is Completely free
- Ad-free
- Open-source (too bad not Free software but still step better)
- Copy and paste text between Applications
- Customizable interface (i.e. font size, keyboard layout, SSH auth agent, etc.)
I've seen some people used and preferred Termius but never myself really liked this client, as it was including some Advertisements or for don't remember why reason.
Switching to iOS mobile operating system, of course was quite a shock especially the moment I found out the standard loved SSH Remote Client programs are used are not available or have only a paid version. Thus it took me quite a while of a research and googling until I found some decent stuff.
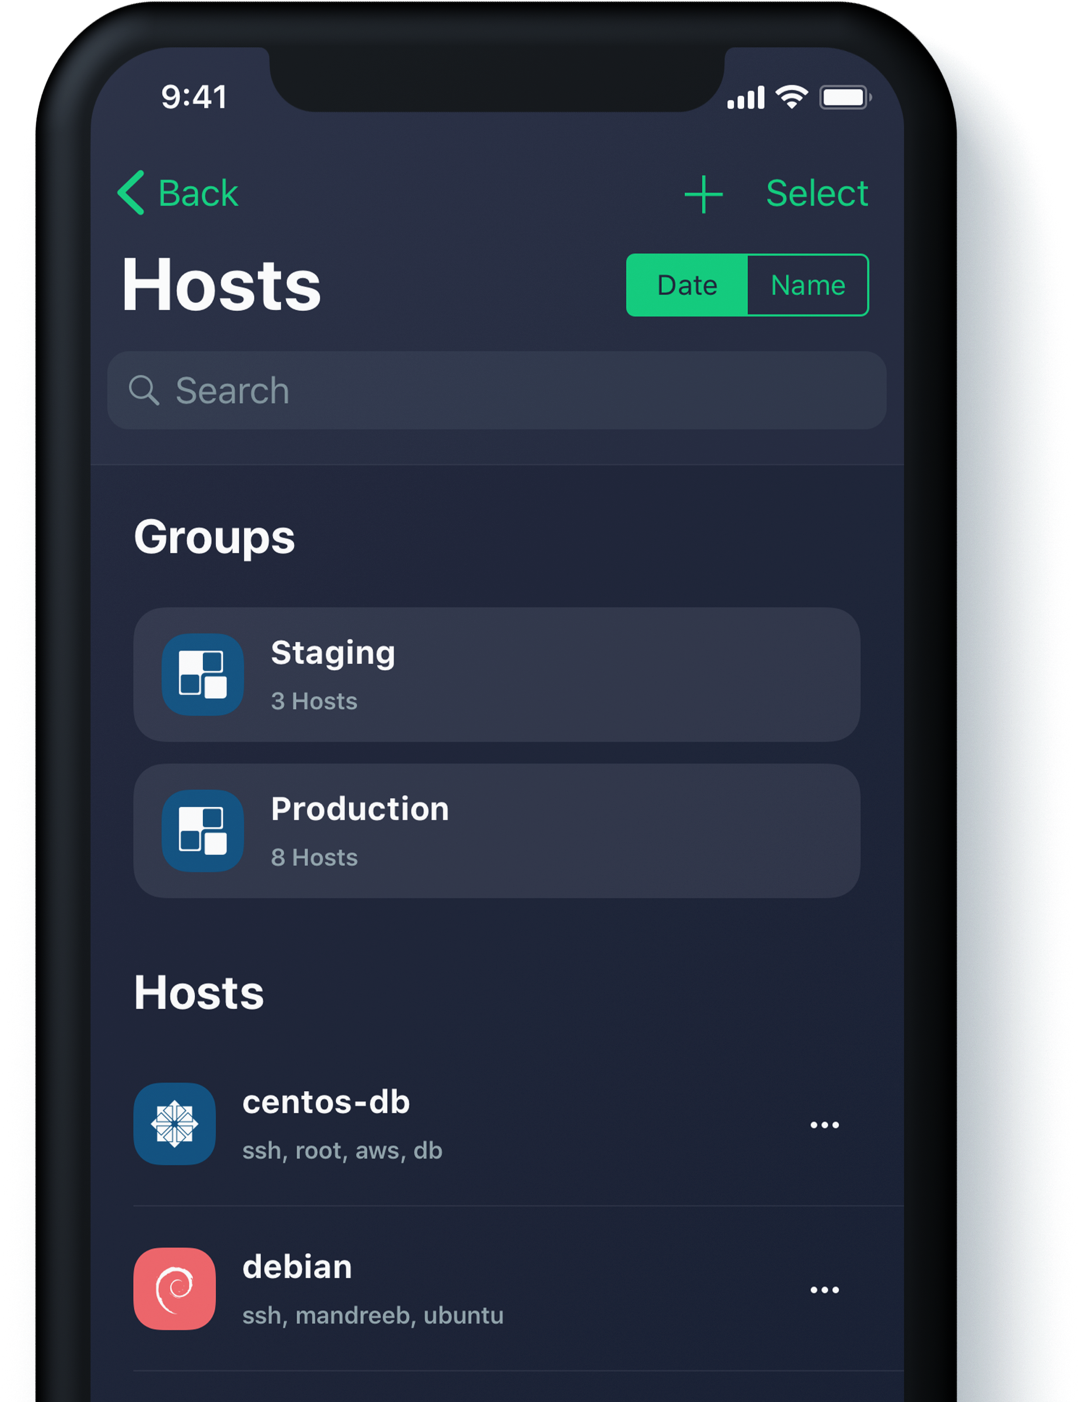
Tried for a time with Termius as well but again, its Ads and lack of some functionality pissed me off, so I've moved on to Shelly.
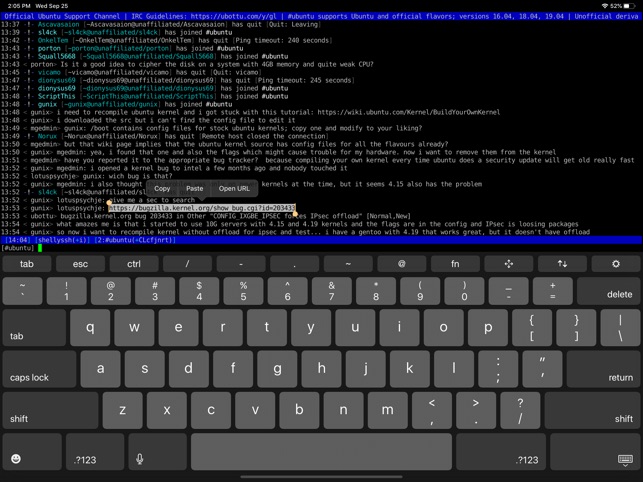
Shelly is really not a bad tool but has limitation over the SSH sessions you can add and other limitations, which can only be unlocked with an "Upgrade", to its paid version, thus I decided after few weeks of attempts to make it my remote server management mobile tool for iPhone, I've dropped it off as well.
Then I found the Blink Shell App – Blink Shell is a professional, desktop grade terminal for iOS. As overall the tool is really great and is easy to use but again to have it used in its full power you need the paid version and until you pay for it every now and then you got interruption of your shell for some really annoying ads.
Thus even though I used it for a times this few tools with whom basicly you can do basic remote ssh / telnet session operations eventually, started looking for a better SSH Client Free alternative for iPhone Users.
Then came a friend at home for a dinner my dear friend Milen (Static) and he show me iOS.
The moment I saw this tool I totally loved it, for its simplicity and its resemblance to a classical TTY Physical old Linux console I used back in the days and its ability to resemble easily any improved functionaltiy through simple screen (multiple session management) command tool or tmux.
Wait, what's iSH ? And why it is the Best SSH / Telnet client to manage your servers remotely on iOS Mobiles (iPhone and IPads) ?
iSH is a project to get a Linux shell environment running locally on your iOS device, using a usermode x86 emulator.
In other wors iSH is Linux emulator with busybox and a package ports for many of the standard Linux tools you get by simple apt-get / yum or if I have to compare you get via the MobaXterm's advanced apt-cyg (Cygwin packages) tool capabilities.
Once iSH is installed it comes with pre-installed apk command line package management tool, with which you can install stuff like openssh-client / screen / tmux / mc (midnight commander) etc. apk, is an apt like command like tool which uses as a basis for installing its packages Alpine Linux repositories.
Alpine Linux is perhaps little known as it is not one of these main stream disributions, such as Fedora or Ubuntu, but for those more concerned about security Alpine Linux is well known as it is a security-oriented, lightweight Linux distribution based on musl libc and busybox. What makes the Linux even more attractive and perhaps the reason why the iSH developers decided to use it as a basis for their iSH emulator is it being actively developed and its tightened security makes it a good compliment to the quite closed and security focused mobile platform iOS.
iSH is available straight from AppStore , so to use it install it and run it (it is really a great news that iOS does not require iphone to be jailbreak – ed, and it is an ordinary installable software straight from AppStore):
iSH, already comes with some of the standard programs you would expect in a Linux environment such as Vi, wget, zip / unzip, and tar.
However to fit it better for my use over ssh and improve its capabilities, as well as support and use multiple Virtual windows ssh, just like you do on a Linux xterm
run from ish shell:
# apk add openssh-client
# apk add screen
# apk add vim
# apk add mc
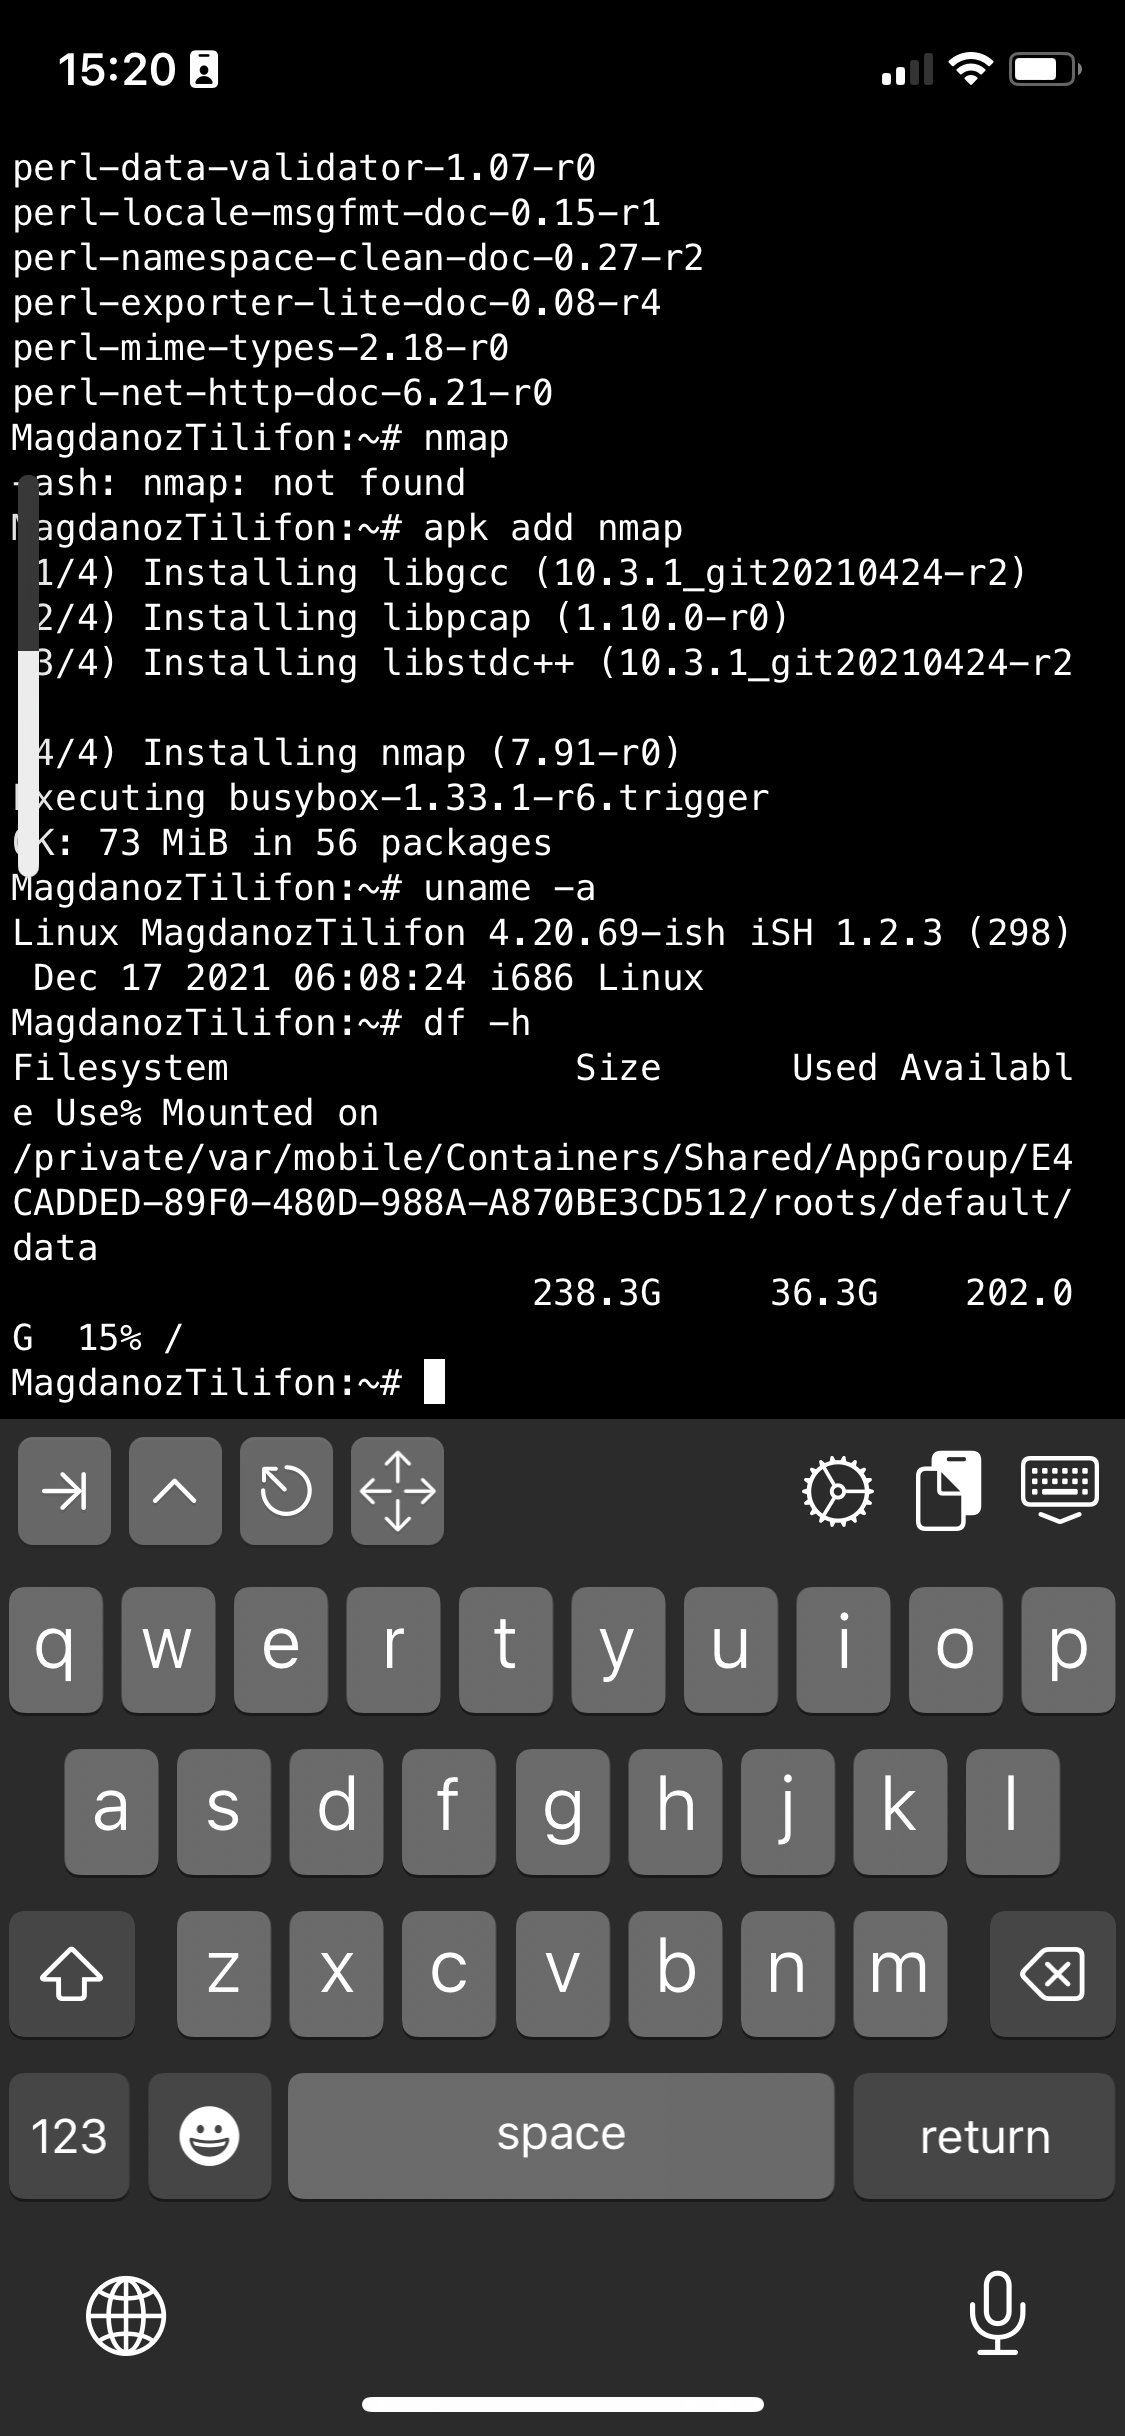
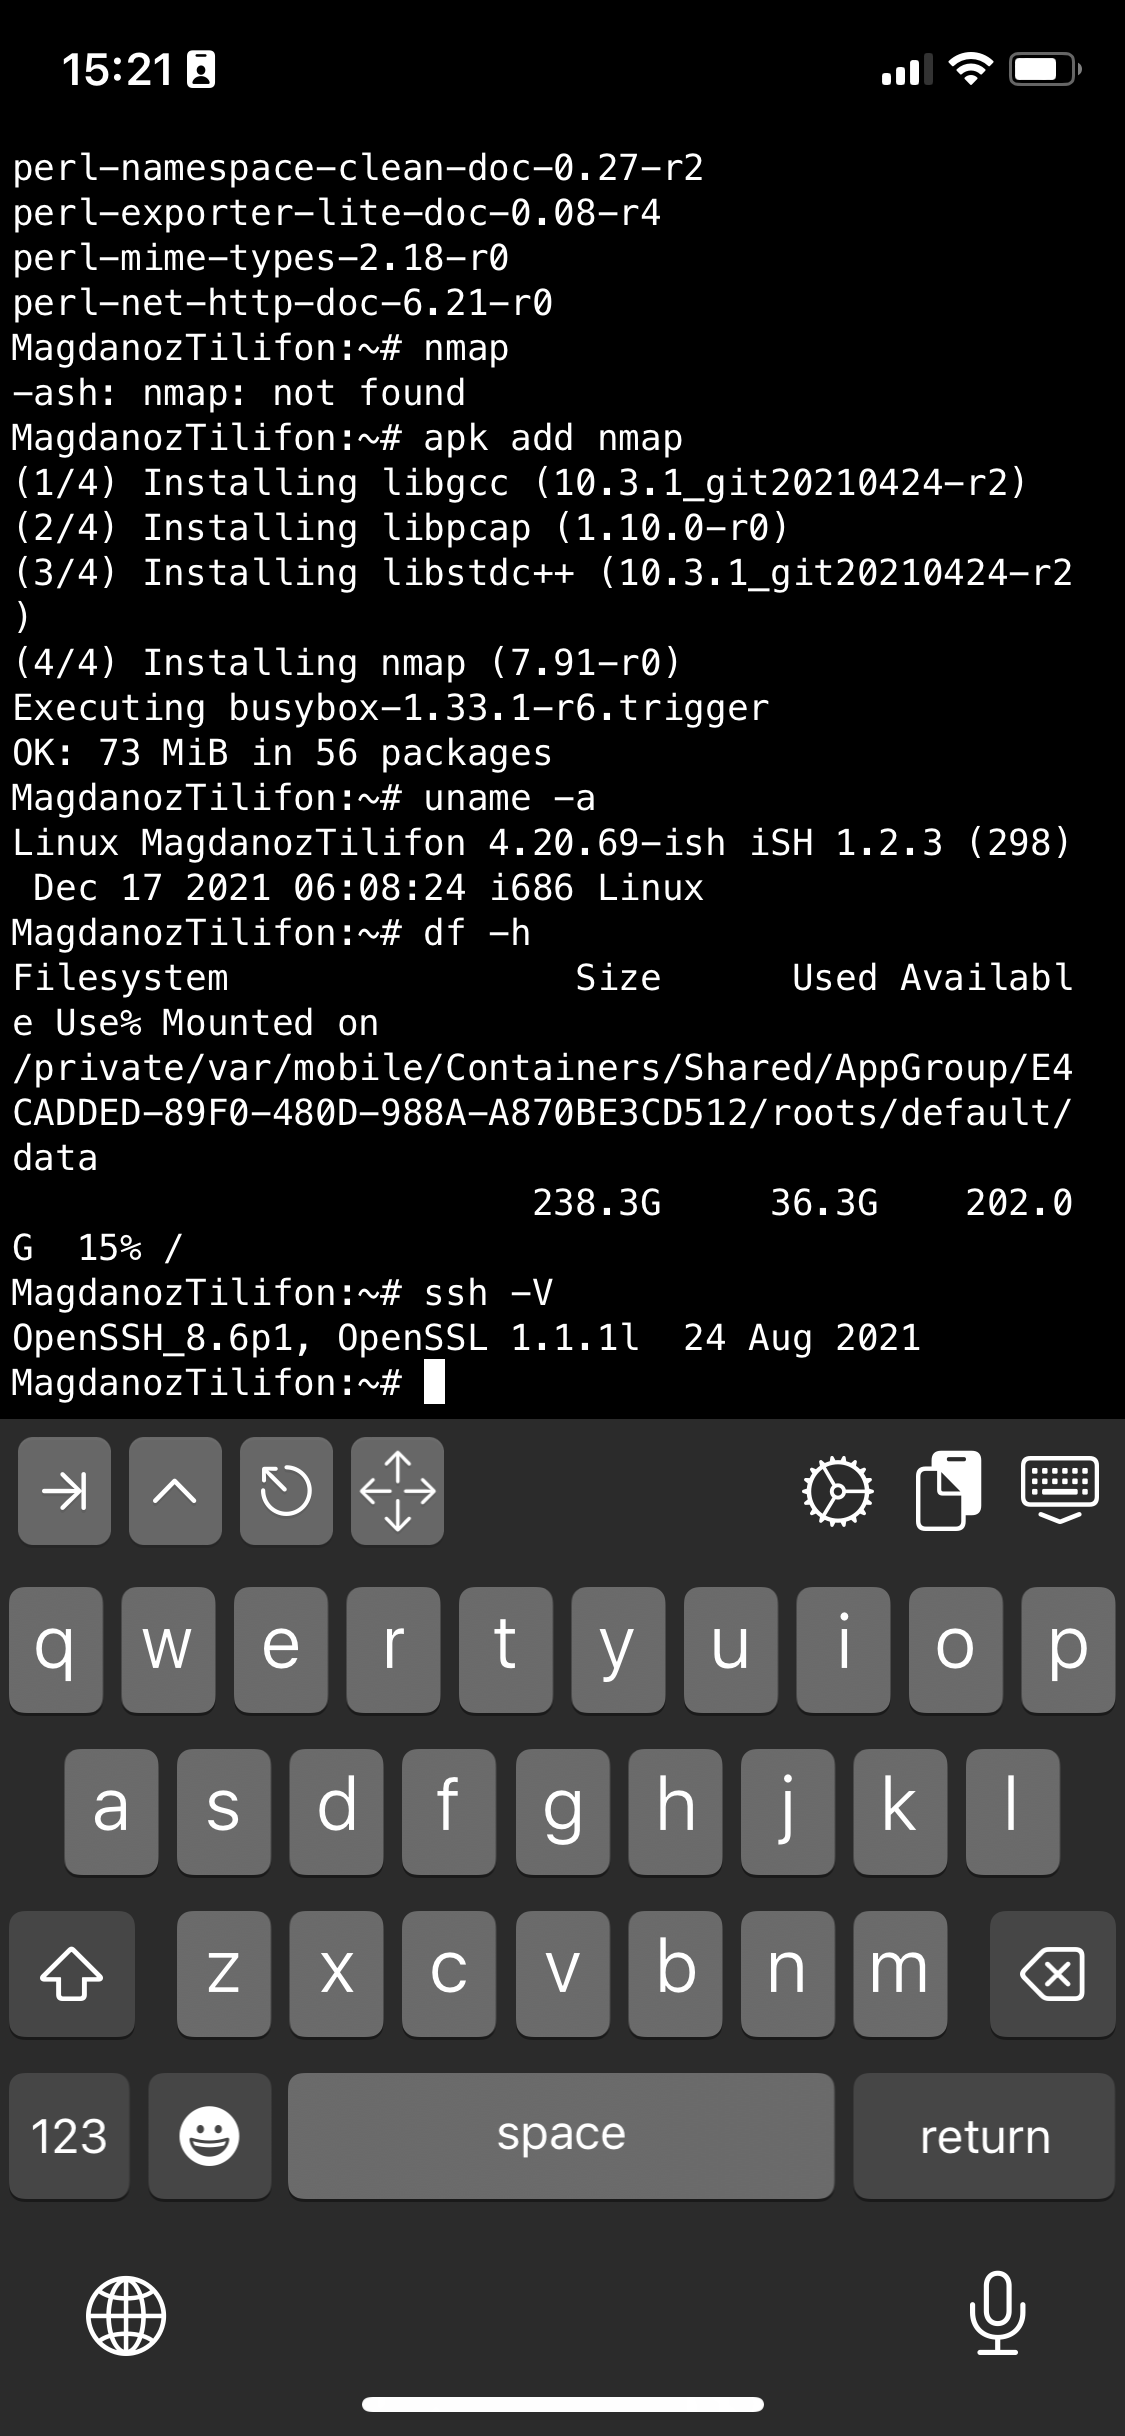
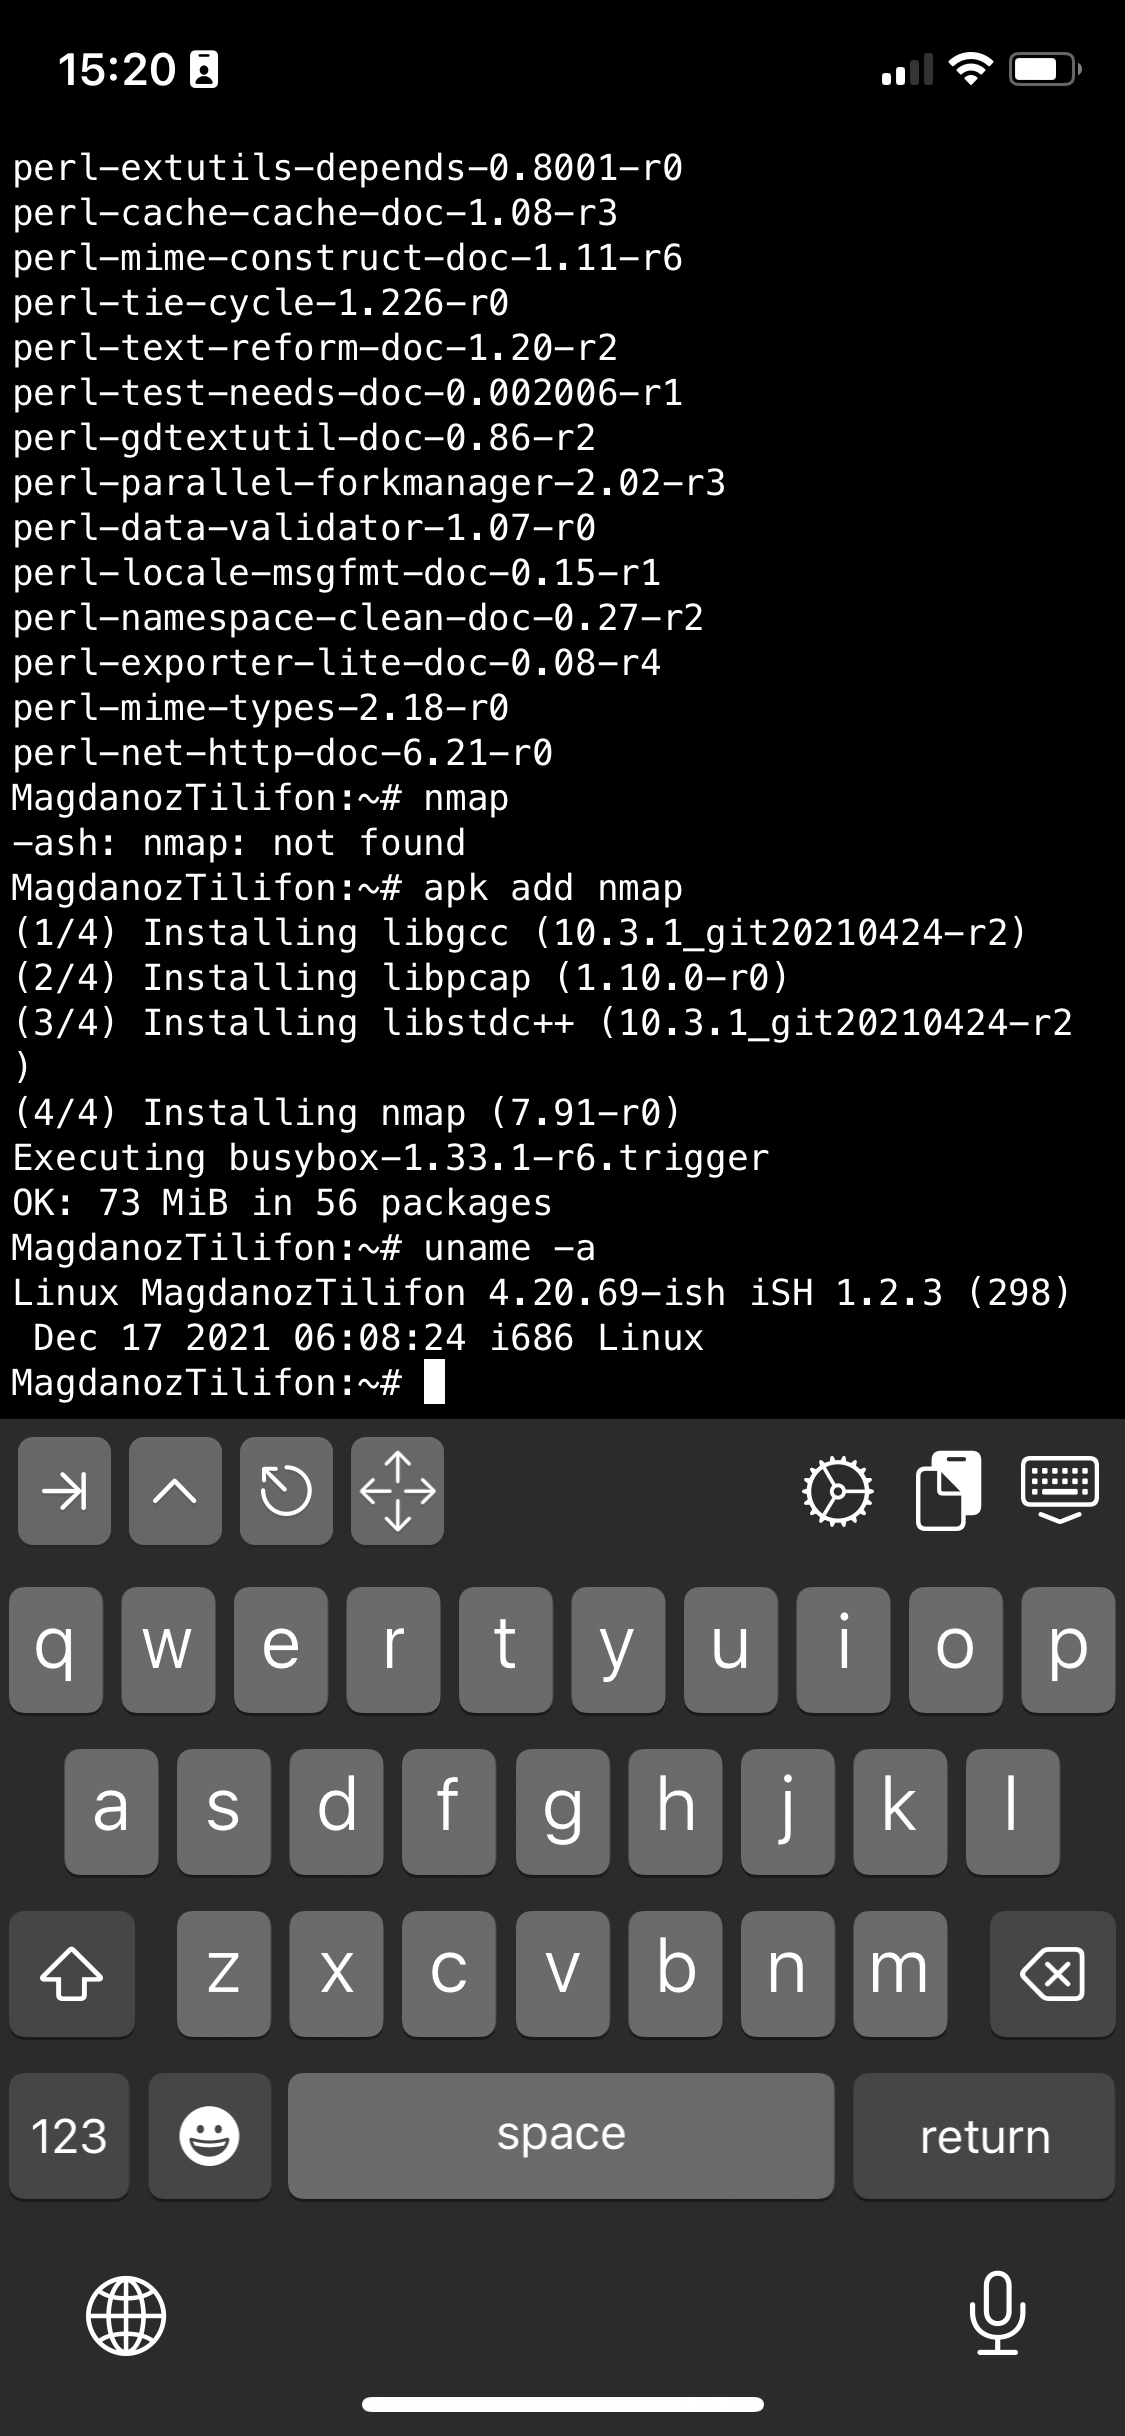
I also like to have a Midnight Commander and VIM Text editor installed out of the box to be able to move around in Ncurses interface through my iPhone.

Note that, just like most GNU / Linux distributions, iOS shell will run a normal bash shell.
From there on to use iSH as my default SSH client and enable my just installed GNU screen some Windowing beauty for readability whence I use the screen with multiple ssh logins to different servers as well make the screen Virtual consoles to have ability for scroll back and scroll up of console text to work, I do set up the following .screenrc inside my /home/iPhoneuser
The .screenrc to setup on the iSH to easify your work with screen is as follows:
# An alternative hardstatus to display a bar at the bottom listing the
# windownames and highlighting the current windowname in blue. (This is only
# enabled if there is no hardstatus setting for your terminal)
hardstatus on
hardstatus alwayslastline
hardstatus string "%{.bW}%-w%{.rW}%n %t%{-}%+w %=%{..G} %H %{..Y} %m/%d %C%a "
# Enable scrolling fix the annoying screen scrolling problem
termcapinfo xterm* ti@:te@
# Scroll up
bindkey -d "^[[5S" eval copy "stuff 5\025"
bindkey -m "^[[5S" stuff 5\025# Scroll down
bindkey -d "^[[5T" eval copy "stuff 5\004"
bindkey -m "^[[5T" stuff 5\004# Scroll up more
bindkey -d "^[[25S" eval copy "stuff \025"
bindkey -m "^[[25S" stuff \025# Scroll down more
bindkey -d "^[[25T" eval copy "stuff \004"
bindkey -m "^[[25T" stuff \004
You can download the same .screenrc file from here straight with wget from the console:
# wget https://www.pc-freak.net/files/.screenrc
Run GNU screen manager
# screen
You will end up with a screen session, to open a new session for Virtual Terminal use virtual keyboard from ISH and Press
CTRL + A + C
To open other Virtual Windows inside screen just press CTRL + A + C as many times as you need it, each session will appear ina small window on the down corner as you can see in screenshot
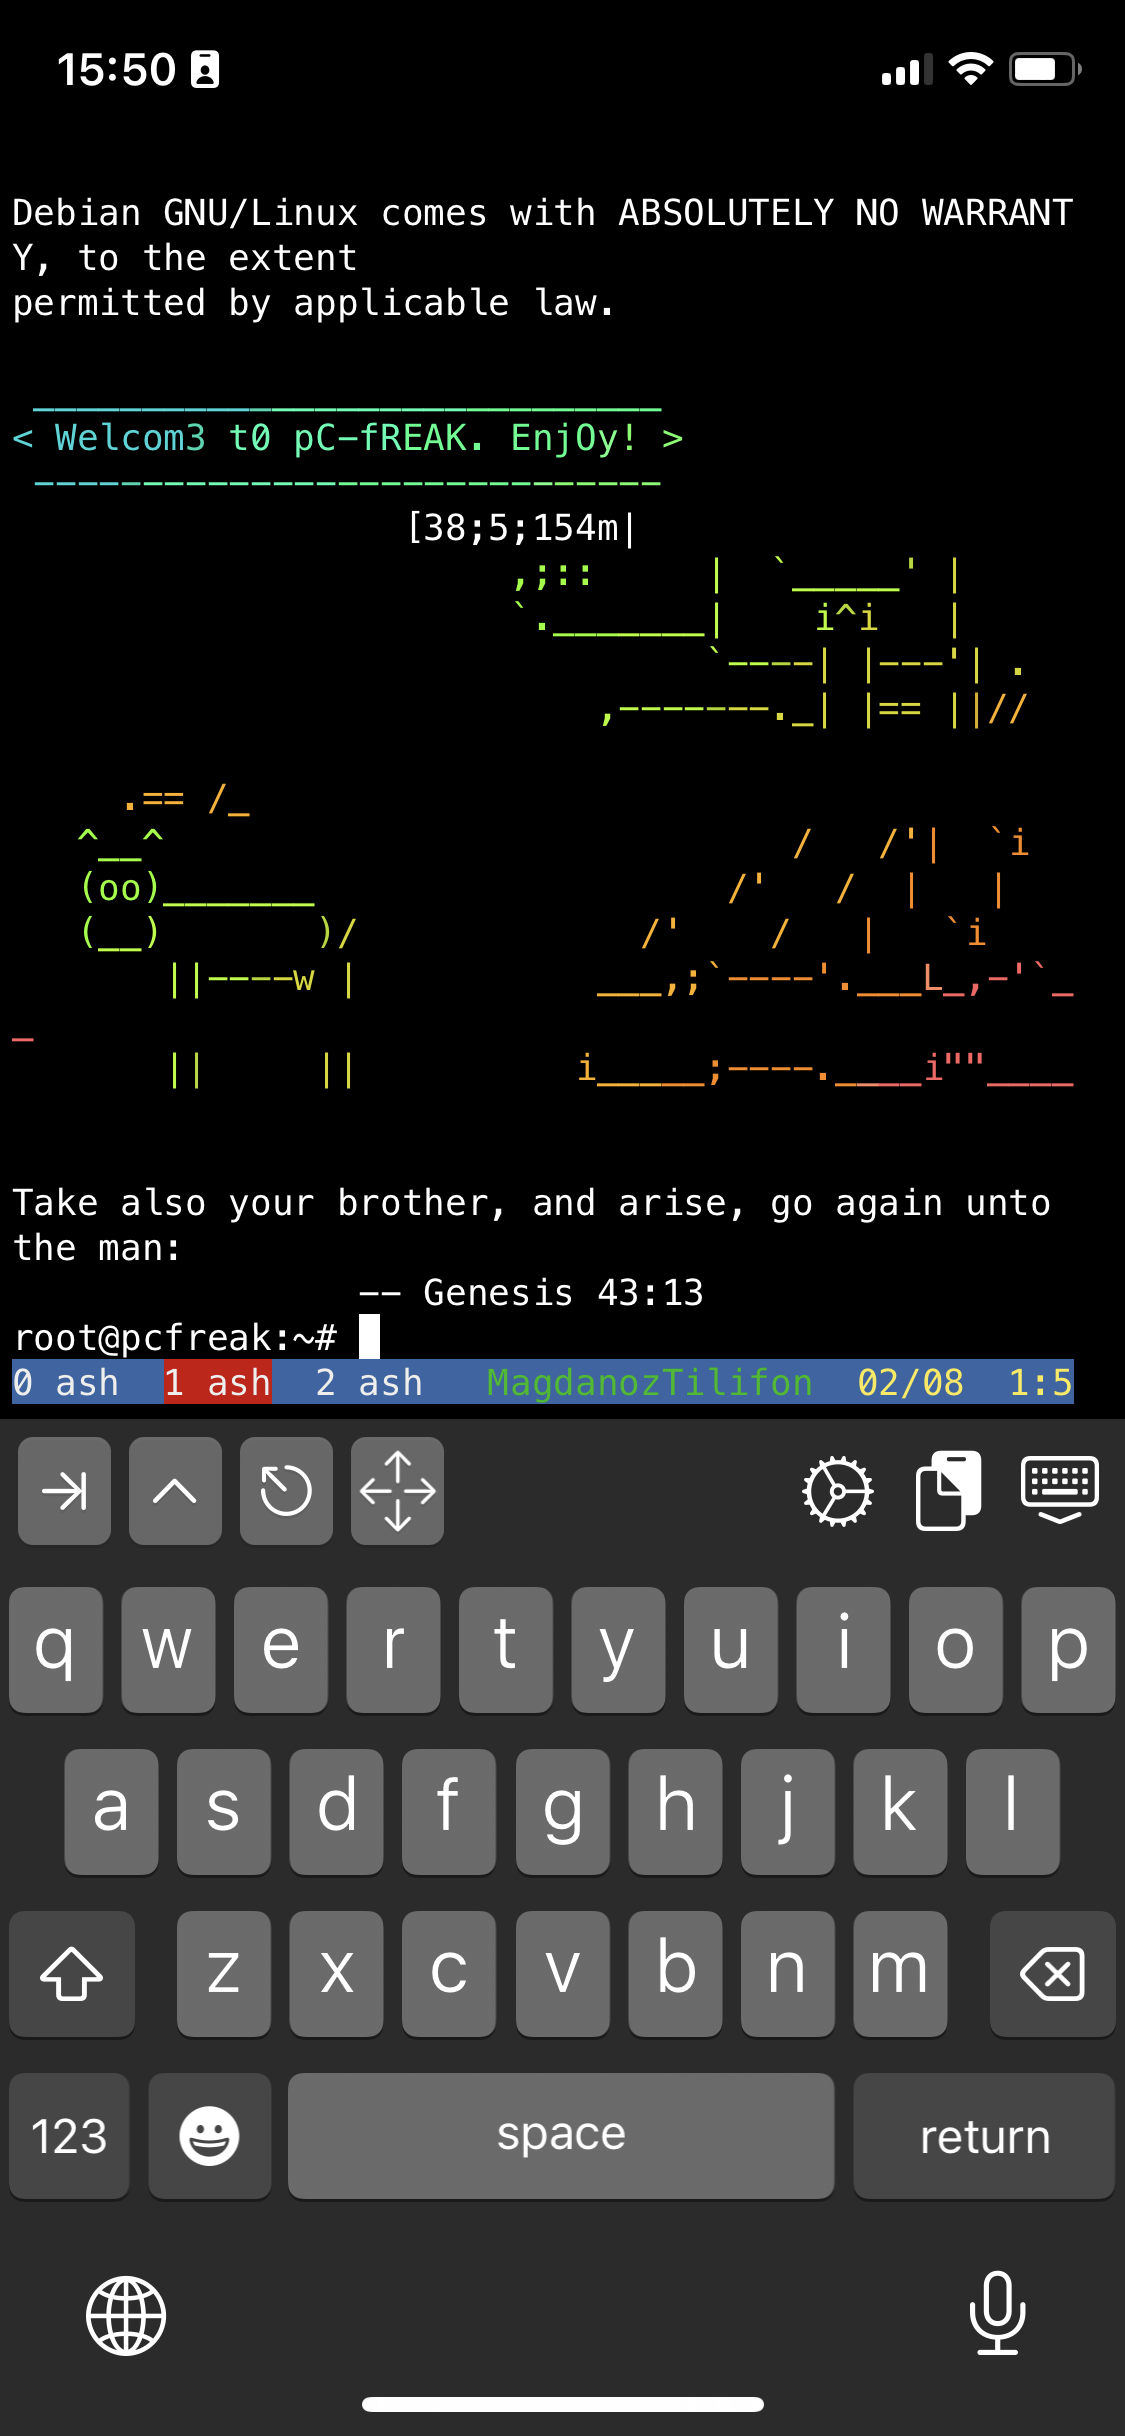
To move across the Screen unnamed 3 Virtual Windows 0 ash 1 ash and 2 ash use the Virtual keyboard
for next WIndow use key combination:
CTRL + A + N (where + is just to indicate you have to press them once after another and not actually press the + 🙂 )
For Previous Window use:
CTRL + A + P
Or use CTRL + A and type
:number 3 (where number is the number of window)
The available iSH commands without adding any further packages which are part of the busybox install are as follows:
Available /bin/ directory commands:
arch ash base64 bbconfig busybox cat chgrp chmod chown conspy cp date dd df dmesg dnsdomainname dumpkmap echo ed egrep false fatattr fdflush fgrep fsync getopt grep gunzip gzip hostname ionice iostat ipcalc kbd_mode kill link linux32 linux64 ln login ls lzop makemime mkdir mknod mktemp more mount mountpoint mpstat mv netstat nice pidof ping ping6 pipe_progress printenv ps pwd reformime rev rm rmdir run-parts sed setpriv setserial sh sleep stty su sync tar touch true umount uname usleep watch zcat
Available /usr/bin/ commands:
awk basename beep blkdiscard bunzip2 bzcat bzip2 cal chvt cksum clear cmp comm cpio crontab cryptpw cut dc deallocvt diff dirname dos2unix du dumpleases eject env expand expr factor fallocate find flock fold free fuser getconf getent groups hd head hexdump hostid iconv id install ipcrm ipcs killall ldd less logger lsof lsusb lzcat lzma lzopcat md5sum mesg microcom mkfifo mkpasswd nc nl nmeter nohup nproc nsenter nslookup od passwd paste patch pgrep pkill pmap printf pscan pstree pwdx readlink realpath renice reset resize scanelf seq setkeycodes setsid sha1sum sha256sum sha3sum sha512sum showkey shred shuf smemcap sort split ssl_client strings sum tac tail tee test time timeout top tr traceroute traceroute6 truncate tty ttysize udhcpc6 unexpand uniq unix2dos unlink unlzma unlzop unshare unxz unzip uptime uudecode uuencode vi vlock volname wc wget which whoami whois xargs xxd xzcat yes
If you're a maniac developer you can even use iSH, to do some programs development with vim with Python / Perl or PHP as these are available from the Alpine repositories and installable via a simple apk add packagename for security experts nmap and some security tools are also available but unfortunately not everything is still working as this project is in active development and iOS has some security limitations if OS is not ROOTED 🙂
Hence some of the packages you can install via apk manager will be failing actually.
There is a list of What works and what doesn't still on iSH on the project github wiki check it out here.
There is much more funny stuff you can do with it, and actually my quick research on how people use iSH on their phones lead me to some Videos talking about iOS and Ethical hacking etc, but I'll stop here as I dont have the time to dig deeper to it.
If you know or have some good use of iSH or some other goody you are using as a hack please share in comments.
Enjoy ! 🙂


How to permanently enable Cookies in Lynx text browser – Disable accept cookies prompt in lynx console browser
Wednesday, April 18th, 2012The default behaviour of lynx – console text browser on Linuces, BSD and other free OSes is to always ask, for the accept cookies prompt once an internet web page is opened that requires browser cookies to be enabled.
I should admin, having this "secure by default" (always ask for new cookies) behaviour in lynx was a good practice from a security point of view.
Another reason, why this cookies prompt is enabled by default is back in the days, when lynx was actively developed by programmers the websites with cookies support was not that many and even cookies was mostly required for user/pass authentication (all those who still remember this days the websites that requires authentication was a way less than today) …
With this said the current continuing security cautious behaviour in the browser, left from its old days is understandable.
However I personally sometimes, need to use lynx more frequently and this behaviour of always opening a new website in text mode in console to prompts me for a cookie suddenly becomes a big waste of time if you use lynx to browser more than few sites. Hence I decided to change the default way lynx handles cookies and make them enabled by default instead.
Actually even in the past, when I was mainly using internet in console on every new server or home Linux install, I was again making the cookies to be permanently accepted.
Everyone who used lynx a few times already knows its "annoying" to all time accept cookie prompts … This provoked me to write this short article to explain how enabling of constant cookie accepting in lynx is done
To enable the persistent cookies in lynx, one needs to edit lynx.cfg on different GNU / Linux and BSD* distributions lynx.cfg is located in different directory.
Most of the lynx.cfg usual locations are /etc/lynx/lynx.cfg or /etc/lynx.cfg as of time of writting this post in Debian Squeeze GNU / Linux the lynx.cfg is located in /etc/lynx-cur/lynx.cfg, whether for FreeBSD / NetBSD / OpenBSD users the file is located in /usr/local/etc/lynx.cfg
What I did to allow all cookies is open lynx.cfg in vim edit and change the following lines:
a)
#FORCE_SSL_COOKIES_SECURE:FALSEwith
FORCE_SSL_COOKIES_SECURE:TRUEb)
#SET_COOKIES:TRUEuncomment it to:
SET_COOKIES:TRUEc) next, change
ACCEPT_ALL_COOKIES:FALSEACCEPT_ALL_COOKIES:TRUEOnwards opening any website with lynx auto-accepts the cookies.
For people who care about there security (who still browse in console (surely not many anymore)), permanently allowing the cookies is not a good idea. But for those who are ready to drop off little security for convenience its ok.
Tags: ALL, authentication, Auto, browser cookies, BSD, bsd distributions, cfg, change, convenience, Cookie, default behaviour, Draft, everyone, file, free oses, GNU, gnu linux, good, How to, internet web, Linux, Lynx, lynx one, NetBSD, Onwards, OpenBSD, page, persistent cookies, point of view, programmers, quot, reason, security point, squeeze, support, text, text browser, text mode, time, TRUEb, TRUEc, TRUEuncomment, uncomment, use, using internet, vim, waste, waste of time, web page, writ
Posted in Curious Facts, Everyday Life, FreeBSD, Linux, System Administration | 1 Comment »