23.2 FreeBSD as a Guest OS
23.2.1 Parallels on MacOS
Parallels Desktop for Mac® is a commercial software product available for Intel® based Apple® Mac computers running Mac OS® 10.4.6 or higher. FreeBSD is a fully supported guest operating system. Once Parallels has been installed on Mac OS X, the user must configure a virtual machine and then install the desired guest operating system.
23.2.1.1 Installing FreeBSD on Parallels/Mac OS® X
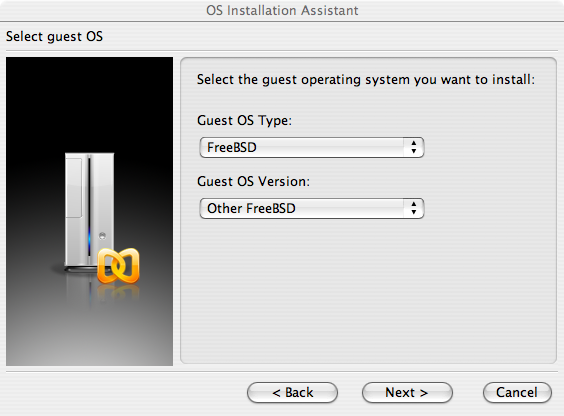
The first step in installing FreeBSD on Mac OS X/Parallels is to create a new virtual machine for installing FreeBSD. Select FreeBSD as the Guest OS Type when prompted:
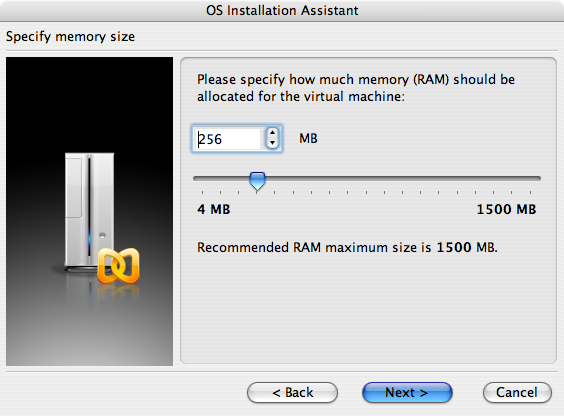
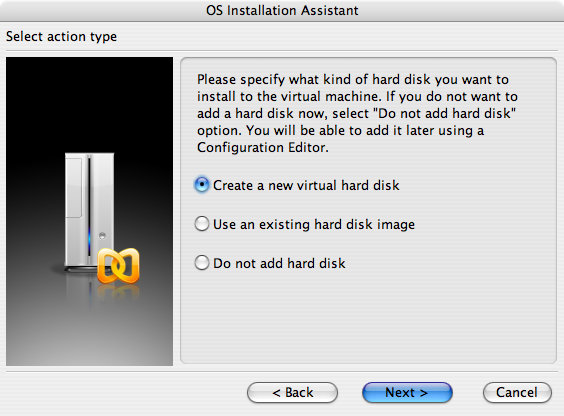
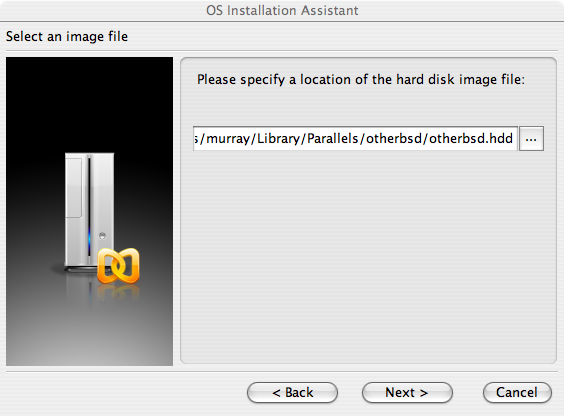
And choose a reasonable amount of disk and memory depending on your plans for this virtual FreeBSD instance. 4GB of disk space and 512MB of RAM work well for most uses of FreeBSD under Parallels:

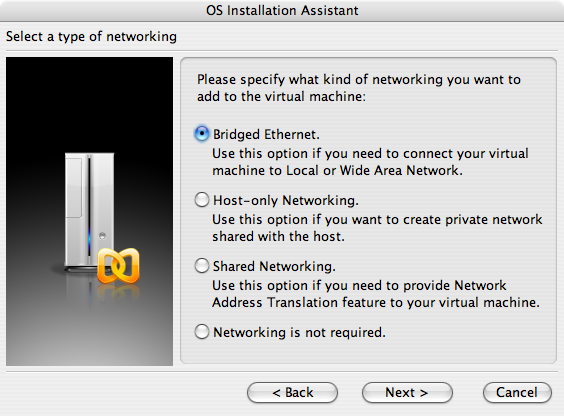
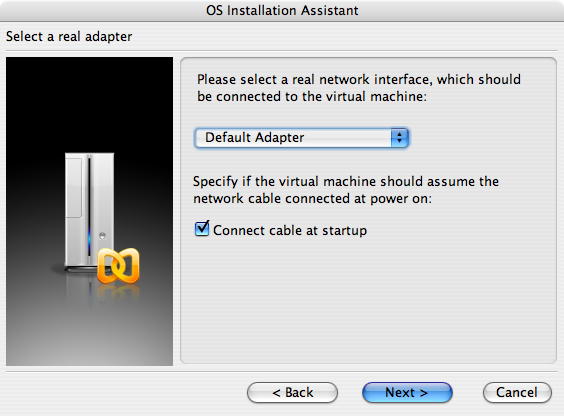
Select the type of networking and a network interface:
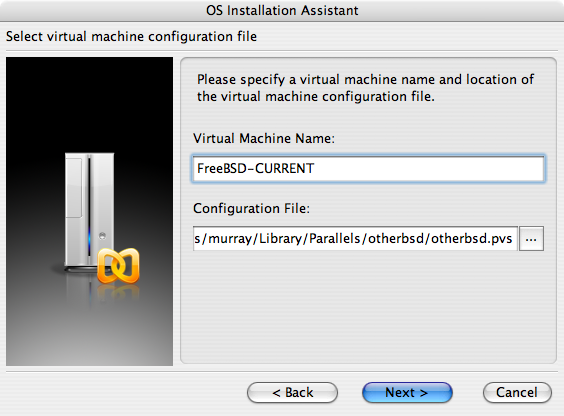
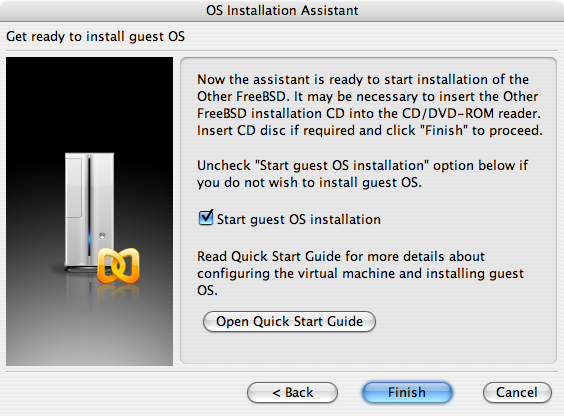
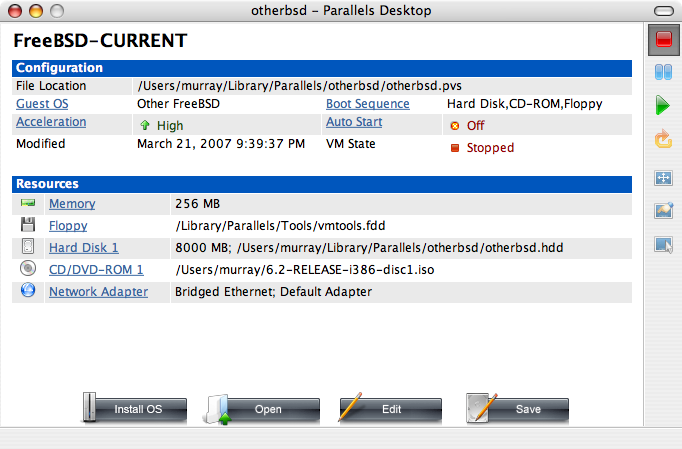
Save and finish the configuration:
After your FreeBSD virtual machine has been created, you will need to install FreeBSD on it. This is best done with an official FreeBSD CDROM or with an ISO image downloaded from an official FTP site. When you have the appropriate ISO image on your local Mac filesystem or a CDROM in your Mac's CD drive, click on the disc icon in the bottom right corner of your FreeBSD Parallels window. This will bring up a window that allows you to associate the CDROM drive in your virtual machine with an ISO file on disk or with your real CDROM drive.
Once you have made this association with your CDROM source, reboot your FreeBSD virtual machine as normal by clicking the reboot icon. Parallels will reboot with a special BIOS that first checks if you have a CDROM just as a normal BIOS would do.
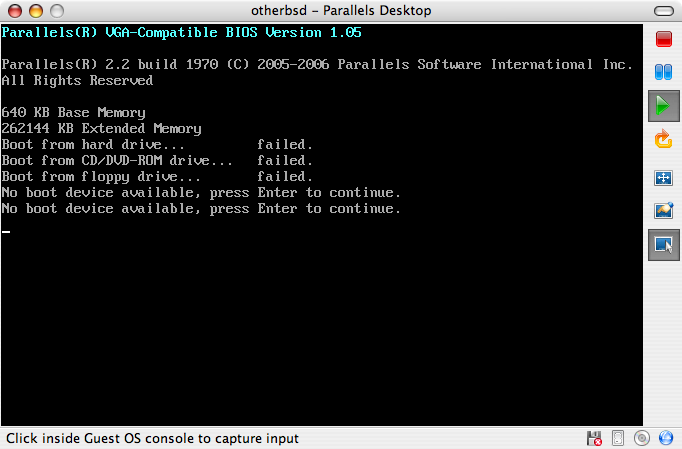
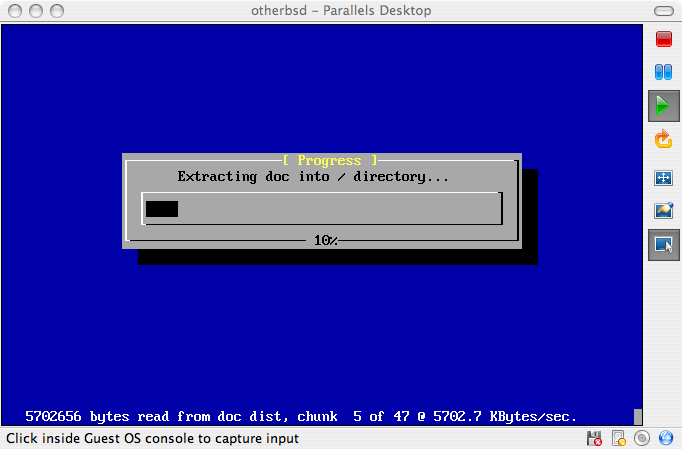
In this case it will find the FreeBSD installation media and begin a normal sysinstall based installation as described in Chapter 2. You may install, but do not attempt to configure X11 at this time.
When you have finished the installation, reboot into your newly installed FreeBSD virtual machine.
23.2.1.2 Configuring FreeBSD on Mac OS X/Parallels
After FreeBSD has been successfully installed on Mac OS X with Parallels, there are a number of configuration steps that can be taken to optimize the system for virtualized operation.
-
Set Boot Loader Variables
The most important step is to reduce the
kern.hztunable to reduce the CPU utilization of FreeBSD under the Parallels environment. This is accomplished by adding the following line to /boot/loader.conf:kern.hz=100
Without this setting, an idle FreeBSD Parallels guest OS will use roughly 15% of the CPU of a single processor iMac®. After this change the usage will be closer to a mere 5%.
-
Create a New Kernel Configuration File
You can remove all of the SCSI, FireWire, and USB device drivers. Parallels provides a virtual network adapter used by the ed(4) driver, so all other network devices except for ed(4) and miibus(4) can be removed from the kernel.
-
Configure Networking
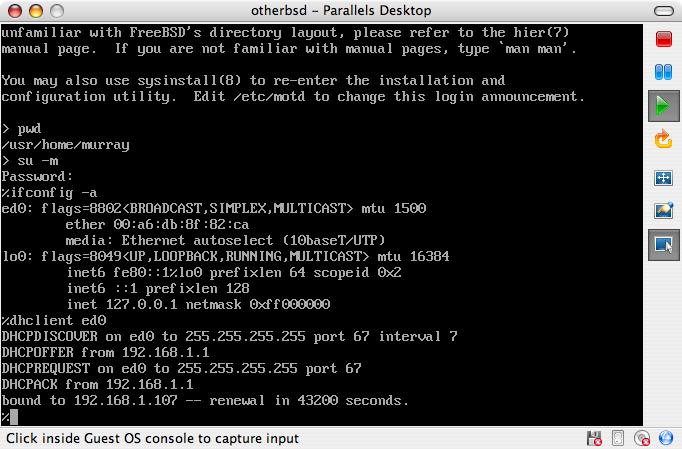
The most basic networking setup involves simply using DHCP to connect your virtual machine to the same local area network as your host Mac. This can be accomplished by adding ifconfig_ed0="DHCP" to /etc/rc.conf. More advanced networking setups are described in Chapter 32.
23.2.2 Virtual PC on Windows®
Virtual PC for Windows® is a Microsoft® software product available for free download. See system requirements. Once Virtual PC has been installed on Microsoft Windows, the user must configure a virtual machine and then install the desired guest operating system.
23.2.2.1 Installing FreeBSD on Virtual PC/Microsoft® Windows
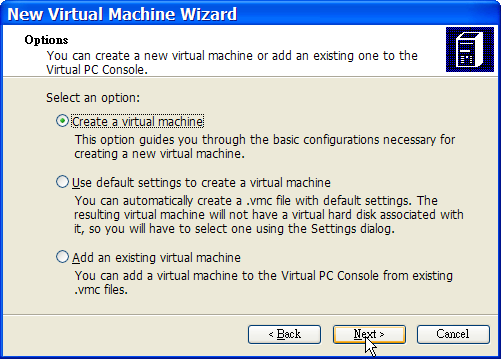
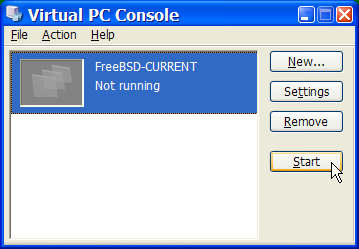
The first step in installing FreeBSD on Microsoft Windows /Virtual PC is to create a new virtual machine for installing FreeBSD. Select Create a virtual machine when prompted:
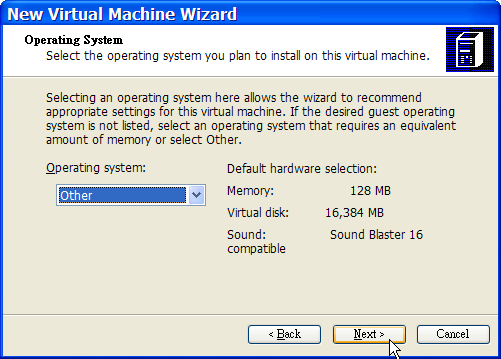
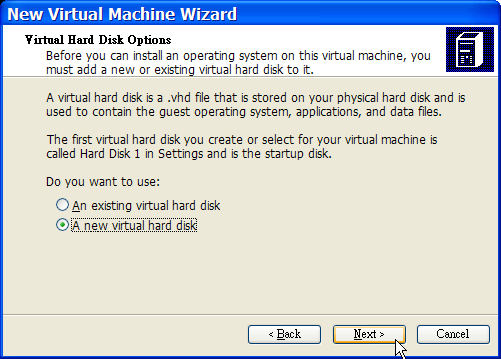
And select Other as the Operating system when prompted:
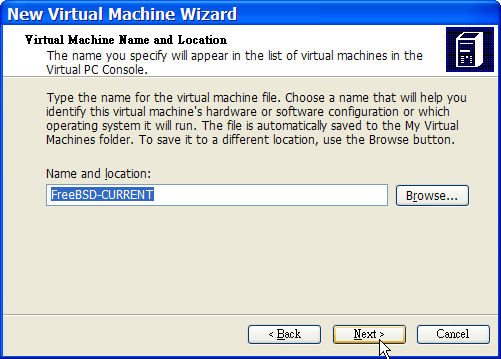
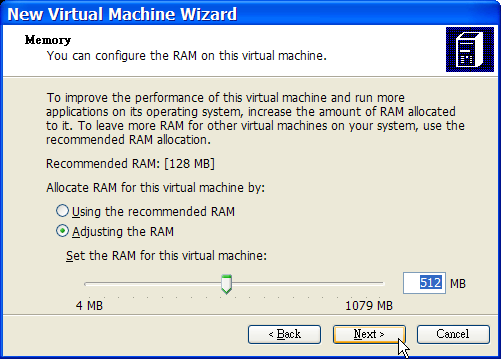
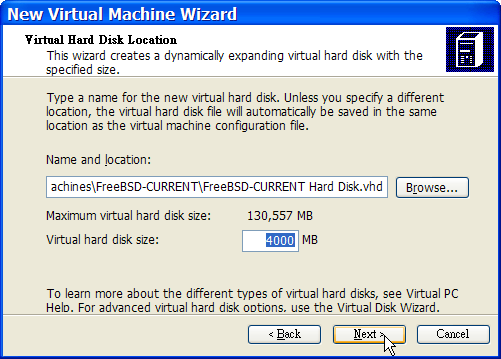
Then, choose a reasonable amount of disk and memory depending on your plans for this virtual FreeBSD instance. 4GB of disk space and 512MB of RAM work well for most uses of FreeBSD under Virtual PC:
Save and finish the configuration:
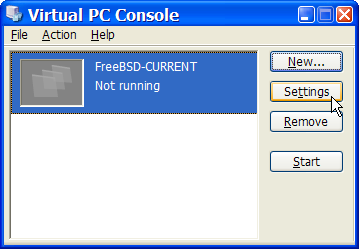
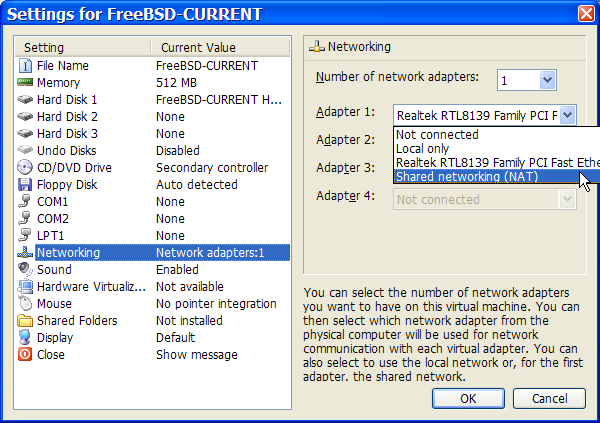
Select your FreeBSD virtual machine and click Settings, then set the type of networking and a network interface:
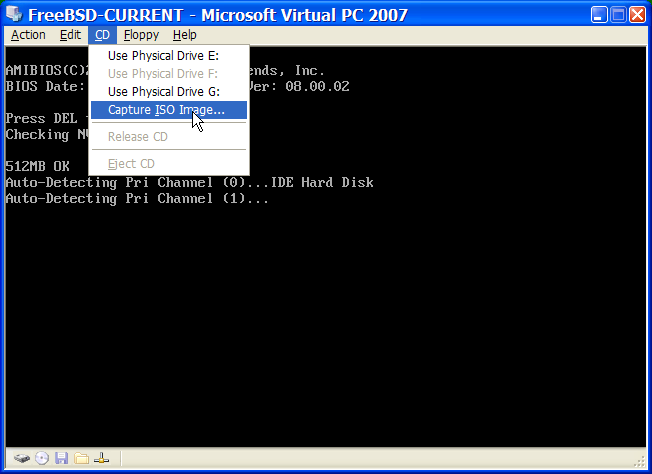
After your FreeBSD virtual machine has been created, you will need to install FreeBSD on it. This is best done with an official FreeBSD CDROM or with an ISO image downloaded from an official FTP site. When you have the appropriate ISO image on your local Windows filesystem or a CDROM in your CD drive, double click on your FreeBSD virtual machine to boot. Then, click CD and choose Capture ISO Image... on Virtual PC window. This will bring up a window that allows you to associate the CDROM drive in your virtual machine with an ISO file on disk or with your real CDROM drive.
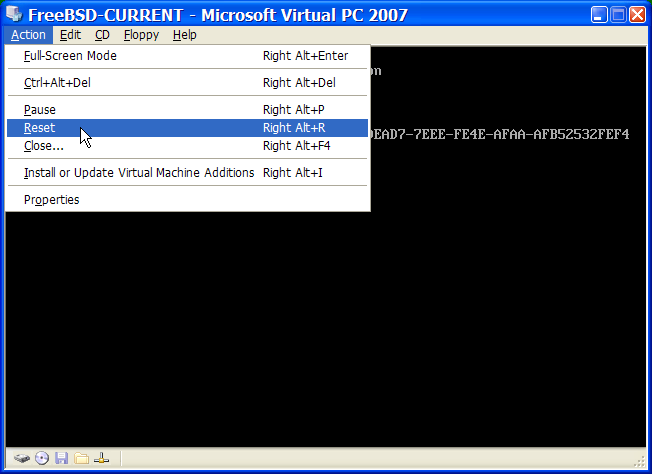
Once you have made this association with your CDROM source, reboot your FreeBSD virtual machine as normal by clicking the Action and Reset. Virtual PC will reboot with a special BIOS that first checks if you have a CDROM just as a normal BIOS would do.
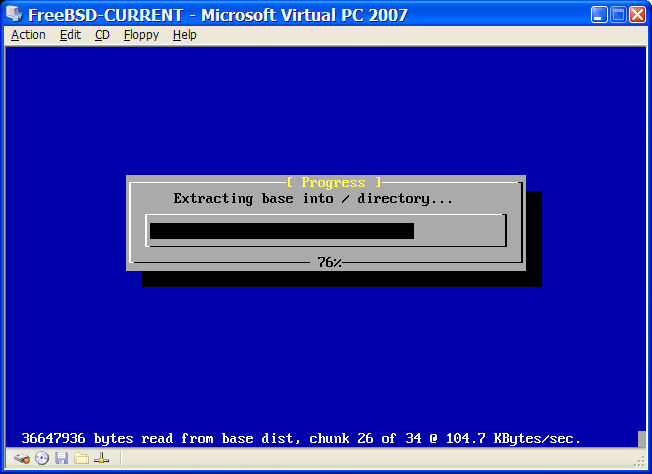
In this case it will find the FreeBSD installation media and begin a normal sysinstall based installation as described in Chapter 2. You may install, but do not attempt to configure X11 at this time.
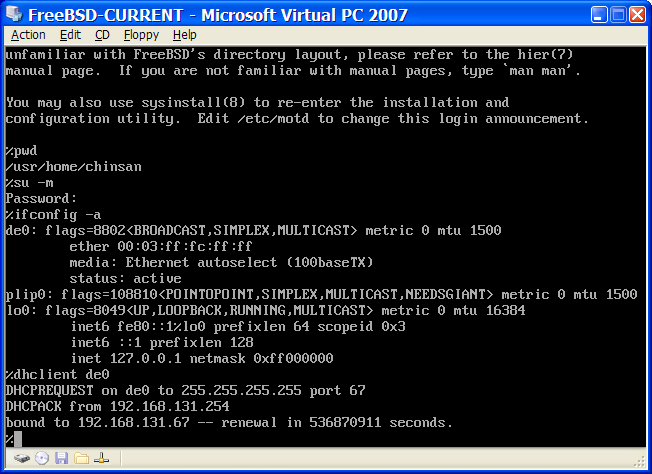
When you have finished the installation, remember to eject CDROM or release ISO image. Finally, reboot into your newly installed FreeBSD virtual machine.
23.2.2.2 Configuring FreeBSD on Microsoft Windows/Virtual PC
After FreeBSD has been successfully installed on Microsoft Windows with Virtual PC , there are a number of configuration steps that can be taken to optimize the system for virtualized operation.
-
Set Boot Loader Variables
The most important step is to reduce the
kern.hztunable to reduce the CPU utilization of FreeBSD under the Virtual PC environment. This is accomplished by adding the following line to /boot/loader.conf:kern.hz=100
Without this setting, an idle FreeBSD Virtual PC guest OS will use roughly 40% of the CPU of a single processor computer. After this change the usage will be closer to a mere 3%.
-
Create a New Kernel Configuration File
You can remove all of the SCSI, FireWire, and USB device drivers. Virtual PC provides a virtual network adapter used by the de(4) driver, so all other network devices except for de(4) and miibus(4) can be removed from the kernel.
-
Configure Networking
The most basic networking setup involves simply using DHCP to connect your virtual machine to the same local area network as your host Microsoft Windows. This can be accomplished by adding ifconfig_de0="DHCP" to /etc/rc.conf. More advanced networking setups are described in Chapter 32.
23.2.3 VMware on MacOS
VMware Fusion for Mac is a commercial software product available for Intel based Apple Mac computers running Mac OS 10.4.9 or higher. FreeBSD is a fully supported guest operating system. Once VMware Fusion has been installed on Mac OS X, the user must configure a virtual machine and then install the desired guest operating system.
23.2.3.1 Installing FreeBSD on VMware/Mac OS X
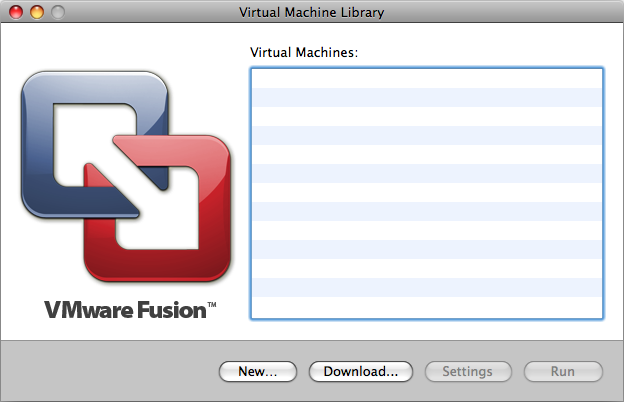
The first step is to start VMware Fusion, the Virtual Machine Library will load. Click "New" to create the VM:
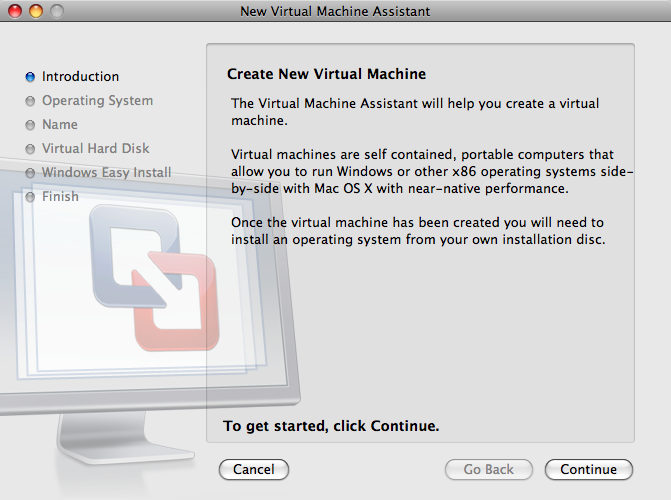
This will load the New Virtual Machine Assistant to help you create the VM, click Continue to proceed:
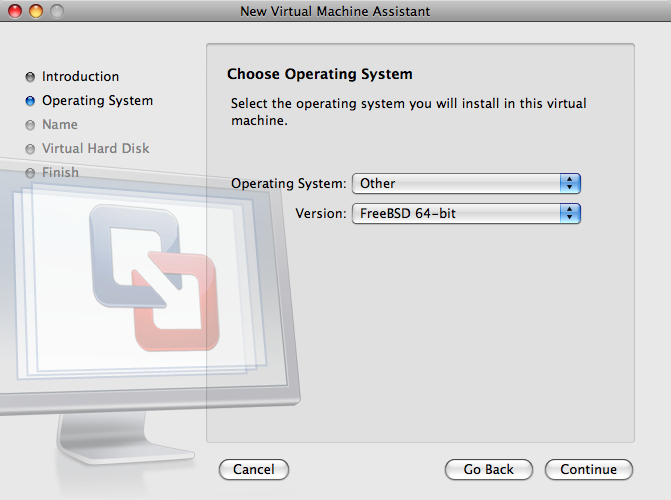
Select Other as the Operating System and FreeBSD or FreeBSD 64-bit, depending on if you want 64-bit support, as the Version when prompted:
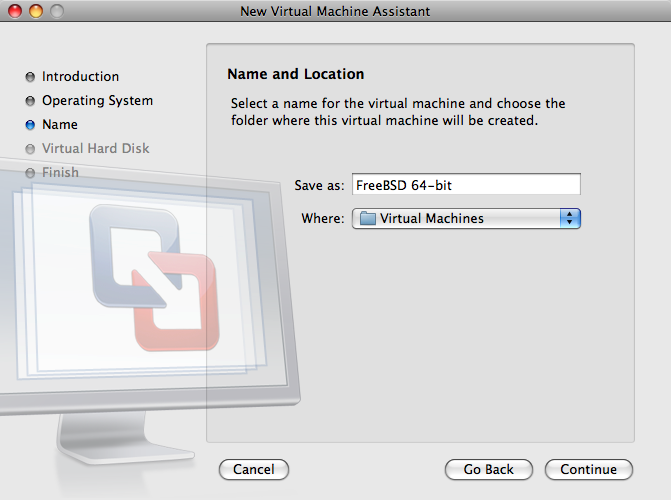
Choose the Name of the VM Image and the Directory where you would like it saved:
Choose the size of the Virtual Hard Disk for the VM:

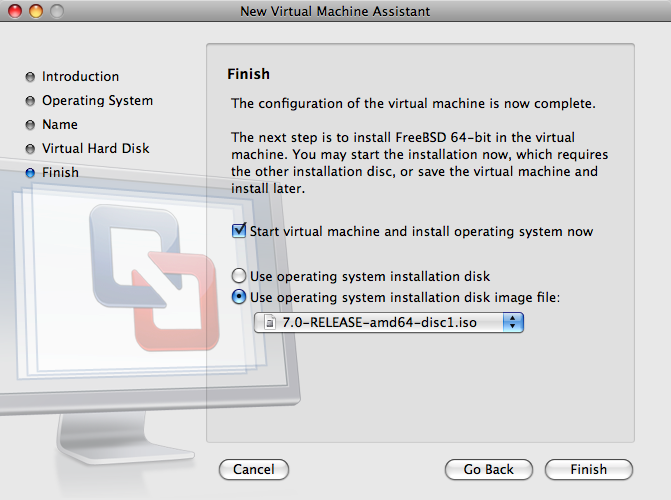
Choose the method you would like to install the VM, either from an ISO image or from a CD:
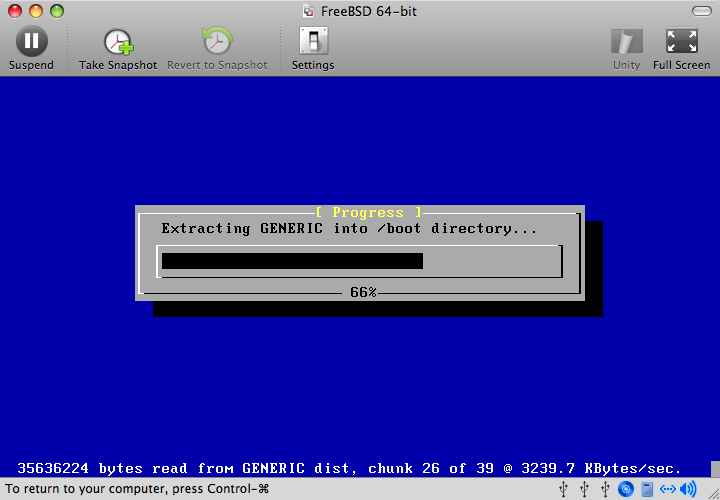
Once you click Finish, the VM will boot:

Install FreeBSD like you normally would, or by following the directions in Chapter 2:
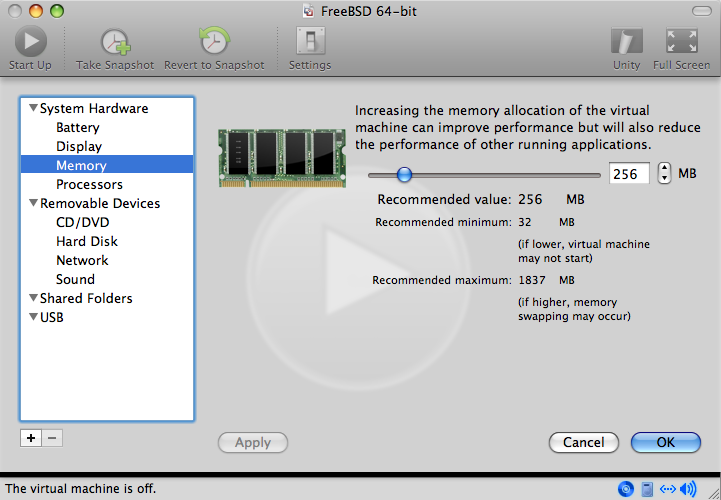
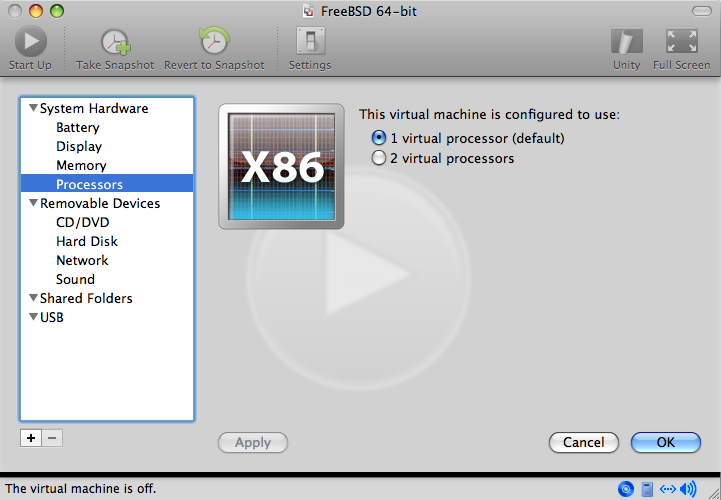
Once the install is complete you can modify the settings of the VM, such as Memory Usage:
Note: The System Hardware settings of the VM cannot be modified while the VM is running.
The number of CPUs the VM will have access to:
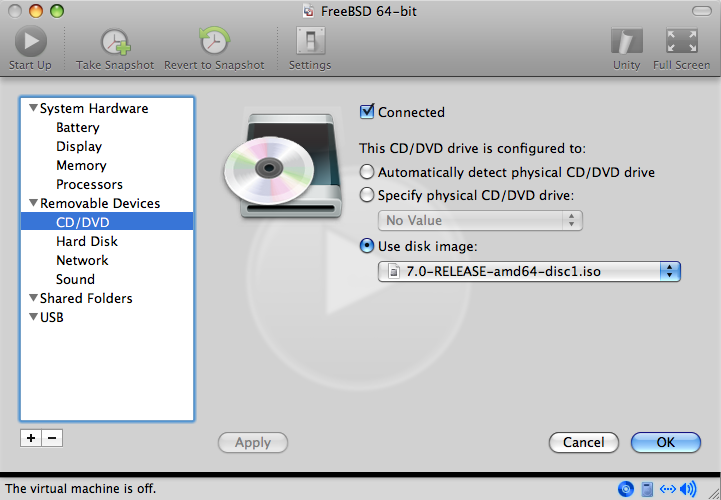
The status of the CD-Rom Device. Normally you can disconnect the CD-Rom/ISO from the VM if you will not be needing it anymore.
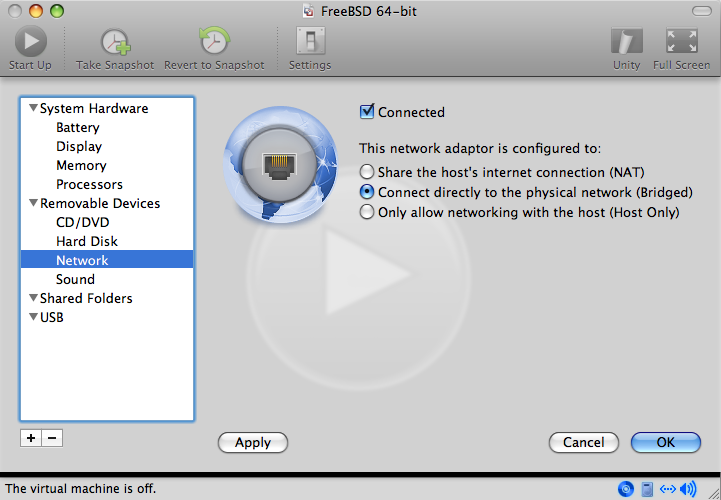
The last thing to change is how the VM will connect to the Network. If you want to allow connections to the VM from other machines besides the Host, make sure you choose the Connect directly to the physical network (Bridged). Otherwise Share the host's internet connection (NAT) is preferred so that the VM can have access to the Internet, but the network cannot access the VM.
After you have finished modifying the settings, boot the newly installed FreeBSD virtual machine.
23.2.3.2 Configuring FreeBSD on Mac OS X/VMware
After FreeBSD has been successfully installed on Mac OS X with VMware, there are a number of configuration steps that can be taken to optimize the system for virtualized operation.
-
Set Boot Loader Variables
The most important step is to reduce the
kern.hztunable to reduce the CPU utilization of FreeBSD under the VMware environment. This is accomplished by adding the following line to /boot/loader.conf:kern.hz=100
Without this setting, an idle FreeBSD VMware guest OS will use roughly 15% of the CPU of a single processor iMac. After this change the usage will be closer to a mere 5%.
-
Create a New Kernel Configuration File
You can remove all of the FireWire, and USB device drivers. VMware provides a virtual network adapter used by the em(4) driver, so all other network devices except for em(4) can be removed from the kernel.
-
Configure Networking
The most basic networking setup involves simply using DHCP to connect your virtual machine to the same local area network as your host Mac. This can be accomplished by adding ifconfig_em0="DHCP" to /etc/rc.conf. More advanced networking setups are described in Chapter 32.
23.2.4 VirtualBox™ Guest Additions on a FreeBSD Guest
The VirtualBox™ guest additions provide support for:
-
Clipboard sharing
-
Mouse pointer integration
-
Host time synchronization
-
Window scaling
-
Seamless mode
Note: The following commands are run in the FreeBSD guest.
First, install the emulators/virtualbox-ose-additions package in the FreeBSD guest.
# cd /usr/ports/emulators/virtualbox-ose-additions && make install clean
Add these lines to /etc/rc.conf:
vboxguest_enable="YES"
vboxservice_enable="YES"
If ntpd(8) or ntpdate(8) will be used, host time synchronization should be disabled:
vboxservice_flags="--disable-timesync"
The vboxvideo_drv should be recognized by Xorg -configure. If not, modify xorg.conf for the VirtualBox video card:
Section "Device"
	### Available Driver options are:-
	### Values: <i>: integer, <f>: float, <bool>: "True"/"False",
	### <string>: "String", <freq>: "<f> Hz/kHz/MHz"
	### [arg]: arg optional
	Identifier "Card0"
	Driver "vboxvideo"
	VendorName "InnoTek Systemberatung GmbH"
	BoardName "VirtualBox Graphics Adapter"
	BusID "PCI:0:2:0"
EndSection
To use vboxmouse_drv, adjust the mouse section in your xorg.conf:
Section "InputDevice"
	Identifier "Mouse0"
	Driver "vboxmouse"
EndSection
HAL users should create this file at /usr/local/etc/hal/fdi/policy/90-vboxguest.fdi or copy it from /usr/local/share/hal/fdi/policy/10osvendor/90-vboxguest.fdi:
<?xml version="1.0" encoding="UTF-8"?>
<!--
# Sun VirtualBox
# Hal driver description for the vboxmouse driver
# $Id: chapter.sgml,v 1.33 2012-03-17 04:53:52 eadler Exp $

	Copyright (C) 2008-2009 Sun Microsystems, Inc.

	This file is part of VirtualBox Open Source Edition (OSE, as
	available from http://www.virtualbox.org. This file is free software;
	you can redistribute it and/or modify it under the terms of the GNU
	General Public License (GPL) as published by the Free Software
	Foundation, in version 2 as it comes in the "COPYING" file of the
	VirtualBox OSE distribution. VirtualBox OSE is distributed in the
	hope that it will be useful, but WITHOUT ANY WARRANTY of any kind.

	Please contact Sun Microsystems, Inc., 4150 Network Circle, Santa
	Clara, CA 95054 USA or visit http://www.sun.com if you need
	additional information or have any questions.
-->
<deviceinfo version="0.2">
  <device>
    <match key="info.subsystem" string="pci">
      <match key="info.product" string="VirtualBox guest Service">
        <append key="info.capabilities" type="strlist">input</append>
	<append key="info.capabilities" type="strlist">input.mouse</append>
        <merge key="input.x11_driver" type="string">vboxmouse</merge>
	<merge key="input.device" type="string">/dev/vboxguest</merge>
      </match>
    </match>
  </device>
</deviceinfo>