Posts Tagged ‘editing’

Non-free packages to install to make Ubuntu Linux Multimedia ready / Post install packages for new Ubuntu installations

Monday, January 23rd, 2012

non-free-packages-to-install-make-ubuntu-linux-multimedia-ready

1. Add Medibuntu package repository

root@ubuntu:~# wget --output-document=/etc/apt/sources.list.d/medibuntu.list \
http://www.medibuntu.org/sources.list.d/$(lsb_release -cs).list \
&& apt-get --quiet update \
&& apt-get --yes --quiet --allow-unauthenticated install medibuntu-keyring \
&& apt-get --quiet update

2. Enable Ubuntu to play Restricted DVD
root@ubuntu:~# apt-get install --yes libdvdread4
...
root@ubuntu:~# /usr/share/doc/libdvdread4/install-css.sh

After that VLC will be ready to play DVDs for some programs which was compiled without DVD, source rebuilt is required.

If DVDs hang you might need to set a Region Code with regionset:

# regionset

3. Install non-free codecs

root@ubuntu:~# apt-get install non-free-codecs

4. Install Chromium ffmpeg nonfree codecs

root@ubuntu:~# apt-get install chromium
root@ubuntu:~# apt-get install chromium-codecs-ffmpeg-nonfree

5. Install w32codecs / w64codecs

Depending on the Ubuntu Linux installation architecture 32/64 bit install w32codecs or w64codecs

For 32 bit (x86) Ubuntu install w32codecs:

root@ubuntu:~# apt-get install w32codecs

For 64 bit arch Ubuntu:

root@ubuntu:~# apt-get install w64codecs

6. Install ubuntu-restricted-extras meta package

root@ubuntu:~# apt-get install ubuntu-restricted-extras

7. Install cheese for webcam picture/video snapshotting

root@ubuntu:~# apt-get install cheese

8. Install GIMP, Inkscape, xsane,sane, shotwell etc.

root@ubuntu:~# apt-get --yes install sane xsane gimp inkscape gimp-data-extras gimp-plugin-registry \
blender gcolor2 showtwell bluefish kompozer

9. Install multimedia Sound & Video utilities

Install Subtitle editor, video editiking , sound editing, mp3 player, iso mounters, DVD/CD Burners

root@ubuntu:~# apt-get install rhythmbox banshee smplayer mplayer \
realplayer audacity brasero jokosher istanbuk gtk-recordMyDesktop \acetoneisohexedit furiusisomount winff fala audacious dvdstyler lives hydrogen
subtitleeditor gnome-subtitles electricsheep k3b

10. Install CD / DVD RIP tools

root@ubuntu:~# apt-get install acidrip sound-juicer ogmrip thoggen
11. Install chat messanger programs, Browsers, mail pop3 clients, torrent, emulators, ftp clients etc.

apt-get install seamonkey thunderbird transmission transmission-gtk gbgoffice kbedic \
pidgin openoffice.org gxine mozilla-plugin-vlc wine dosbox samba filezilla amsn ntp \epiphany-browser ntpdate desktop-webmail alltray chmsee gftp xchat-gnome ghex \gnome-genius bleachbit arista

12. Install Non-Free Flash Player

Unfortunately Gnash is not yet production ready and crashes in many websites …

root@ubuntu:~# apt-get install flashplugin-nonfree flashplugin-nonfree-extrasound swfdec-gnome

13. Install Archive / Unarchive management programs

root@ubuntu:~# apt-get install unace unrar zip unzip p7zip-full p7zip-rar sharutils rar uudeview \
mpack lha arj cabextract file-roller

15. Install VirtualBox and QEmu

root@ubuntu:~# apt-get install qemu-launcher qemu-kvm-extras virtualbox virtualbox-ose \
virtualbox-ose-guest-dkms virtualbox-ose-guest-dkms

This should be enough to use Ubuntu normally for multimedia Desktop just as MS Windows for most of the daily activities.
Am I missing some important program?

How to add (.srt , .sub) subtitles to .flv flash movie video on Linux

Friday, April 15th, 2011

how-to-add-srt-subtitles-to-flv-flash-movie-video-on-linux
If you're on Linux the questions like, how can I convert between video and audio formats, how to do photo editing etc. etc. have always been a taugh question as with it's diversity Linux often allows too many ways to do the same things.

In the spirit of questioning I have been recently curious, how can a subtitles be added to a flash video (.flv) video?

After some research online I've come up with the below suggested solution which uses mplayer to do the flash inclusion of the subtitles file.

mplayer your_flash_movie.flv -fs -subfont-text-scale 3

While including the subtitles to the .flv file, it's best to close up all the active browsers and if running something else on the desktop close it up.
Note that above's mplayer example for (.srt and .sub) subtitle files example is only appropriate for a .flv movie files which already has a third party published subtitle files.

What is interesting is that often if you want to make custom subtitles to let's say a video downloaded from Youtube on Linux the mplayer way pointed above will be useless. Why?

Well the Linux programs that allows a user to add custom subtitles to a movie does not support the flv (flash video) file format.

My idea on how to create custom subtitles and embed them into a flv movie file is very simple and it goes like this:

1. Convert the .flv file format to let's say .avi or .mpeg
2. Use gnome-subitles or subtitleeditor to create the subtitles for the .avi or .mpeg file
3. Convert back the .avi/.mpeg file with included subtitles to .flv (flash video format)

This methodology is really long and time consuming, but pitily as far as my understanding goes it's the only way to do that on your Linux until now.

To make the conversations between .flv and .avi format you will need to use the ffmpeg – (FFMpeg command line tool video converter), here is how:

– Convert .flv to .avi

debian:~# /usr/bin/ffmpeg -i input_flvfilename.flv output_avifilename.avi

– Convert .avi file to .flv

debian:~# /usr/bin/ffmpeg -y -i /path/to/your/avi/input_avifilename.avi -acodec mp3 -ar 22050 -f flv
/path/to/your/flv/output_flvfilename.flv

The required overall tools which you will have to have installed on your Debian or Ubuntu Linux are:

1. ffmpeg
2. gnome-subtitles
3. subtitleeditor
4. mplayer

You will also have to spend some time to get to know gnome-subtitles or subtitleeditor, but it won't be that long until you get the idea on how to use them.

Useful VIM editor tip colorscheme evening – make your configurations look brighter in VI

Monday, February 24th, 2014

I just learned about cool VIM option from a collegue:

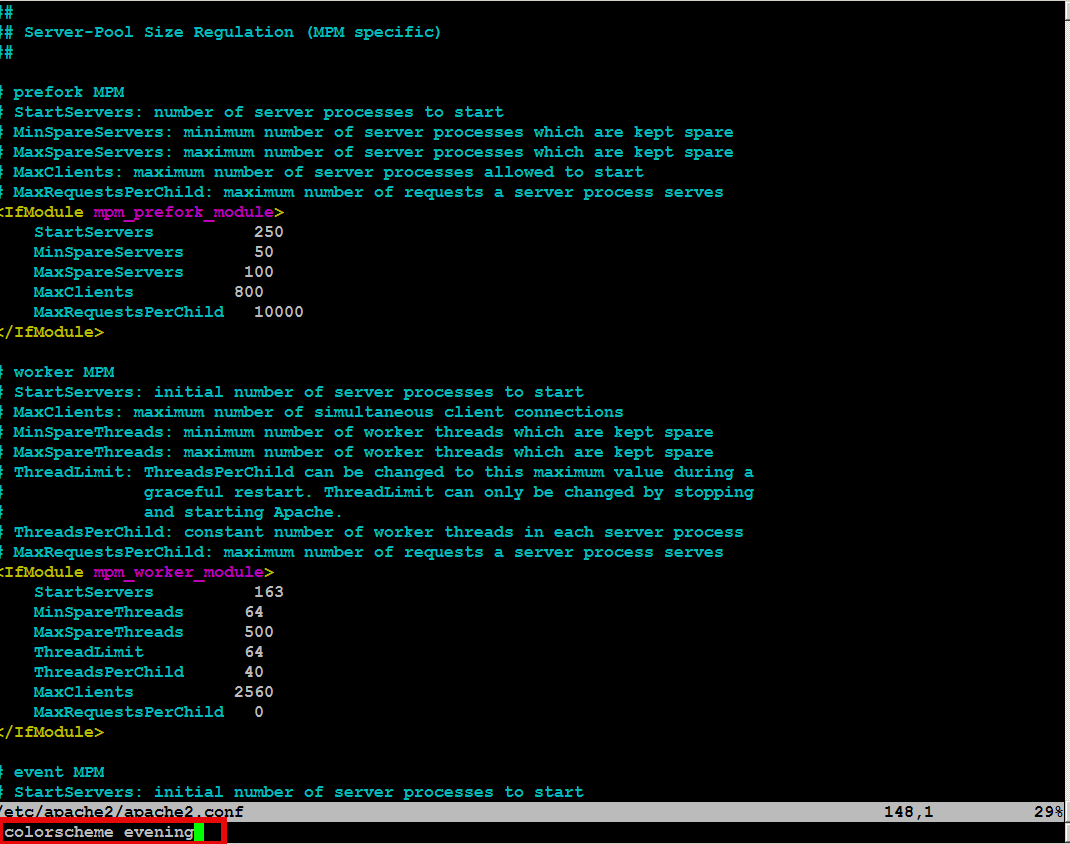
:colorscheme evening

What it does it makes configurations in vim edit look brighter like you seen in below screenshots.

– Before :colorscheme evening vim command

colorscheme_vim-linux-editor-options-screenshot

– After :colorscheme evening

colorscheme2_vim-linux-editor-options-screenshot

The option is really useful as often editing a config in vim on a random server is too dark and in order to read the config you have to strain your eyes in long term leading to eye damage.

Any other useful vim options, you use daily?

How to convert FLV to AVI and AVI to FLV Videos on Linux and BSD with avidemux and ffmpeg – Simple video editting with LiVES

Tuesday, May 8th, 2012

I'm starting to learn some video editing, as I need it sometimes for building client websites.
As a Linux user I needed to have some kind of software for amateur video editing.
For Microsoft Windows OS, there are tons of video editor programs both free and proprietary (paid).
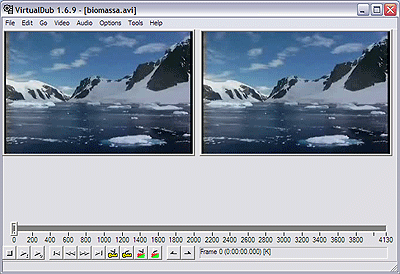
Windows users can for instance use the free software program VirtualDub (licensed under GPL license) to easily cut movie scenes from a video.

Unfortunately VirtualDub didn't have a Linux or BSD version so in my case I had to look for another soft.

VirtualDub running on Microsoft Windows XP Screenshot (Biomassa)

I consulted a friend of mine who recommended a video editor program called LiVES.

If you haven't done any video editing previously on Linux (like my case was), you will certainly be happy to try LiVES

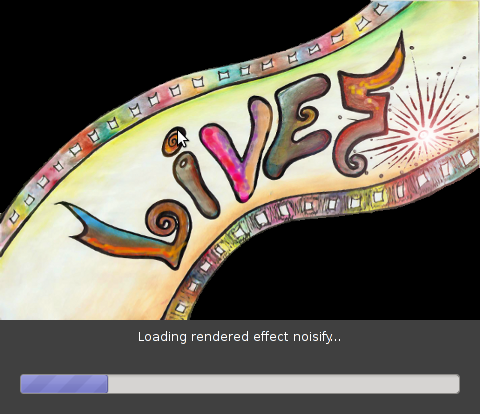
Debian GNU / Linux LiVES video editor logo bootscreen shot

LiVES can extract only sound from videos, cut selected parts (frames) from videos and do plenty of other nice stuff. It is just great piece of software for anyone, who needs to do simply (newbie) video editting.

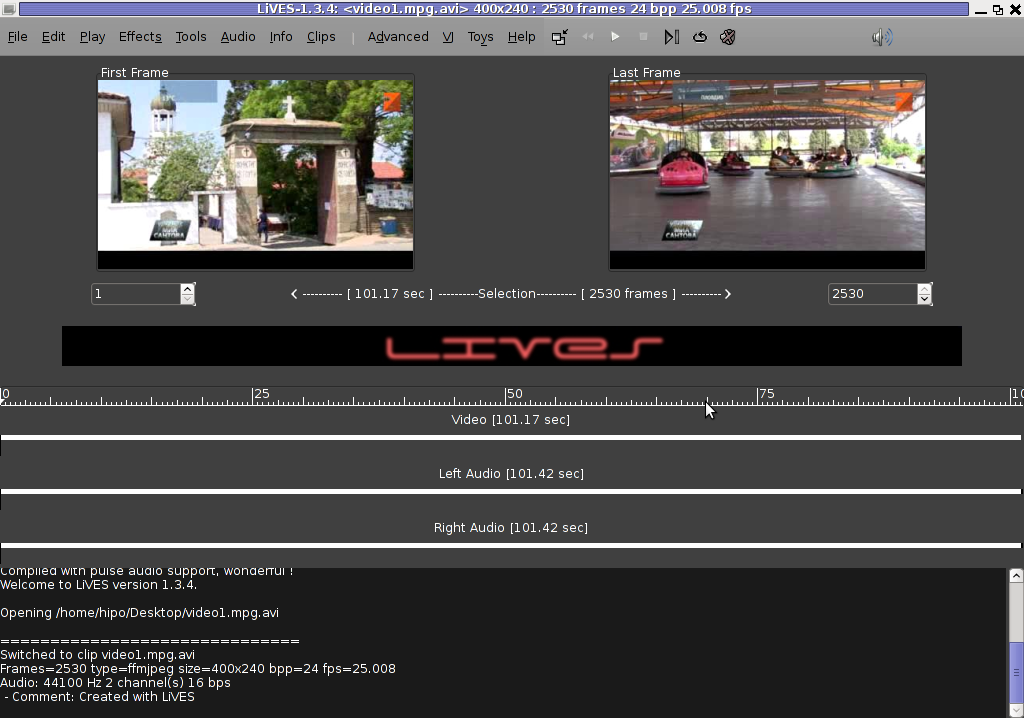
With LiVES even an amateur video editor like me could, immediately learn how to chop a movie scenes

Screenshot opened video for editting with LiVES Linux movie editor Debian Squeeze Linux shot

To master the basics and edit one video in FLV format it took me about 1 hour of time, as in the beginning it was confusing to get confortable with the program scenes selector.

One downside of LiVES it failure to open a FLV file I wanted to edit.
In order to be able to edit the flv movie hence I first had to convert the FLV to AVI or MPEG, as this two (video multimedia formats) are supported by LiVES video editor.

After completing my video scenes chopping to the AVI file I had to convert back to FLV.

In order to complete the convertion between FLV to AVI format on my Debian Linux, I used a program called avidemux

Avidemux has a nice GUI interface and also like Lives has support for video editting, though I have never succesfully done any video edits with it.

Avidemux IMHO is user (completely intuitive). To convert the FLV to AVI, all I had to do was simply open the file FLV file, press (CTRL+S) select my FLV video file format and select the output file extension format to be AVI.

Further on, used LiVES to cut my desired parts from my video of choice. Once the cuts were complete I saved the new cutted version of video to AVI.
Then I needed the video again in FLV to upload it in Joomla, so used ffmpegcommand line tool to do the AVI to FLV file converstion, like so:

hipo@noah:~$ /usr/bin/ffmpeg -i my_media_file.avi my_video_file.flv

Hope this article helps someone aiming to do basic video editting on Linux with LiVES and just like needed FLV to AVI and AVI to FLV convertions.