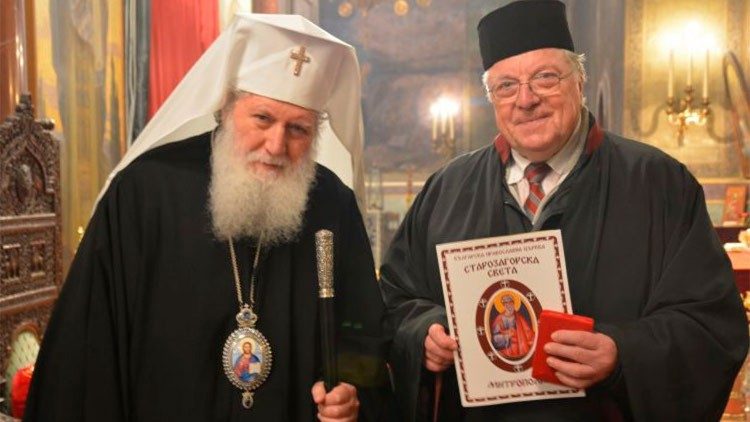
Currently an enormous scandal has been ongoing in the Bulgarian Orthodox Church. The Church Mafia is fighting the People's will for choice of a Metropolitan in an attempt to 'install' a new Metropolitan, that is part of the clique clerics that has a connection to the Underground Criminal World in Bulgaria.
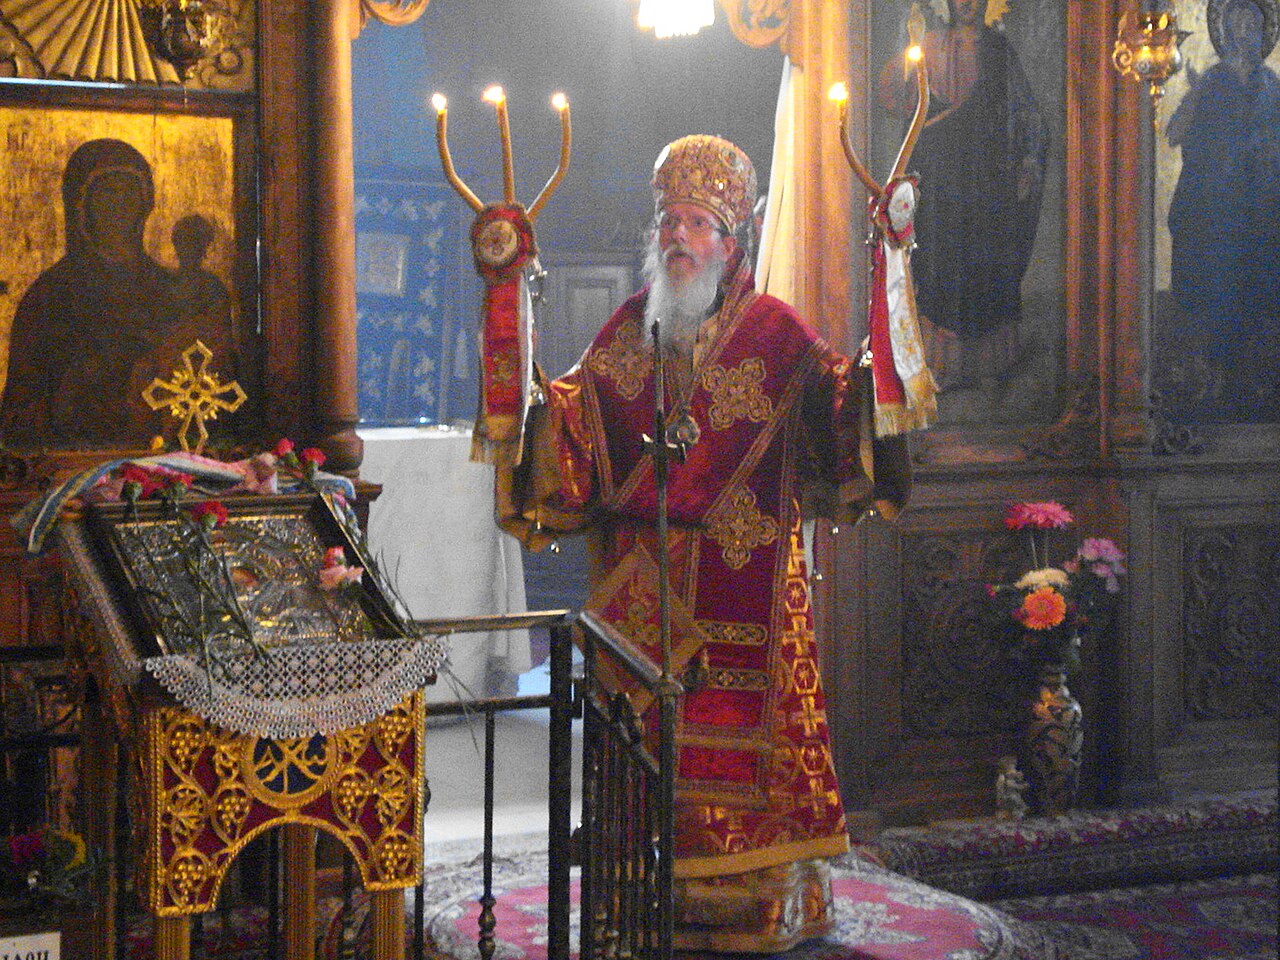
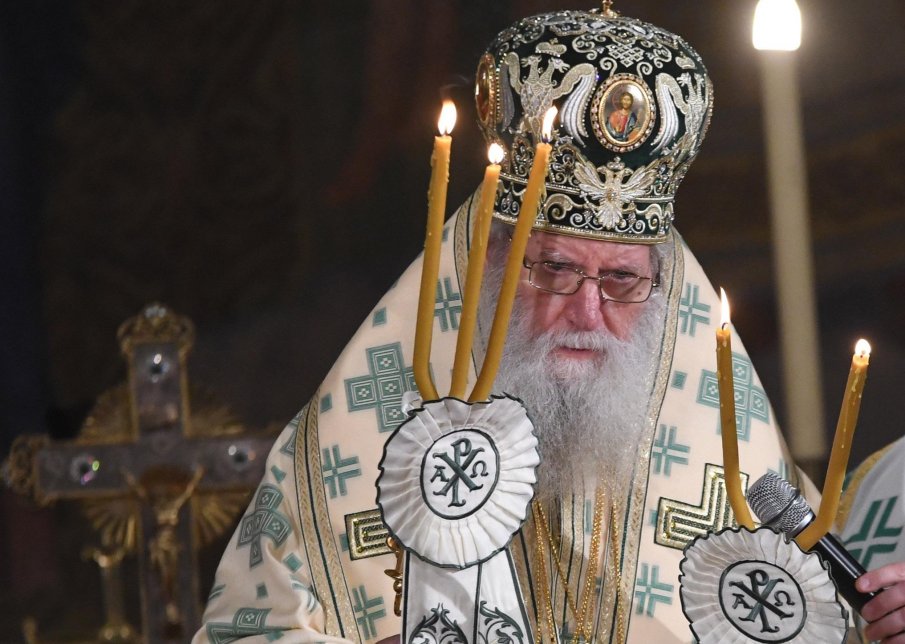
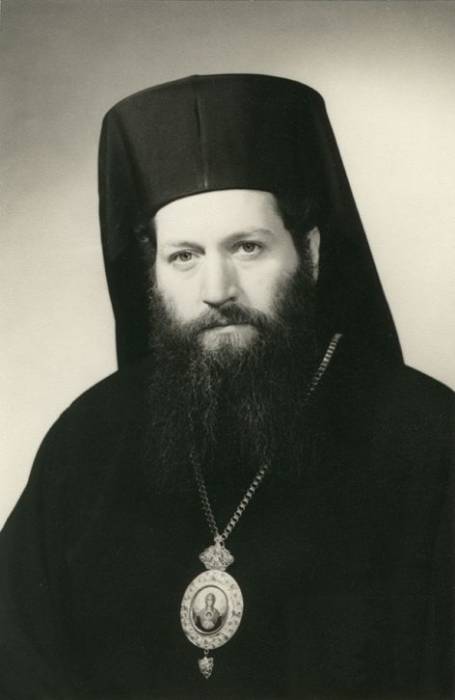
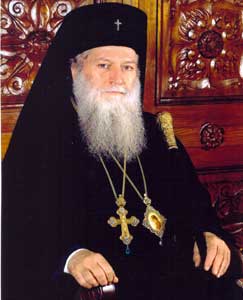
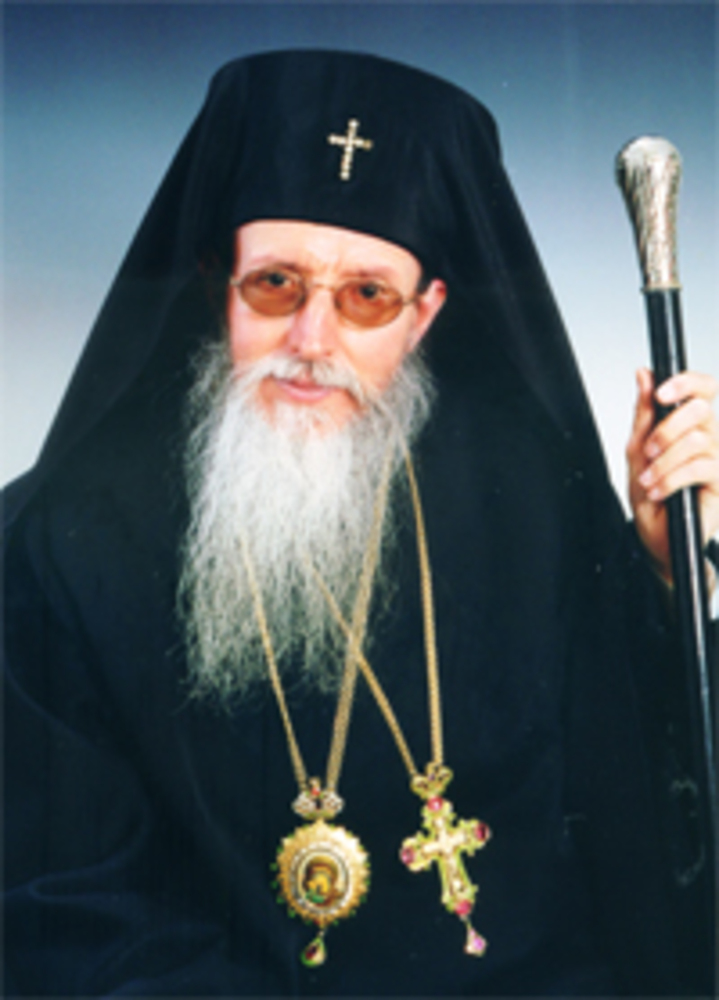
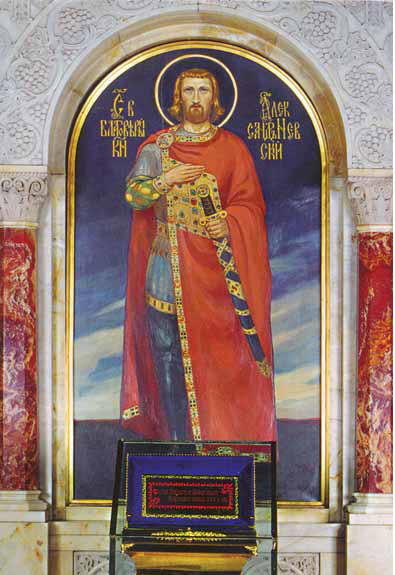
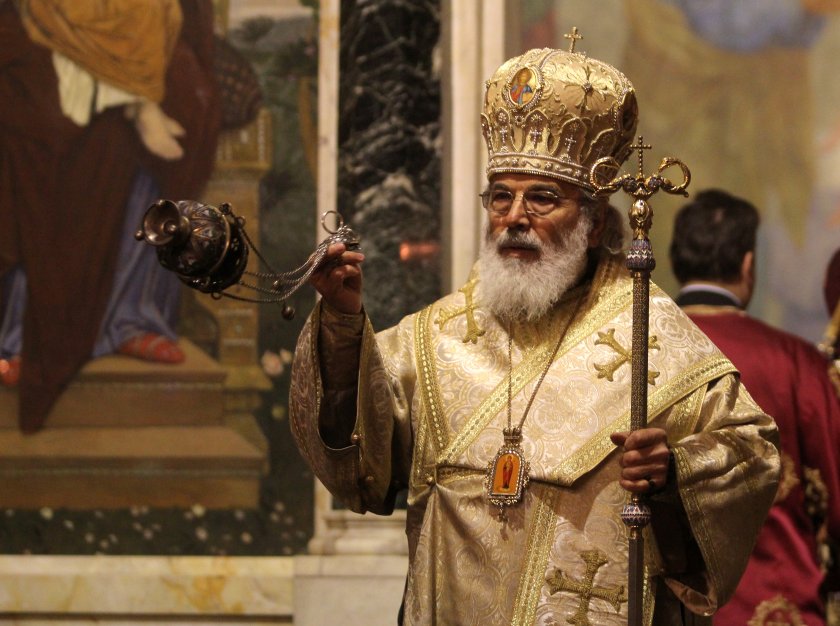
Holy Liturgy Blessing of Metropolitan Ioanikij Nedelchev (Joanichius) in the Dormition of Mother of God Church in Nessebar 15 August 2008
(Photo source Wikipedia)
The reason for the Scandal is the choice of a New Metropolitan of Sliven after the blessed passing of his Holiness Joanichius the Metropolitan of Sliven (2nd March 1939 – 9 January 2024 ), who has wisefully governed the Eparchy for almost a decate a 44 years in which he has seen the times and lived through when communist try to infiltrate the Churches completely as well as the new time after the fall of communist (socialist) regime in Bulgaria, where big part of ex-communist party has given money to different people to work and grow business for them leading to the dark years in which thje ex-communist reordered the country in a way to make each other a super rich and act only for their interests and against the interests of people, leaving a lot of people without any normal social benefits and normal standard of living for one to feel himself a person but pushing him all the time to live on the edge and just making money out of the people's tragedies for few and leaving on the border of poorness many.
Those dark years, where the country was bankrupt and people lost their money and belongings in favour of some people who become mega rich, stealing from the country's belongings selling them for pennys and destroying everything built till this moment however seems to have not ended.
The democracy and democractic choice for governors in Both the Country Stages of Power in Bulgaria (The National Assembly, President and local city Mayers and all the other people assigned with functions to govern over the citizens) is still suppressed and people are installed on country government positions in the old communist 'scheme' of dictatorship not regarding at all the choice and will of people on who should govern the country.
So far so good everyone in Bulgaria now knows, that even though the European Union inclusion of the country and the attempt from the European Union messangers to change some realms of power distance and over-dominance of governors of Bulgaria and unwalfulness for the better, still the situation is critical and again following the old communist scheme before 1995 is again practiced fully not only in the Country but also in the Church.
Bulgarian Orthodox Church has done a lot of improvement and development at first after the great Scheme that was organized by Secret services of Bulgaria called (DS Darzhavna Sigurnost or Country Security / CS). After those terrible time of dictatorship only few of the new seclected Church highest authorities (Mitrpolitans) like Metropolitan Daniil of Vidin and Seraphim of Nevrokop as well as the old selected (during communism) but very much pious and truth loving Gavriil of Lavchanska eparchy has been legally selected venerating both the will of people and the will of the Highest Church governing Authorities, that is the Holy Synod.
Those metropolitans until today over the years, since their official election as Metropolitans after the pass of the old Metropolitans has shown their high spirituality and perseverence for God and the Church and every normal orthodox christian in Bulgaria highly values, their good deeds for the Church, the preach and the charisma and their sincere desire and acts to help the Bulgarian Church institution rise up its position in the eyes of todays degradated youth to push back Church moral in society and educate the long time kept illiterate of faith nominal Christians in Bulgaria, just like they have done a lot to share the Gospel and help people in spiritual and material need and has truly dedicated themselves to follow the Gospel as it is preached and shown on a deed by Jesus Christ himself.
Unfortunately the old government installed Metropolitans (agents) in the Synod even though as publicly showing as a perfect and good are known by people in the country that most of them have some at least points of dark past (connection with Secret Services and compromising materials with sexual and immoral acts) that helped them to rise over the ladder of Church power to become the Metropolitans they are today.
This is not a secret to anyone in the country even though noone really speaks about it too frequent.
This is also at least partially the reason if not fully, why many people in Bulgaria even though baptized in the Church, choose to be a nominal Christians and not frequently visit Church services. I myself was one those people while my faith was missing (or partial and shaking) and took me very difficult and hard road to return back to my ancestors Orthodox faith. Many of people in Bulgaria that are about 40 – 50 has walked similar path and we all have interacted or seen some of the abnormalities in the Church and the unwalfullness in times. Don't get me wrong unlawfulness actually is normal as we're human and such we do sin all the time, but still there are some limitations on when unwalfulness that is created by our own passions ends and unwalfulness from a mania for power and money and even megalomania comes.
The Church as everyone knows has a set of Financial activities that are interesting for people willing to live a relatively confort live and less, or people who want to become a succesful businessman in cassocs, without having too high education but having a high perseverence to follow orders without thinking of superior.
For that reason over the past years of 'pseudo' democracy, where the country shows the face of a fully free to the world even though such a democracy and law is followed only for simple things and for the big and important government questions 'its all about money' and law is not venerated.
For that reason many people that are in the High Stages in the Church, for the lack of proper spiritual elders in the Church and the activities of Bulgarian Secret Services SS (DS) operations, as well as Mafia sponsorship has installed even from communism times till now, the pseudo spiritual pastors, who are ex or even current informers to SS / Mafia as well as because of lack of normal high church authorities, many of whom were governed by the communist party has been filled with many people unworthy due to their sinful life and thinking and unfollowing the Christ Highest standard of Love God and the Neighbor but only considering their own corrupted interests and interests of their masters to whom they seem to be simple a puppets who receive benefits for following the orders of the masters …
You would say everywhere is the same and that would be true in more a or less for each country Local / Public / Government institution.
But when the unwafulness becomes a standard and public unwalfulness is tolerated that is a indicator for either a lack of country or dictatorship in it.
If such unwafullness as unfollowing the norms of Public Law are happening in the Country every now and then that is normal, but what becomes abnormal if such anomalities has become a standard also for not only how things happen in Government Parliaments but how things happen in the Church, then this is a tragedy.
The Church has always been the Highest standard and example for people and even today for many it is still a barrometer for whereto things are going.
For those who don't know the Church's governence Authorities The Metropolitans (a High Powered Monks Bishops who give a vows for unaffection to money posetions and worldy goods that promised God to work only and mainly for the Good of the Church members the people assembly Ecclasia) has the holy duty to not only persevere for their own salvation but has taken the responsibility to lead the people following the Highest Standards of The Christ Gospel in their way to salvation. Those people in the Bulgarian Church who govern it are callet the Holy Synod (or Assembly of Metropolitans) and as of today's article writting are 28.02.2024 are numbered of 13 'elders / starci (as called in Bulgarian) who should take the important decisions for the Church, those 13 are being exchanged with others that should be selected once one passes over using a special procedure for choice that is written in the so-called 'Church institution' the Church statuses regulations, that are written and approved together with Priests ,Monks, and Laymen and has been selected to be followed as a legal internal way on how the Church takes decision of the seclection of new Metropolitans once one passes away. To this date this law has been followed and this kind of selection procedure, where the Church members the people choose on the new Metropolitan together with Priests in a special selection day that is set by the Holy Synod elders and with one Elder (A Metropolitan from the Holy Synod) who will be observer on how the people and clergy vote for their new Hierarch and as currently we had this Eparchy of Sliven His Holiness Joanichius metropolitan of Slived – Died passing to Christ just 49 days ago and a decision was taken by the Holy Synod to organize the selection procedure for new Metropolitan.
The procedures of selection of new Metropolitan has been followed closely up to the smallest details, and two candidates has been selected just like the Church accepted rules prescribes those was
On the first circle of selections (which by the way were publicly translated in Facebook !!!) 3 bishops were selected
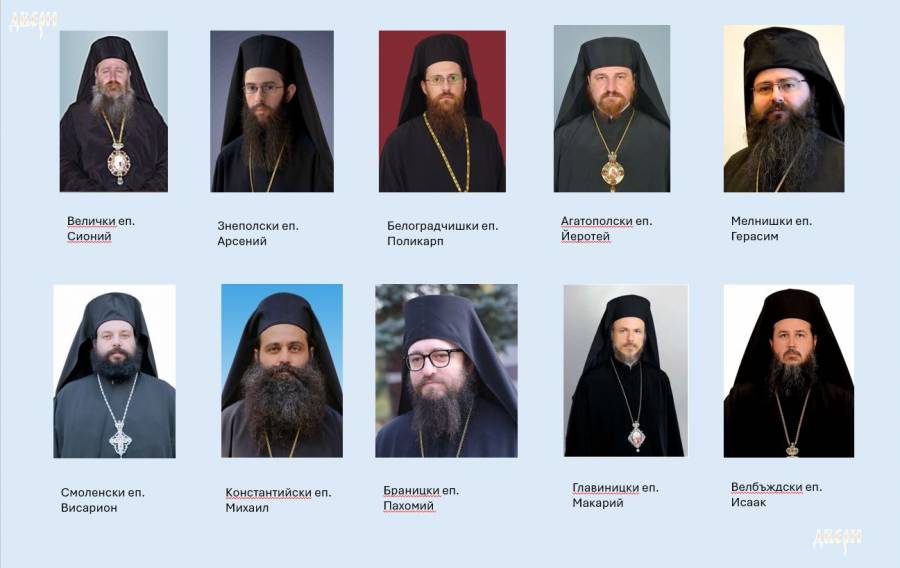
1. Ierotey of Agathopolski (received most votes)
2. Arsenij Znepolsky (second in votes)
3. Mihail Konstantijski (third in votes)
A second circle up to the official selection rules was done on which Arsenij has been put out of the list as he received only 17 votes for the people will.
1. Bishop Ierotey of Agatopolos spiritual district (received 26 votes by Sliven's Monks, Priests and Laymen that are part of Eparchal assembly as to the Church rules)
2. Bishop Mihail of Konstant spiritual district (received 22 votes by Sliven's Monks, Priests and Laymen that are part of Eparchal assembly as to the Church rules)
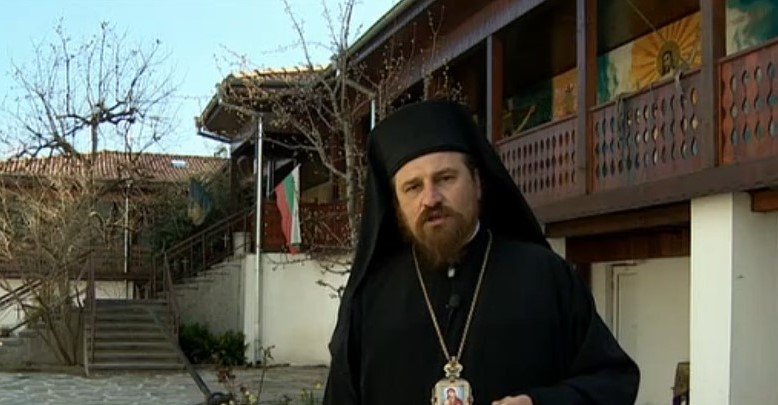
Bishop Ierotey
(note both spiritual districts are no longer existing in Bulgarian Orthodox Church due to territorial change of the country and this titles are given usually to non metropolitan Bihops in the Bulgarian Church).
The selection process was leaded by Metropolitan Ioan (John) of eparchy Varna and Veliko Preslav.
After the selection his Holiness John of Varna and Velikopreslav has been very happy and told publicly to the news the first part of selection of new Metropolitan for Sliven has been sucessfully finished and no any irregularities on the votes process has been seen.
The official process and practice in that case in the Bulgarian Orthodox Church so far has always been to ratify the Choice of People and select one of the two that seems for the 14 Metropolitan Eldersas the most suitable for the Eparchy to lead and teach the people on the Gospel and Christs Words and lead them in their path to Salvation and to protect the flock against heresies etc. etc.
The practice up to this date was to ratify one of the two chosen Bishops as favourites and Entrone him as the Official Governor and local Church Spiritual Leader of the Eparchy of the Holy Orthodox Church and the person who will take the important decisions for the Eparchy and by the Public head official representative of the Priests, Monks and Layman of those eparchy.
A date was set on which the Synod should come up with an information on his selection of the new Bishop of Sliven between the pre-selected ones Ierotey or Mihail.
Everyone was expecting the choice and the clirics and people of Sliven Bulgas and the many black sea Black Sea tourist famous destinations cities such as Ahtopol, Chernomoretz, Pomorie, Rezovo as well as people from villages and everyone was waiting to celebrate and congrat their new Metropolitan and accept him in the Synodal Palace in Sliven.
But guess what happens, the official set process of selection is cancelled in a very unwalful way out of the Sudden the Sinodal elders makes a paradoxal decision without any official explanation to cancel the prior vote selection of Metropolitan Ierotey or Mihail !!!
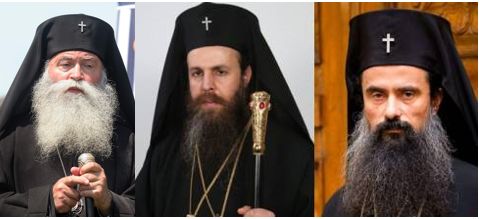
During that strange behaviors there even more oddities, the Patriarch is in Hospital and unconscios and not part of the decision of the Synod, which makes the important decision out of Quorum of 14 + 1 (patriarch), moreover the strange unlogical and unargumented decision however is not approved by 3 of of the Synodal Elders
+ Gavriil
+ Seraphim
+ Danijl
Who has the fame of the few only truthful uncorrupted or unkept by compromats or sex or other public scandals and who are serving Holy Liturgies, serving, working steadily for the goodness of church temples, the people and the interest of the Bulgarian nation.
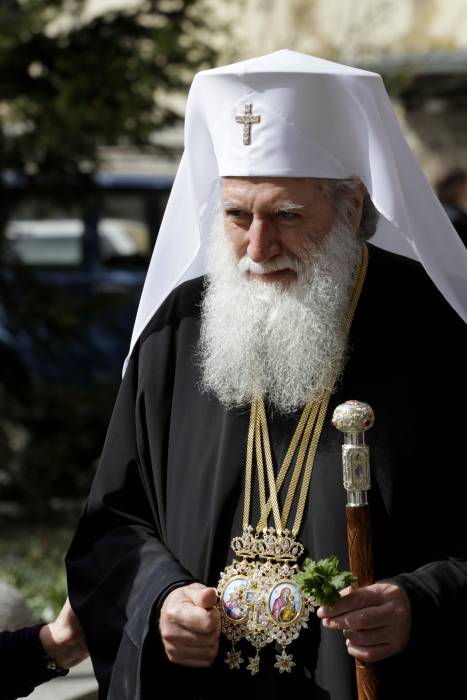
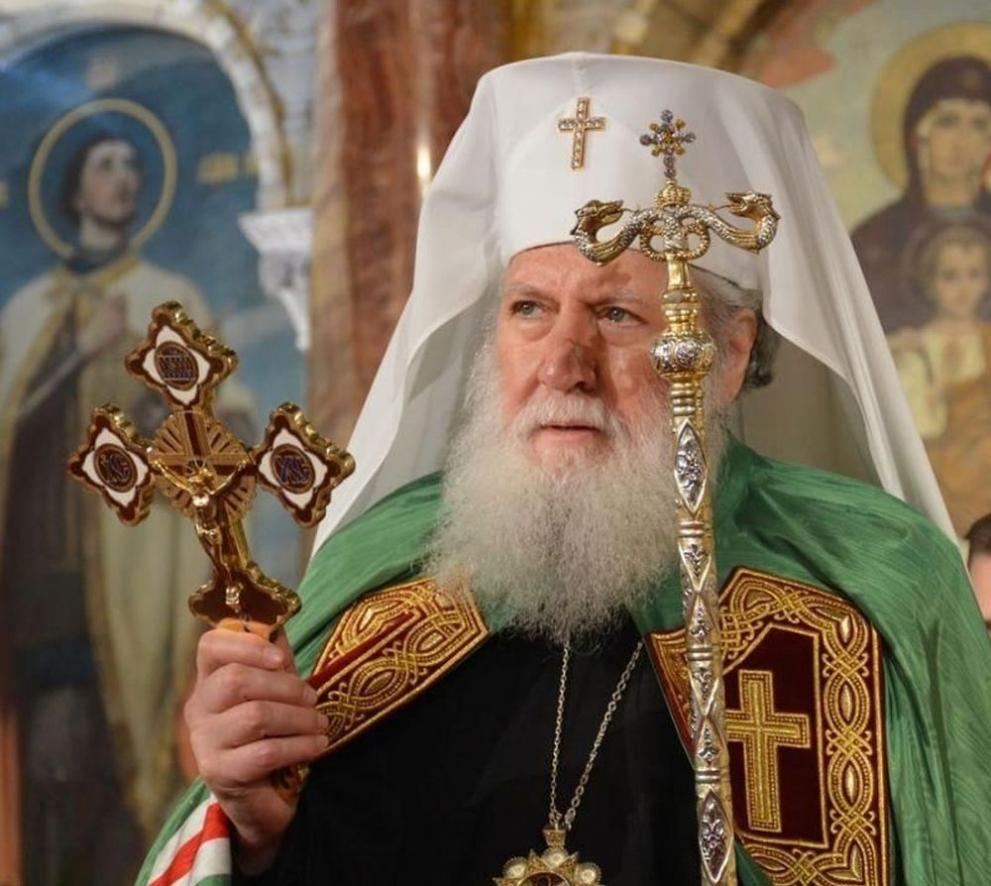
Besides that the Patriarch did not take any decision as his health situation is unclear (some people in the Church even doubt whether he is still alive?? as no laymen or clergy man is allowed to enter the Hospital where officially he is said to be health with a severe deadly disease a cancer on the white lungs).
Besides that the Metropolitan of America His Beautitude Yosif Metropolitan of America did not took part of the discussions in the Synodal Palace.
Meaning out of 12 present Sinodal Elders during the decision assembly in Synodal palace only 8 do vote for and 5 vote against. Strange enough the observer of the whole voting process that took place 2 weeks ago in Sliven Sinodal Palace Joan of Veliko Preslav has also voted for the cassation of the choice??
Now Suddenly John starts suddenly talking the vote was not really done in a proper way even though he himself has been part of the vote and has confirmed after the vote that everything was flawless actual and honest and there was no corruption during the vote and again (The vote has been shown on facebook LIVE !!!).
That of course leads to the fact that someone has pushed him to make those strange choice of cassation from somewhere and to publicly claim the voting process has been compromised controrary to what he claimed earlier.
But the strangeness here in Metropolitan voting does not end. On those same day where the Synod has chosen to cassase (cancel) the voting by sliven's eparchy people and priests, there is an offer made that the Official way of how a selection of new metropolitan is made is changed immediately !!!
The Church is immediately voted by those same 8 of Elders that has voted for the cassation and those "Elders". What a coincidence HUH
OR IS IT A CONSPIRACY ?
And this offer to cancel the current Rules that are provided by officially Church legal binding document on the process of Choice of Metropolitan that has been used until today and whose latest revision was from 2009 and has been accepted on a Church National Assembly ratified by Layman, Deacons, Priests, Monks, Ipodeacons, Layman to be the official guide for how the voting of new metropolitan should be made as well as how to solve different complex situations that could emerge in the Church realms.
For over 150 years of the existing of new Bulgarian history, after liberation (The Church Statues state rules has been the leading guide for the Highest authorities like a help manual so things in the Church are done in lawful way and everything as transparent as possible, now without the allowness of people and clergy except the synod they want to cancel those Church Statuses not caring about the people opinion.
Sorry guys but this is the 21 century and in realms of 21 century this kind of behavior is called Dictatorship !!! Every normal member of the Bulgarian Church recognized those and now a great set of discussions in facebook and on many Bulgarian websites and informational websites are explaining a lot of hidden details on the real reasons for those scandal which in short are:
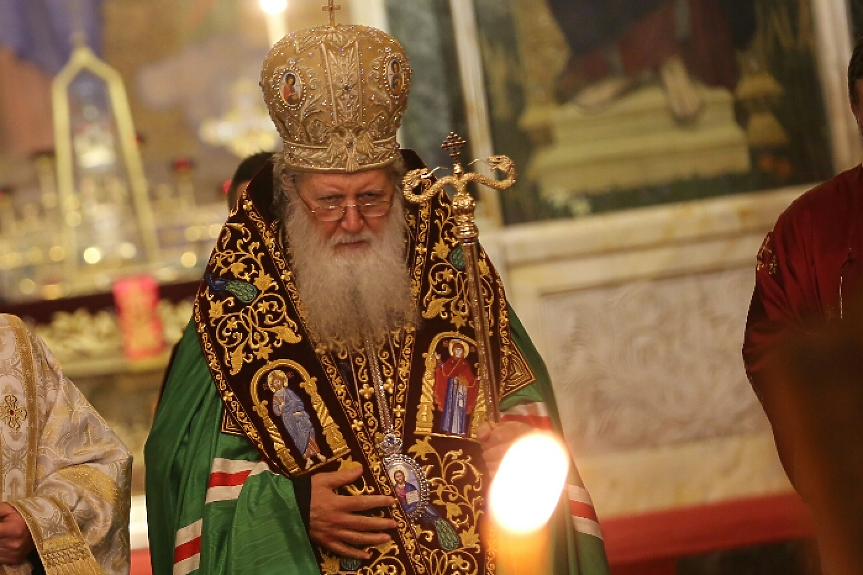
1. The Patriarch of the Church Neofit is near his deadbed or has passed away and this is kept in secret until new Metropolitan is installed
according to the Plans and in that way the group of Nikolay even prankly called Nikolayts (for their dedication to Nicolay) will be complete
enough in order for him to succeed to be Enthroned as next Patriarch ?
2. There is Metropolitan Nikolay who is well known by at least 10+ years that has appetite to become patriarch or to command over the whole Church Synod and Bishops and those same person has forced his protegees to make that unlogical choice as he has helped him somewhere in their career development, by installing his new protegee Arsenij or someone else under his dominance power group who he is dictating pretty much like Hitler his Gestopo (just to name one scandal person who is a famous part of his group this is Sionij who by some proven sources has been claimed to have been involved with things that does not fit to his high position in society such as pedophilia sex, alcoholism and other criminal deeds that has connection to the Secret Servies and the Mafia of Bulgaria.
3. Sliven Metropoly (Eparchy) has a lot of Public Business interest for businessman involved as the Eparchy is a common tourist destinations and a lot of investors wants to buy a cheap Church land and such a dead could be easily helped with installing the right new Metropolitan on the Eparchy Ship steering wheel. Rumors are ongoing that this two priests are receiving money to act as they did for quite some time within different circuits of the Church.
4. Both pepople and Clergy preselected Bishops Ierotey and Mihail does not have compromats and are not easily blackmailed as a consequence as many others have, and are known in the public and common people in the Church to have a good Spiritual life in Christ and are famous for their good deeds and has already helped a lot of people in need both materially and spiritually and continue to do so as their faith for Christ is real and not nominal dictated only by public and material interests and that does not fit the overall agenda.
Ierotey has been part of Sliven's eparchy for 21 years and has been next to Metropolitan Joanikij (Yoanikius) for the last 10 years and has been his Vicar Bishop and has taken care about the Graceful elder Metropolitan Joanikij while he was on a deadbed, was his spiritual Childrean of him and knows pretty well the things in the Eparchy.
While Mihail who is also serious monk and has lived a secluded life in Greek monastery and a notorious Greek Elder near Athens and has been proven to also a Quality good and Highly spiritual person and monk.
Even though it is logical and expected by people for Ierotey to be the selected candidate as he is already known with the people for 21 years and people know them and love him.
Mihail is also a good suit because he has a good spiritual base, even though being ordered as bishop much later than Ierotey and having much less experience as such.
After the cassation the Elders did not come with an official explanation on why really the cassation was made. Secondly they had come up with a later news on bg-patriarshia.bg which is the Bulgarian Orthodox Church, with a very cloudy message that the voting is cancelled with no explanations.
Just recently after 3 of the other Metropolitans who has been against the cassation came with a very thoroughful and clearly explained position, on why changing the rules for a Metropolitan selection while the selection is ongoing is anti-Church deed which is not accepted and they throughfully explained why chaing the Church statue rules, to be legal should be made on an official Church National Assembly gathering as it was used to accept the Church statue rules after all.
In the same Church statue rules, it has been pointed that the Church rules are most important Church Organ after, Holy Bible, Holy Tradition and Canons. Church canonists of the Bulgarian Orthodox Church specialist on the topic has been already explained why a dead of changing the Church statue rules without taking in consideration the members of the church the layman and the low clergy priests, monks is totally unchurch and evil.
Intesrestingly enough two brother priests (or better say fake priests as their deeds are not worthy for priesthood) Silvestar and Evgeni ( Yanakievi ) of the Sliven Eparchy who created a lot of scandals historically in the Bulgarian Church and has pressed and harmed many normal people, has preached a lot of ultras ideas and neven stick to their right hierarchical place (presenting themselves as saints and truthful lovers of Bulgarian faiths and traditions, often rioting the people are the main people who have been 'sceaming' and attacking about venerating the legal choice of Sliven's eparchy people and priest.
In a very unscrupulous way they spread lies about people in facebook and everywhere and are presenting themselves as the protectors of truth and Christianity and people who care about the 'clearness of faith' etc. Those scandal personalities continue to put more and more disturbance in facebook and the media preaching open lies that are against the Authority and personal dignity of Bishop Ierotey who.
They publicly claim Bishop Ierotey has been making money, by selling Church lands belonging to Pomorie Monastery who he has been a bishop of, those false claims that Ierotey has stole and sold land of monastery has been publicly shown as false by official documents and are available to be seen here.
Many Church important figures such as Profesor Ivan Zhelev (who has for 25 years has been official translator of the Bulgarian Orthodox Church) and many other has given already his opinion that the situation within the Church is absurd some, can see behind the strange coincident and indeaquate reactions of most of Synodal Elders a conspiracy with some specific aims such as creating a planned Schism within the Church or complete take over of the Church highest government bodies by the Mafia in Bulgaria Underground world or / and the Secret Services (DS) who after communist are well known to have a very good connections.
Nomatter what is the reason behind the Synod activies, one thing is clear people in the Bulgarian Church are not so stupid as they thought and such an unwalfulness is not going to be tolarated by people in the mask of humility as they want to convince her!
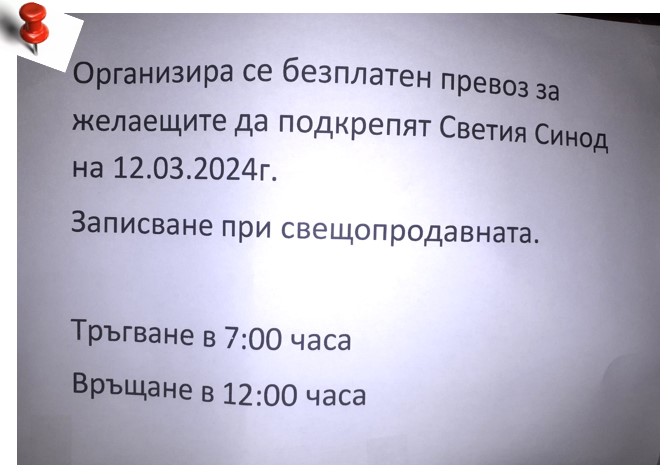
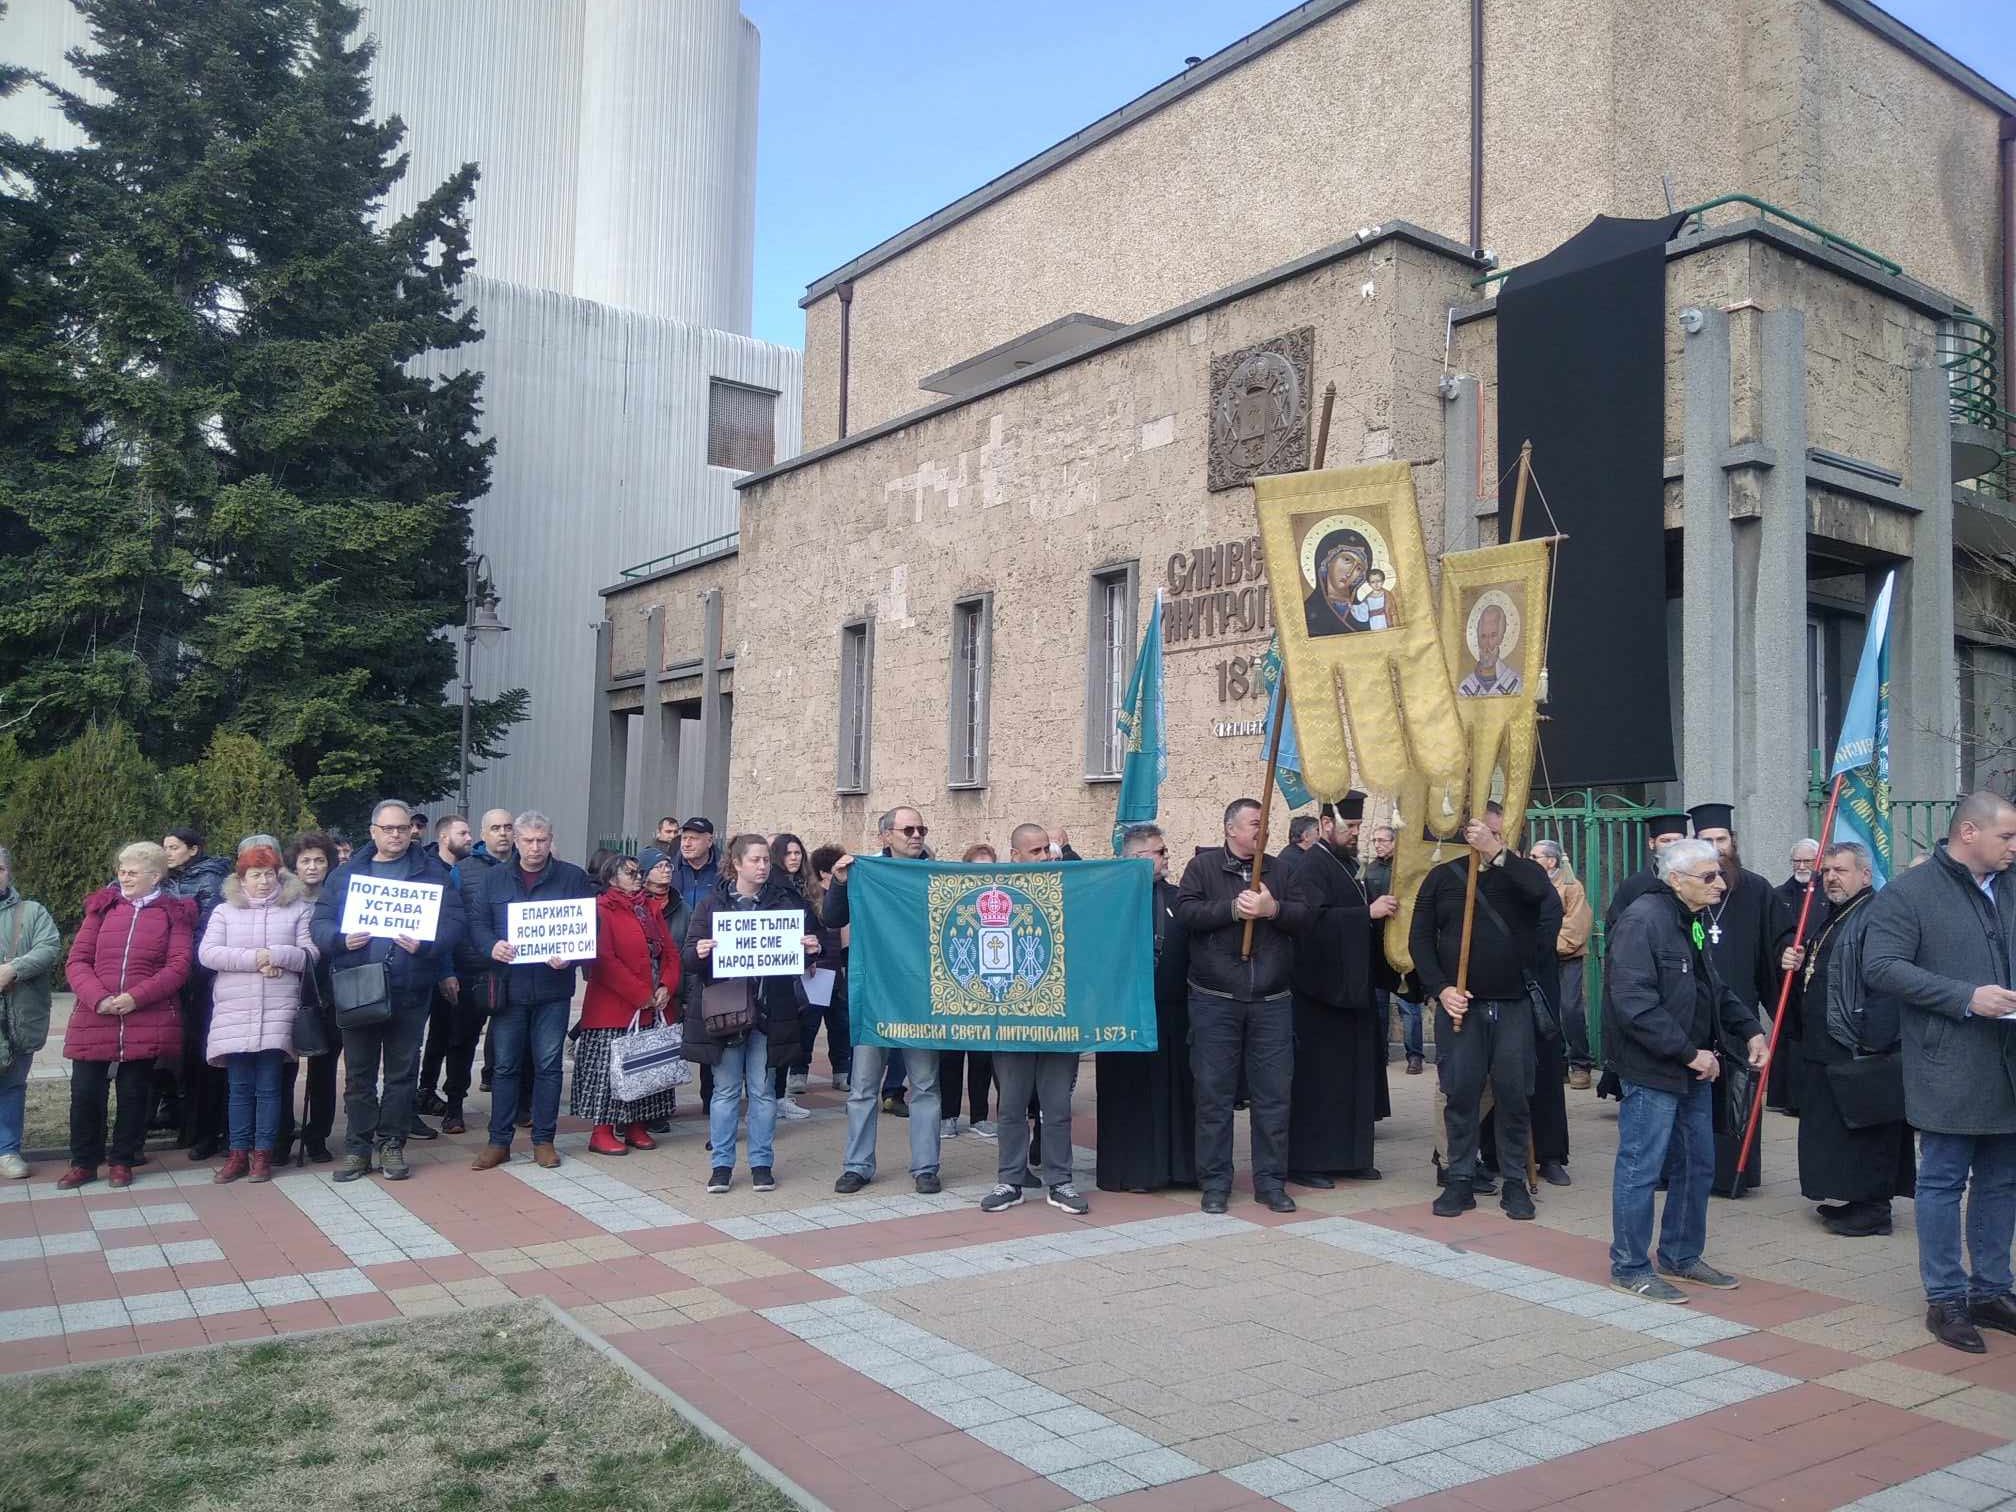
Protests in front of Slivent's synodal palace has taken place already, and such protests are about to continue as a follow up in front of Synod especially as people want their voice to be heard and not be commanded as a dumb flock as some people seems to want, breaking all democratic norms !!!
Unfortunately the Bulgarian Orthodox Church Synod with those last indeaquate and inadequate decisions puts another spot on the reputation of the Church which anyways is not so high as of today, because of certain Metropolitans indeate talks, decisions and acts, pretty much like it happened in official govenment.
That is sad and anti-people as obviously now the recent unwalfulness was tried to be shown as absolutely canonical and good and for the good of people that decisions on who should be governing an eparchy of Bulgarian Church has to be only taken by the so called 'Elders', many of whom as today in difference with the past their ancestors has neven been a serious monks not succeeded in any spiritual deeds and has been made bihops and monks with breaking church canons or rules.
The best one could do in that terrible situation to help resolve is to sign up a petition against the unwalful decision of the Synod to cancel the vote decision made for new Sliven Metropolitan.
Lord have mercy over the Bulgarian Holy Church and keep her out of those wolves in sheeps cloting, who try to destroy your Church and flock !!!