
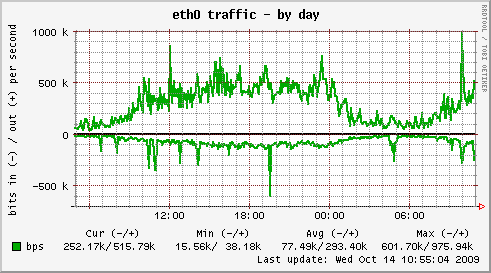
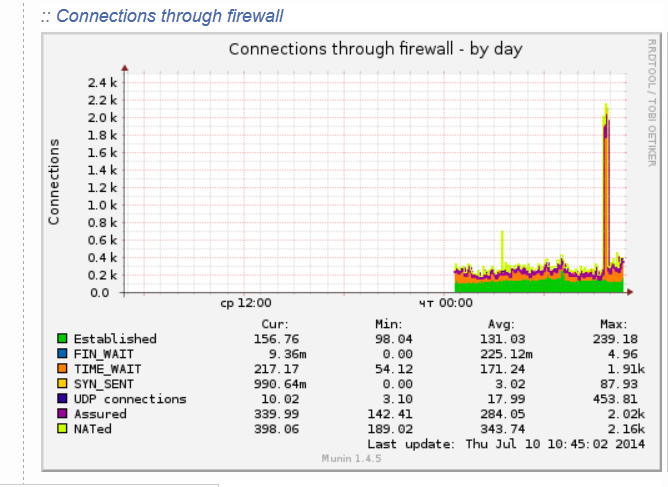
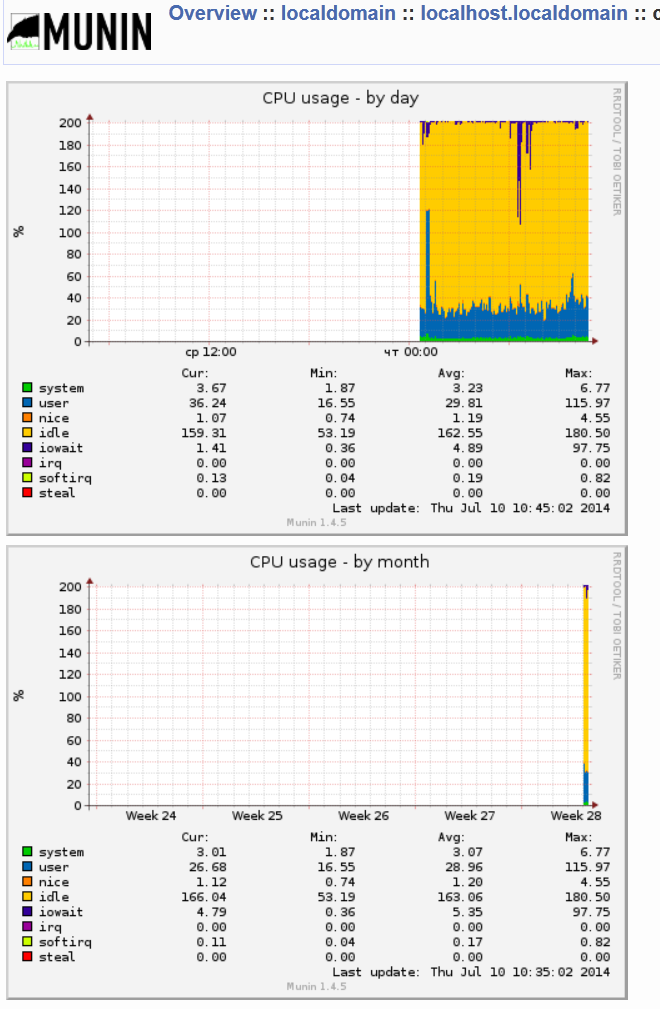
Munin is great software for surveillance software for your MySQL, Apache, Qmail, Postfix and many other of the classical daemon services which most of the Linux, BSD servers online are running on.
1. Munin on Debian Linux is really easy to be installed and comes to executing:
debian:~# apt-get install munin munin-node munin-plugins-extra
2. Link /var/www/munin/ to some VirtualHost or ServerHost
For instance if your munin is to be placed on the domain www.pc-freak.net.net which has the DocumentRoot of /var/www
debian:~# cd /var/www

debian:/var/www# ln -sf /var/www/munin munin
3. Add some extra MySQL related plugins
To check whole list of pmunin plugins you can enable check in /etc/munin/plugins directory
Lets say our Munin will be providing statistics mainly for MySQL, enable this bunch of plugins:
cd /etc/munin/plugins

ln -s /usr/share/munin/plugins/mysql_ mysql_

ln -s /usr/share/munin/plugins/mysql_bytes mysql_bytes

ln -s /usr/share/munin/plugins/mysql_innodb mysql_innodb

ln -s /usr/share/munin/plugins/mysql_isam_space_ mysql_isam_space_

ln -s /usr/share/munin/plugins/mysql_queries mysql_queries

ln -s /usr/share/munin/plugins/mysql_slowqueries mysql_slowqueries

ln -s /usr/share/munin/plugins/mysql_threads mysql_threads
Though above command would enable mysql monitoring it will be not working out of the box. You will find in munin logs error like:
Missing dependency Cache::Cache at /usr/share/munin/plugins/mysql_ line 716."
To fix this install libcache-perl and libcache-cache-perl
apt-get install --yes libcache-perl libcache-cache-perl
Then regenerate munin plugin configuration issue cmd:
munin-node-configure --suggest --shell | sh
and restart Munin-node server
service munin-node restart
Munin Node should be able login to the MySQL server using the Debian System Maintenance user however if you should need to create a custom user you can add the following configuration to:
/etc/munin/plugin-conf.d/munin-node
[mysql*]
user root
env.mysqluser muninmonitor
env.mysqlpassword Your-Secret-Password
4. Edit Munin config
Make sure you have at least the following variables enabled in /etc/munin/munin.conf
dbdir /var/lib/munin
htmldir /var/cache/munin/www
logdir /var/log/munin
rundir /var/run/munin
tmpldir /etc/munin/templates
includedir /etc/munin/munin-conf.d
[localhost.localdomain]
address 127.0.0.1
use_node_name yes
5. Add Munin Alias or Virtualhost
To make Munin Accessible from Webserver you need to at least add an alias create a file
/etc/apache2/conf.d/munin with following content:
vim /etc/apache2/conf.d/munin
Alias /munin /var/cache/munin/www
<Directory /var/cache/munin/www>
Order allow,deny
#Allow from localhost 127.0.0.0/8 ::1
Allow from all
Options None
php_value engine off
<IfModule mod_expires.c>
ExpiresActive On
ExpiresDefault M310
</IfModule>
</Directory>
If you want to access Munin from Apache subdomain create it lets say you want to access it via stats.www.pc-freak.net, use following config file:
vi /etc/apache2/sites-enabled/stats.www.pc-freak.net
<VirtualHost *>
ServerAdmin hipo@www.pc-freak.net
ServerName stats.www.pc-freak.net
DocumentRoot /var/cache/munin/www
<Directory />
Options FollowSymLinks
#AllowOverride All
php_value engine off
</Directory>
LogLevel debug
CustomLog /var/log/apache2/munin/access.log combined
ErrorLog /var/log/apache2/munin/error.log
ServerSignature On
<Directory /var/cache/munin/www>
Order allow,deny
#Allow from localhost 127.0.0.0/8 ::1
Allow from all
Options FollowSymlinks
#AllowOverride All
php_value engine off
</Directory>
</VirtualHost>
6. Restart Apache;
debian:~# /etc/init.d/apache2 restart
Now to access the newly installed munin point your favorite browser to (either the subdirectory configured for access or the Virtualhost subdomain):
https://www.pc-freak.net/munin/
or
http://munin.www.pc-freak.net
7. Protecting Munin with a password
As it could be a security leak to expose statistics regarding your server (Disk I/O, Memory, Load Avarage, Apache, MySQL Postfix) operations it is good security practice to protect munin with a password.
I've earlied blogged on how to protect your server munin web-statistics wtih an htaccess password (read it here)
Happy Monitoring


How to fix / Resolve WordPress Blog /comments/feed/ redirect loop
Wednesday, July 7th, 2010I have recently figured out that accessing https://www.pc-freak.net/blog/comments/feed/ would end up in a Redirect Loop I’m using feedburner to manage my blog feeds so I assume this redirect loop is probably caused by the use of feedburner
Since this kind of redirect loop is definitely not professional and has a negative influence on search engine indexing (the SEO), I have playeda bit until I finally found a way to resolve the /comments/feed/ redirect loop.
In order to resolve the redirect loop issue it appeared to be really easy.
To fix the issue Navigate to:
Tools -> RedirectionTherein add a Source URL to redirect to a Target URL:
For instance:
Source URL: https://www.pc-freak.net/blog/comments/feed/Target URL: https://www.pc-freak.net/blog/feed/
Press the Add Redirection button to confirm the redirection.
That’s all your problems with feeds redirect loop while the /comments/feed/ url is accessed should be resolved.
Tags: end, fix, How to, How to fix / Resolve Wordpress Blog /comments/feed/ redirect loop, indexing, negative influence, net, Redirect Loop, redirection, Resolve Wordpress Blog, www
Posted in Linux, SEO, System Administration, Various, Web and CMS | 2 Comments »