I'm currently learning some basic graphic design – reading GIMP's documentation etc. While reading http://docs.gimp.org, I saw a reference to Gthumb and GQView picture viewing apps, so I thought of installing them on my Debian LinuxGQView has a lot of santimental value to me as it reminds me of the the old times when I used gqview as a default picture viewing program on a old machine running Debian Woody Linux with Window Maker as desktop environment.
I wanted to see how GQView looks nowdays so installed it:
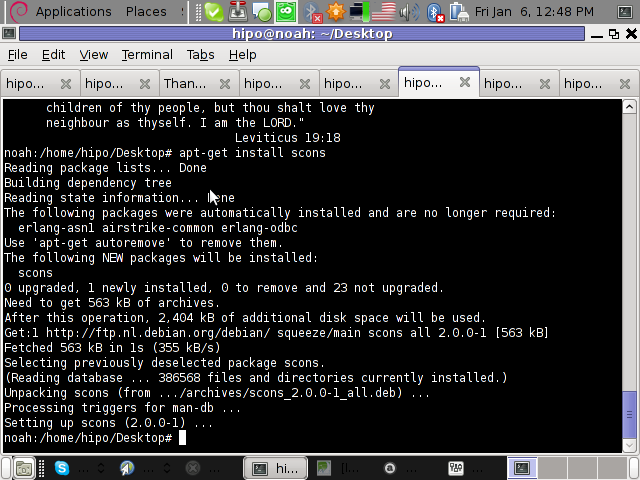
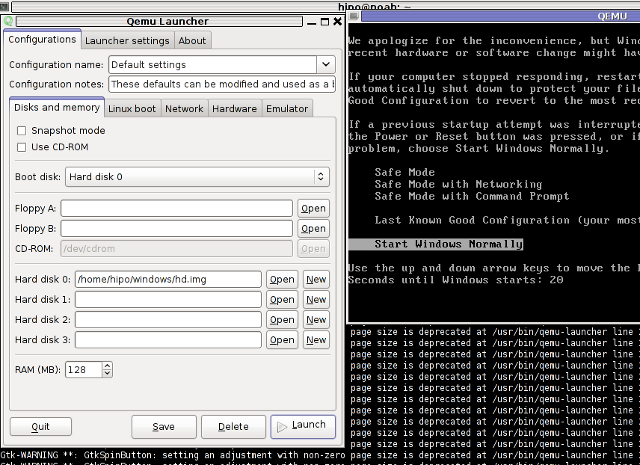
noah:~# apt-get --yes install gqview
And onwards launch it:
hipo@noah:~/Desktop$ gqview

This is a compatibility alias for Geeqie!

Please use /usr/bin/geeqie instead!

Creating Geeqie dir:/home/hipo/.config/geeqie

Creating Geeqie dir:/home/hipo/.local/share/geeqie/collections

Creating Geeqie dir:/home/hipo/.cache/geeqie/thumbnails

Creating Geeqie dir:/home/hipo/.local/share/geeqie/metadata
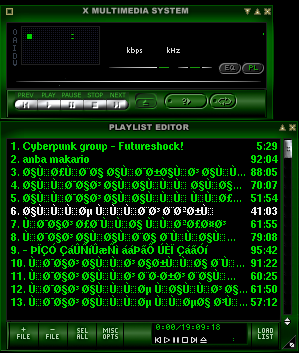
![]()
What poped up instead of gqview is Geeqie – a picture viewer nowdays available on a default Slackware Linux install.
Fedora, CentOS users will have to build geekie from its source, as of time of writting there is no available rpm package.
It was new to me Gqview is no longer developed, its dev is forked (because its head developer is not reachable any more). Hence QGView continues to live on nowdays under the hood of Geekie
As you can see from the prior screenshot Geeqie has very similar interface to GQView. Going through the interface, I've found it has much more features than GQView. You see one of the many new nice features is the support for drawing Image Histograms.
There are few type of Histograms to display in Geekiq, available by navigating to:
View -> Image Overlay
Even if you're not familiar with Image histograms, probably you have seen them appear on a digital camera while browsing in menus. Its likely you didn't know what you saw a digital camera display is a histogram.
Anyways being not familiar with histograms is perfectly fine as for most of us (regular) users image historograms doesn't make much sense.
BTW Histograms are very useful for pro Photographers. Photographers can use them as an aid to show the distribution of picture "tones" captured, and whether image detail has been lost to blown-out highlights or blacked-out shadows.
Interesting fact concerning "reading" and understanding Histograms is on a Histogram for a very dark image the majority of data points are on the left side and center of the graph, whether histogram for a very bright image with few dark areas and/or shadows will have most of its data points located on the right side and center of the graph.
With this said in mind, you can see, the above Geeqie picture visibile histogram obviously has most of its data concentrated on the right and the center so this means the histogram belongs to a bright pic. Well, Actually you can see this without a histogram too 😉
Though Image Histograms might seem pretty useles they're very much needed in Professional Graphic Manipulation. For instance for correction of image color gamma or manually adjusting the brightness for each picture pixel brightness.
So Enough with histograms, I will switch now to a short review of Gthumb
Since I haven't used/seen Gthumb "for ages", I was also curious how the program looks nowdays. I did not needed to install gthumb, as I had it installed already on my notebook. I assume gthumb package was installed as some package dependency or I did it install some very long time ago and I forgot.
For people who didn't have it install do:
noah:~# apt-get --yes install gthumb

...
This installs a Gthumb version 2.12.2. The current latest stable Gthumb release is way ahead from the existing deb stable package, the latest available version on sourceforge is 2.7.4
Ubuntu gthumb latest packages would probably be newer than my debian installed one, so Ubuntu users can have the joy to use a newer version of gthumb…
gthumb is also installable for Fedora and CentOS users by default from default assigned package repos:
To install on RPM based Linux distro:
[root@centos:~ ]# yum -y install gthumb

...
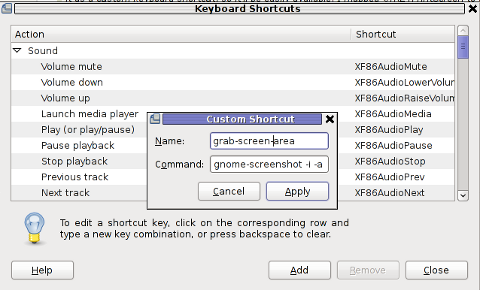
Once installed, I ran it via a gnome run application shortcut ALT+F2 and typed:
gthumb
If you're more of a gui user than me you can run it also through GNOME menus:
Applications -> Graphics -> Gthumb Image Viewer
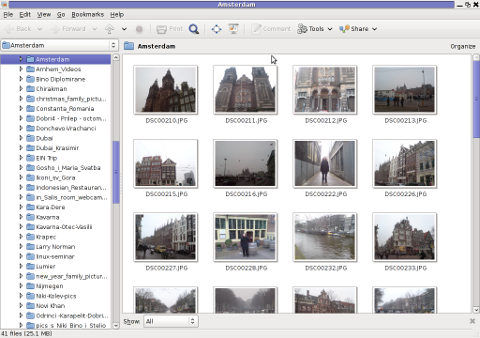
You see gthumb appears, quite similar in "look&feel" to Geeqie.
I went through the program options just for the sake to compare with Geeqie. Based on the fact Geeqie seems to have more functionality it is probably superior and better choice for people looking for professional image vieweing / editting.However there are some other aspects I've noticed, where it lacks behind Gthumb.
Gthumb has few great functionality which unfortunately as of time of writting are missing or hardly achievable in Geeqie
1. Bookmarking pictures.
This allows for your favourite pictures to be bookmarked in the same way as bookmarks work in a browser, really neat feature.
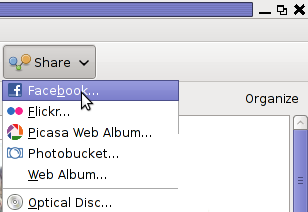
2. Share functionality
Share button is located on the rightest upper corner and makes sharing with major web storage places easy.
Through the Share button, you can export (share) your pictures directly in Picasa, Facebook,Flickr and Photobucket.

Through this share button it is also possible to "share your photos on a CD or DVD", – burn them on a CD/DVD directly from gthumb. This is doable via:
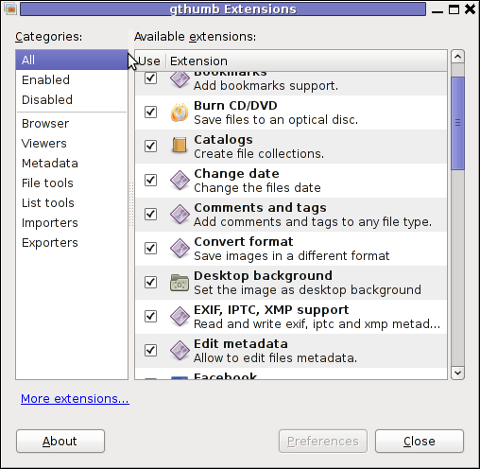
One other Gthumb advantagle is its extensibility. It has a powerful plugin system. Many of the features it has are already there thanks to its enabled extensions.
3. Photo Tagging
Nowdays tagging, photos has become so popular with the boom of facebook tagging. Gthumb has a relatively easy to use image tagging integrated.
tagging a picture is done by simply going through the picture and selecting it with the (rightest located mouse button).
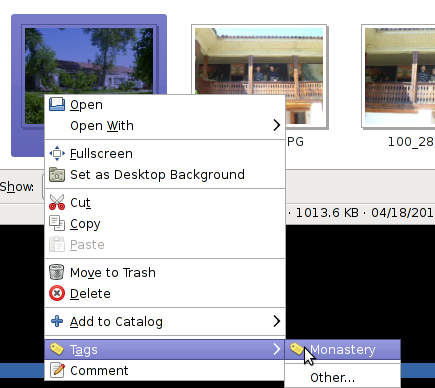
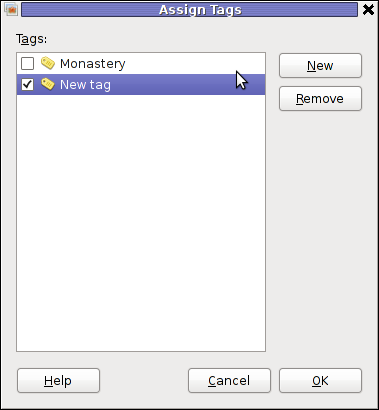
There is a list of few already predefined tags, which can be used to tag images.Assigning more tags is done via menu:
Tags -> Other
4. Organizing pictures
Through the Organize button located right below the Share button, one can easily organize his picture collections, based on few criterias.
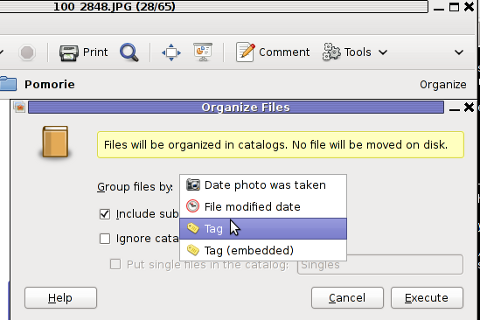
The organize easy feature is not so important for not people, who are not in depth in photographing but for professional photographers this is an absolute necessity. For people who are image freaks and store tens of thousands of pictures organizing pictures for easy later retrieval is really nice.
To sum it, up Geeqie and Gthumb are richer in functionality if compared to GNOME's default pic viewer (eye of the gnome) – eog.
Geeqie, as the name suggests is more for geek oriented and has a lot of great options which can serve well for advanced computer users. For an ordinary desktop user however it will probably be not easy to "digest". Gthumb on the other hand is ideal for anyone who prefers gui convenience. Gthumb is a good option for anyone looking for some similar to Picasa free software program that is feature rich and easy to use.For people who has to review a dozens of pictures daily, associating one of the two as a default picture viewer will probably be useful.